1.1 Pending Documentation

This topic describes the systematic instruction about the Pending Documentation widget in Dashboard.

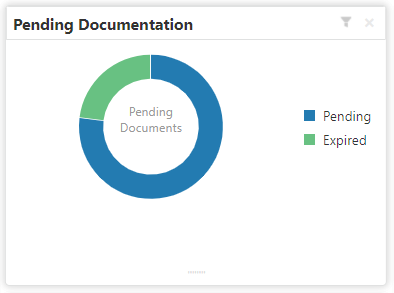
The Pending documentation widget provides users a view of pending, expired, expiring this month documents.
The Pending Documentation doughnut is classified as follows:
  • Pending
  • Expired
  • Expiring this Month

Figure 1-2 Pending Documentation

Description of Figure 1-2 follows
Description of "Figure 1-2 Pending Documentation"
  1. Hover the mouse on each section of the widget, it displays the total number of documents outstanding for each respective segment.
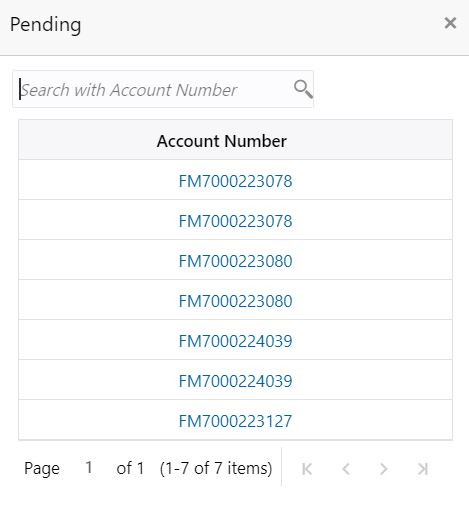
  2. Click on a particular section of the widget.
    For example, when you click on the Pending section, the pop-up window lists all the account numbers from which documents are pending to be collected.
    A pop-up window displays the account numbers available.
  3. Search for a specific account number by entering the search field and click the search icon.
  4. Click the account number.
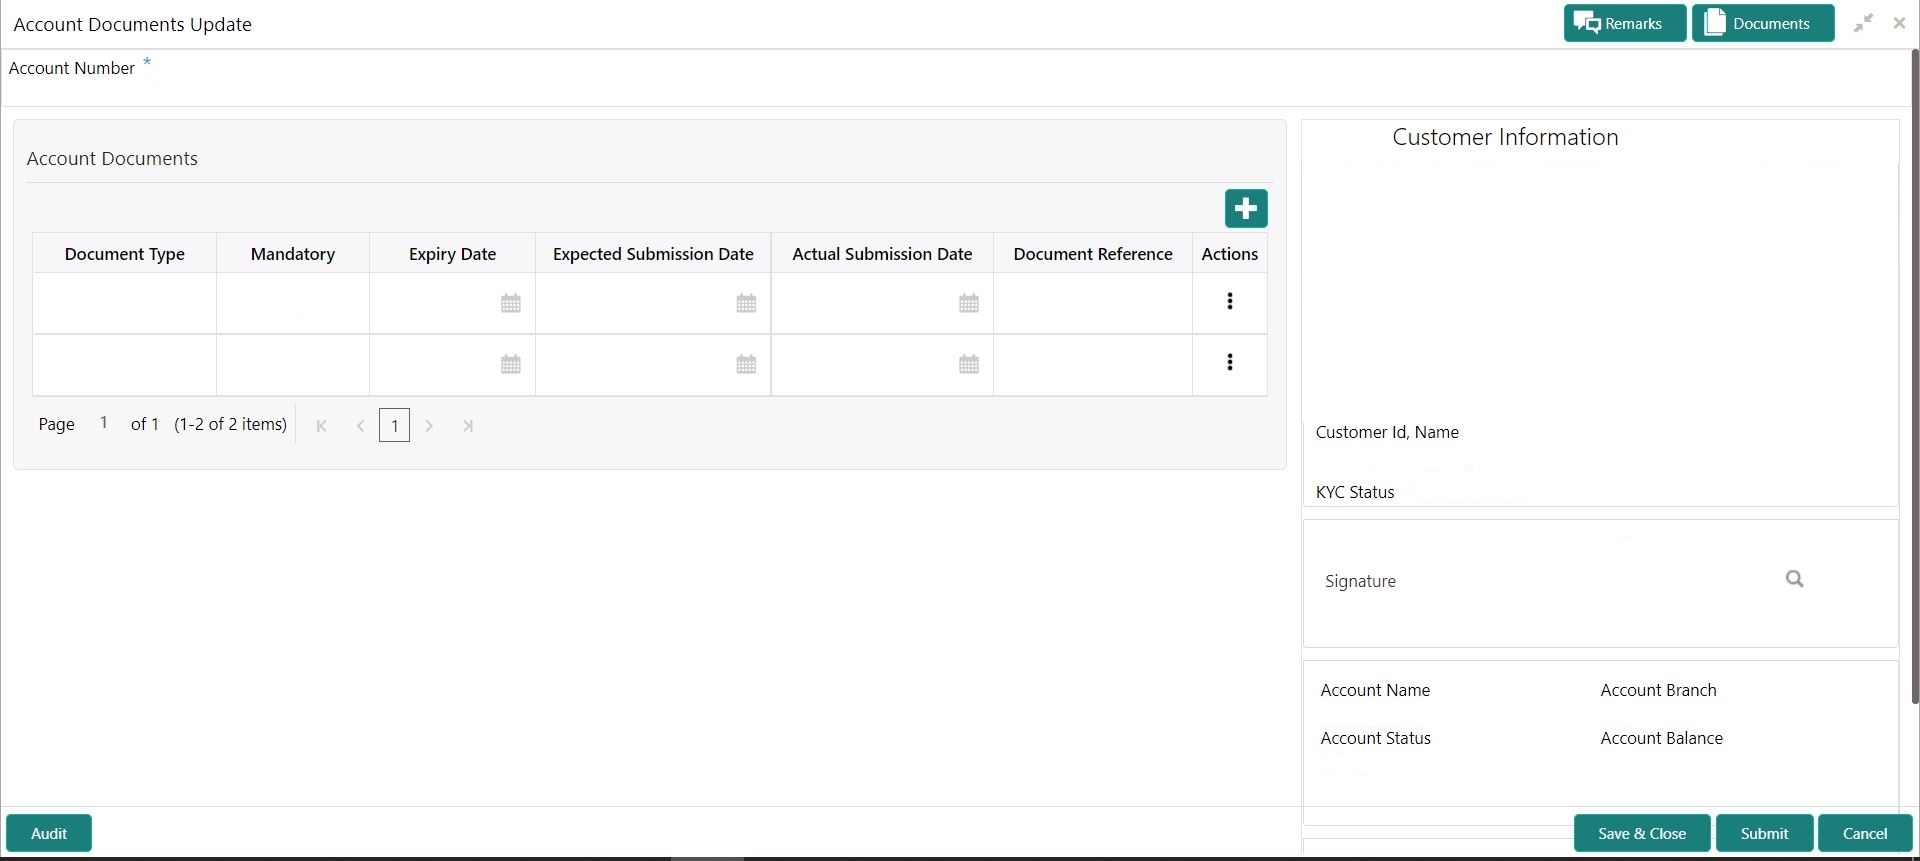
    Account Documents Update screen is displayed.

    Figure 1-4 Account Documents Update

    Description of Figure 1-4 follows
    Description of "Figure 1-4 Account Documents Update"
  5. On the Account Documents Update screen, the following fields are displayed.
    1. Document Type
    2. Mandatory
    3. Expiry Date
    4. Expected Submission Date
    5. Actual Submission Date
    6. Document Reference
    7. Actions

    For more information on the fields, refer to .

  6. Click Filter icon to filter the pending documentation based on the sub domain and product.
    For more information on fields, refer to the field description table.

    Table 1-1 Pending Documentation-Filter

    Field Description
    Filter by Sub Domain Displays all the modules supported by widget from the drop down list.
    Filter by Product Enter the Account Class Code or click the search icon to view the Filter by Product pop-up window. By default, this window lists all the Account Class codes present in the system. You can search Account Class code, Account Class description or Account Type and click on the Fetch button.
  7. Click the Filter button.
    The applied Filters will appear in the band within the widget.
  8. To remove the filters, click Filter icon icon and click the clear button.