- Collections User Guide
- Maintenance for Collections
- Courier Setup Maintenance
- Create Courier Setup
3.7.1 Create Courier Setup
This topic describes the systematic instruction to create a courier code and capture the complete detail of the courier company.
Newly created courier codes take effect once authorized and cannot be modified thereafter.
Specify User ID and Password, and login to Home screen.
- On Home screen, click Cash Management. Under Cash Management, click Collections.
- Under Collections, click Maintenance. Under Maintenance, click Courier Setup.
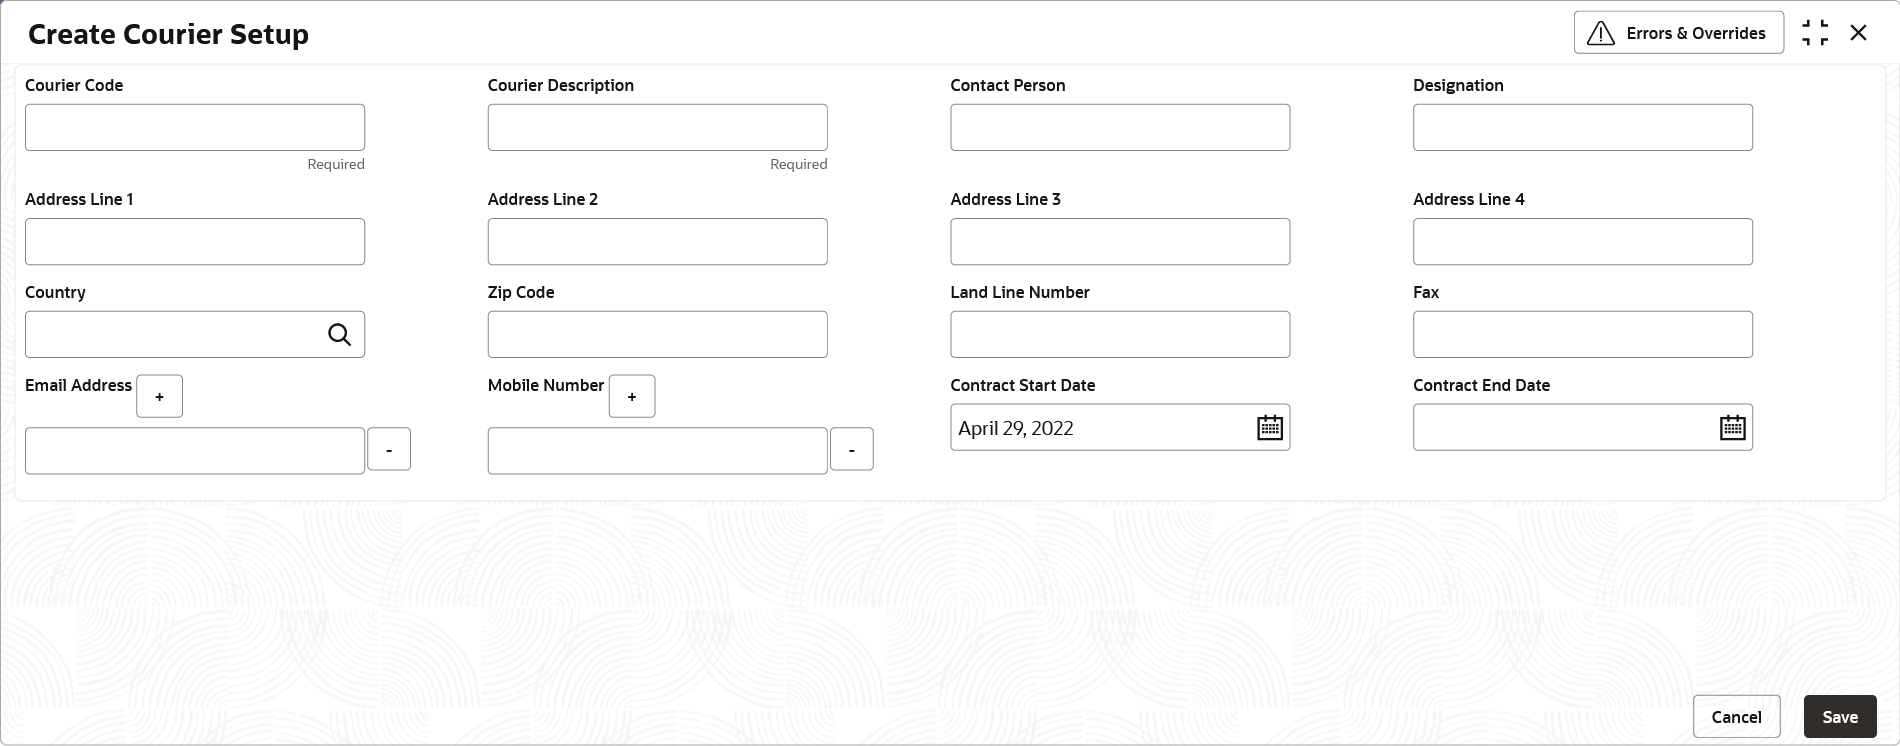
- Under Courier Setup, click Create Courier Setup.The Create Courier Setup screen displays.
- Specify the fields on Create Courier Setup screen.For more information on fields, refer to the field description table.
Note:
The fields marked as Required are mandatory.Table 3-17 Create Courier Setup - Field Description
Field Description Courier Code Specify a unique alphanumeric code to be created for a courier company. This field cannot be modified once authorized.
Courier Description Specify the name and description of the courier company. Contact Person Specify the name of the contact person from the courier company. Designation Specify the designation of the contact person from the courier company. Address Line 1 Specify the first line of the courier company’s address. Address Line 2 Specify the second line of the courier company’s address. Address Line 3 Specify the third line of the courier company’s address. Address Line 4 Specify the fourth line of the courier company’s address. Country Click the search icon to select the country. Zip Code Specify the postal code of the address. Land Line Number Specify the land line contact number of the courier company. Fax Specify the fax contact number of the courier company. Email Address Specify an official email address of the courier company. Click the Add (+) icon to add more email addresses. You can delete an email address by clicking the Remove (-) icon given for it.
Mobile Number Specify the mobile number of the selected contact person. Click the Add (+) icon to add more mobile numbers. You can delete a number by clicking the Remove (-) icon given for it.
Contract Start Date Click the calendar icon to select the date from when the contract with the courier company starts. Contract End Date Click the calendar icon to select the date on which contract with courier company expires. - Click Save to save the record and send it for authorization.
Parent topic: Courier Setup Maintenance
