13.1 Personalize Dashboard

This topic provides the systematic instructions to corporate users for customizing their dashboard.

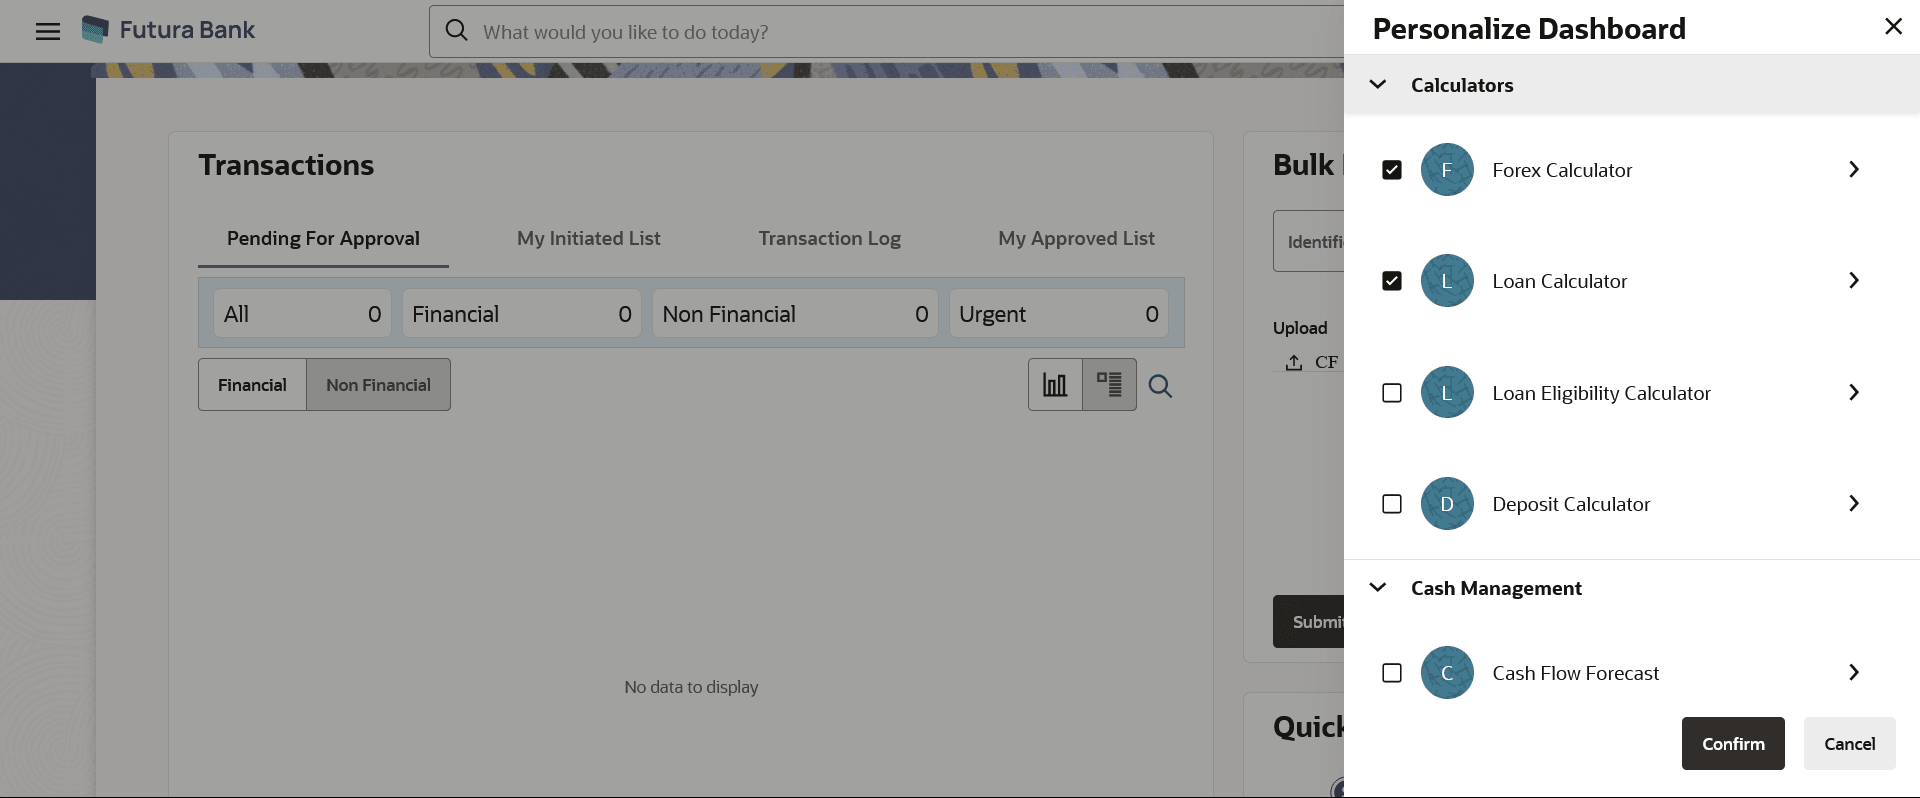
A default dashboard is displayed as the user navigates to the Personalize Dashboard option. User can change the placing and select the widgets from the list of available widgets.

User can change the widget size (expand and compress) as per his requirement and can remove the widgets.

To customize the dashboard:

  1. From the Corporate Approver Dashboard, click the setting icon , and then click Personalize Dashboard .

    The Personalize Dashboard overlay screen appears.

    Figure 13-1 Personalize Dashboard


    Note:

    The fields which are marked as Required are mandatory.

    For more information on fields, refer to the field description table.

    Table 13-1 Personalize Dashboard - Field Description

    Field Name Description
    Component Type Select the component type, which you want to appear on your dashboard. This field is applicable only if the selected widget has multiple components.
  2. From the Component Type list, select the widget component type that you want to appear on the dashboard.
  3. Select the Checkbox (es) against the subcategories if you wish to you want to appear on the dashboard.
    1. Click on the > icon to preview the widget before adding.
  4. Perform one of the following actions:
    • Click Confirm to add the widget on dashboard.

      The selected component appears as a widget on the selected location of your dashboard.

    • Click Cancel to cancel the transaction.