1.2.1 Set PIN (First Time Login Flow)
This topic provides the systematic instructions for defining a PIN login on the Futura Bank mobile application using login credentials.
To set PIN for login transaction:
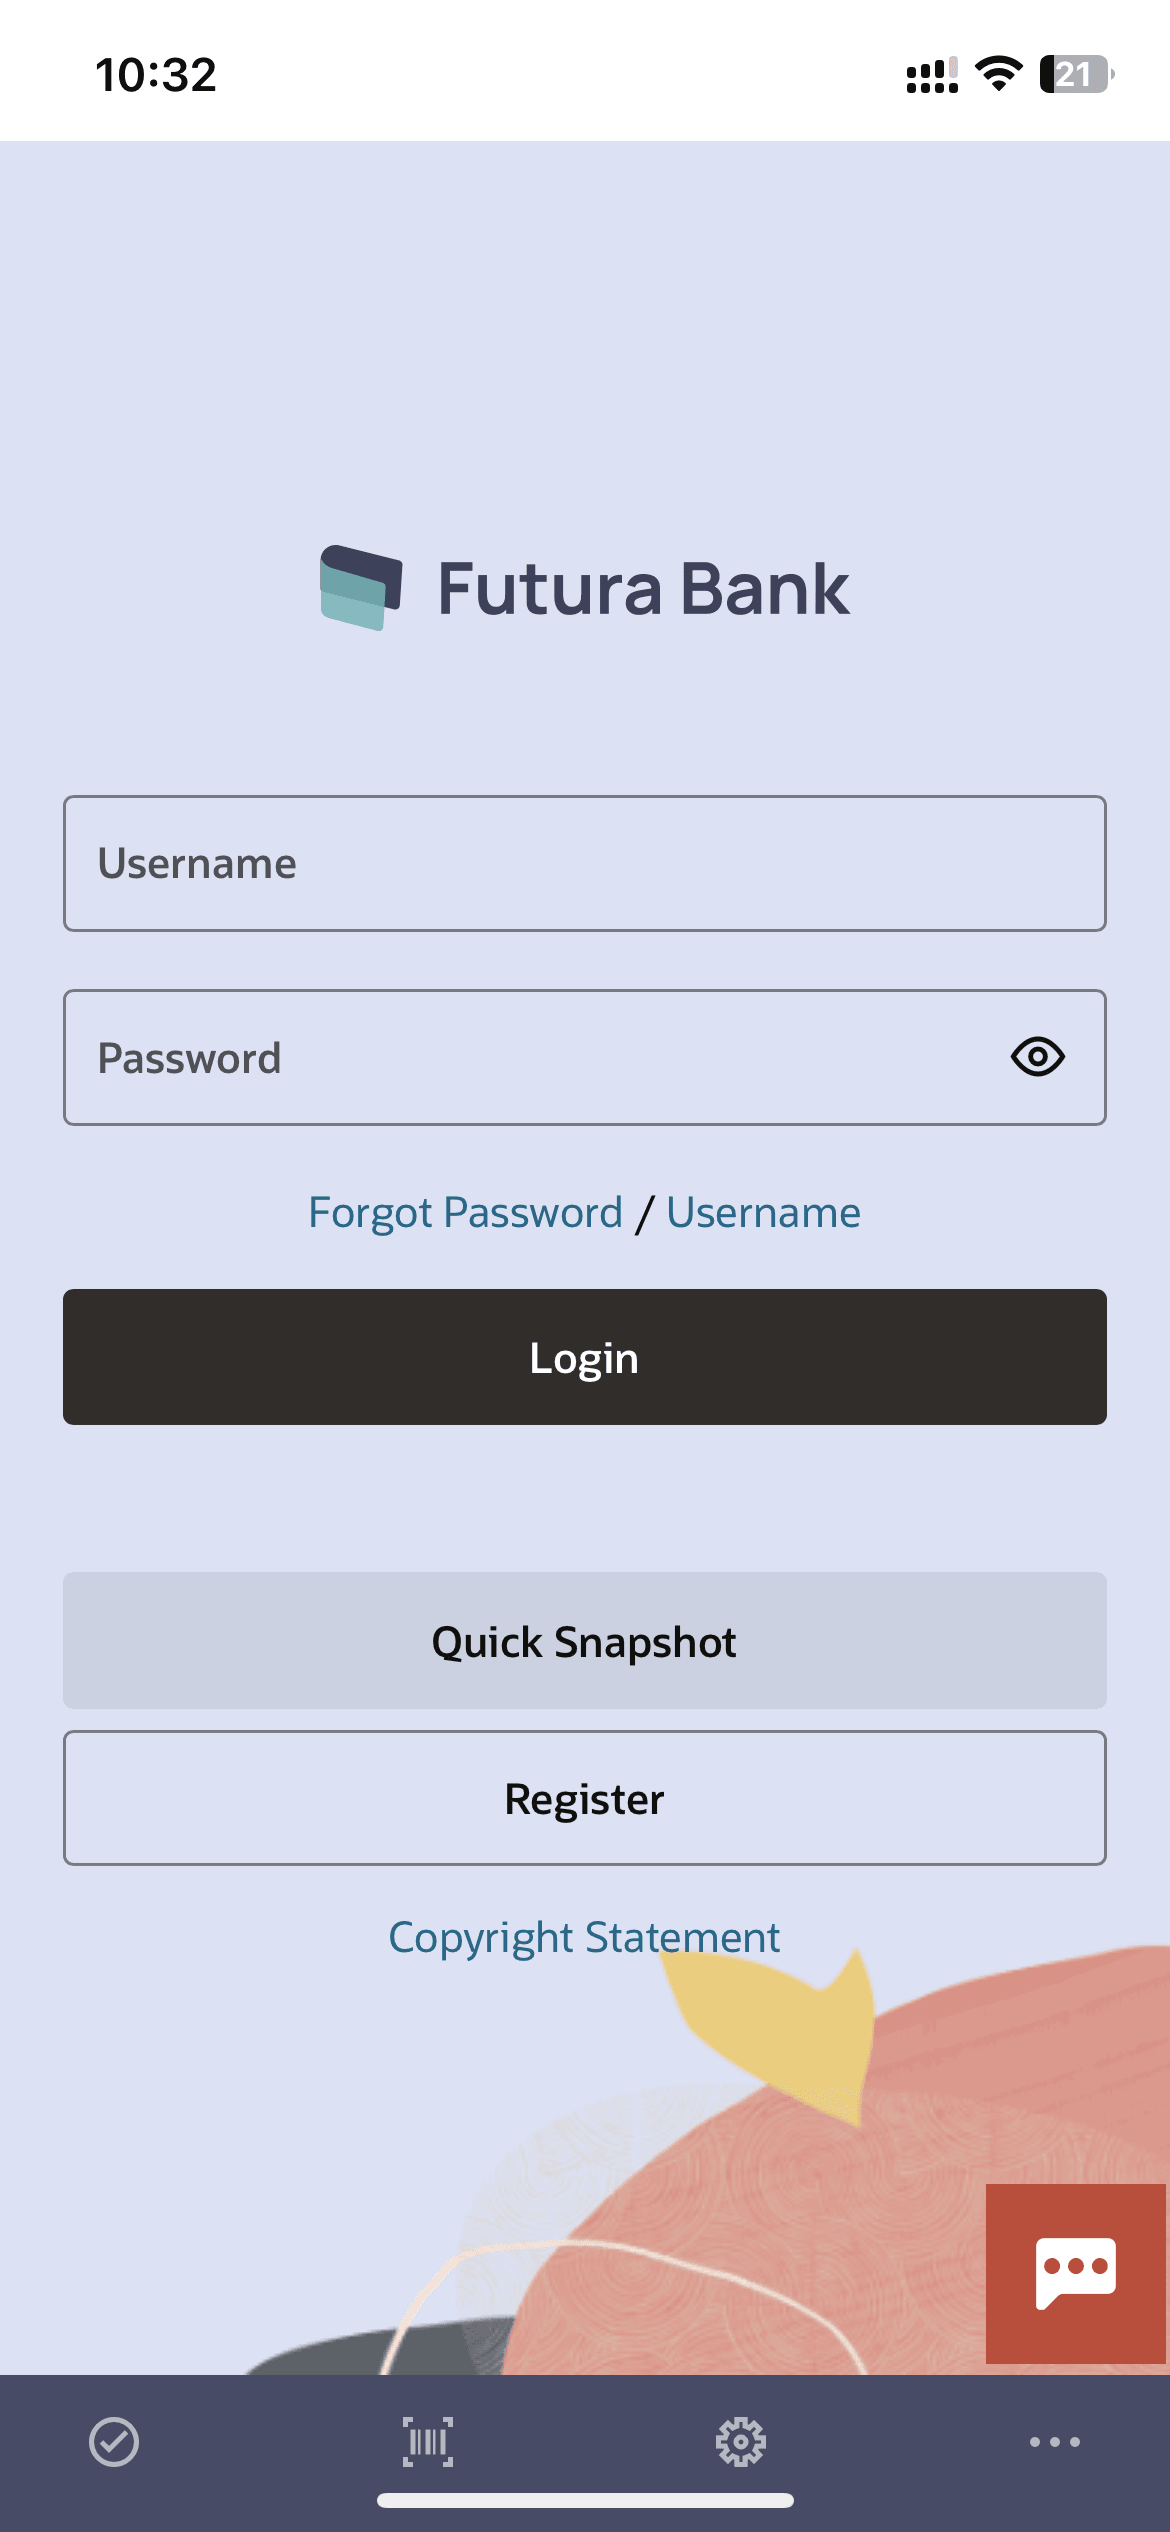
- Launch the Futura Bank application. The Futura Bank login page appears.
- In the Username field, enter the user ID.
- In the Password field, enter the password.
- Click Login.
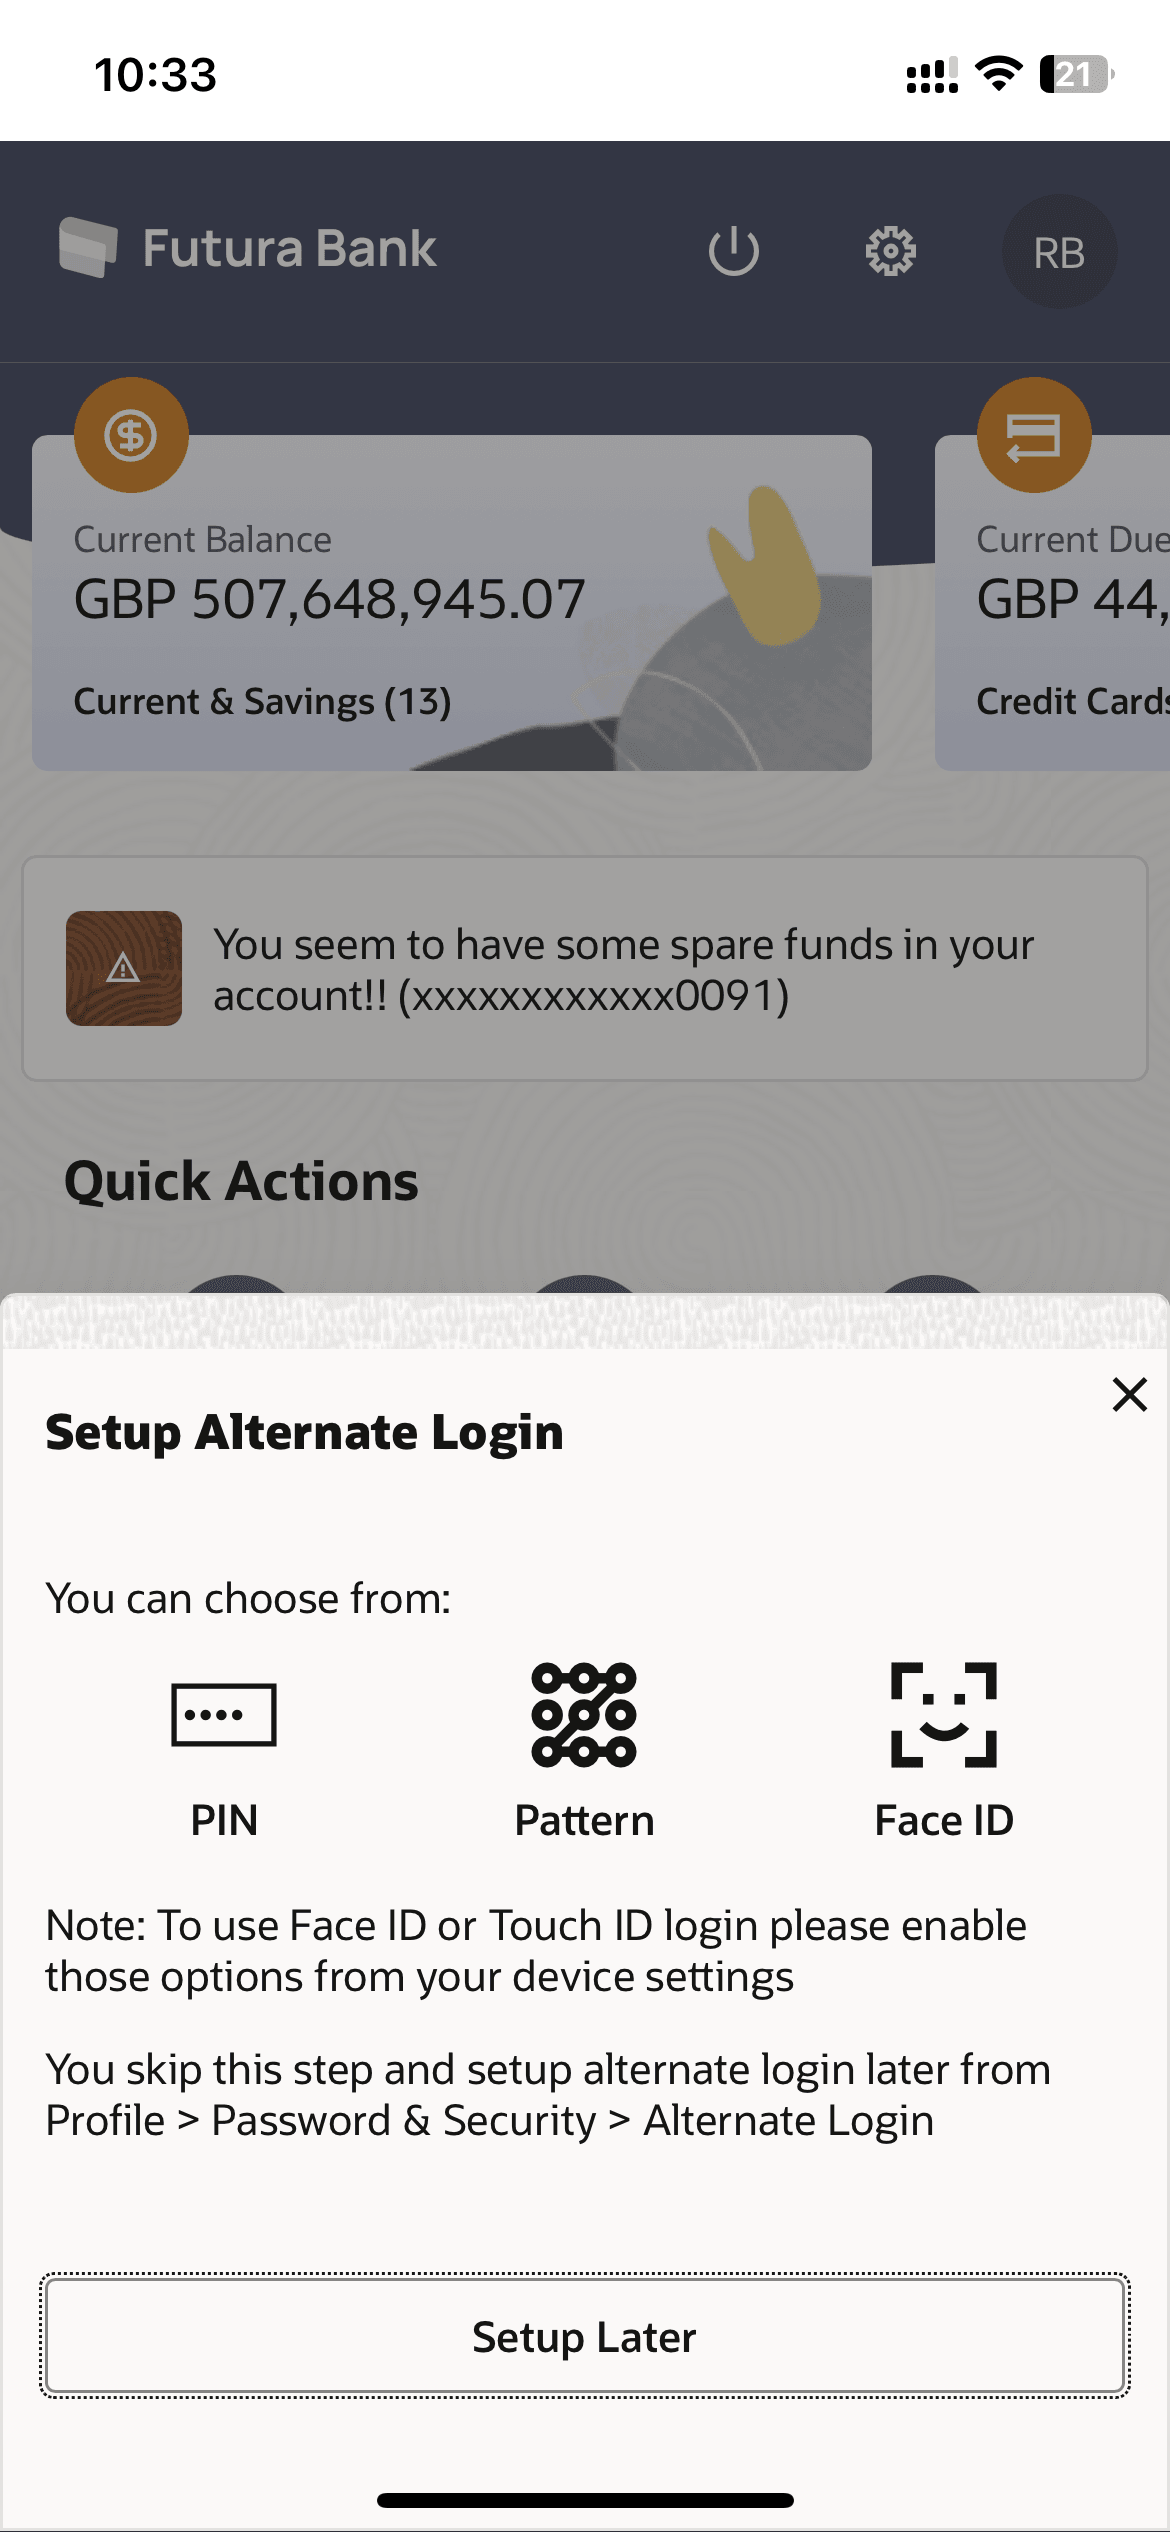
The Setup Alternate Login popup screen appears.
Figure 1-9 Select Alternate Login Method screen- PIN
Note:
- For registering Alternate Login Method on the User’s device will automatically cancel the previous active registrations if any on other devices. Application verify user with unique identifier linked to device.
- To skip setup and enable it later, click Setup Later and then enabled later by navigating to Profile and click Settings. Refer Manage PIN section for more information.
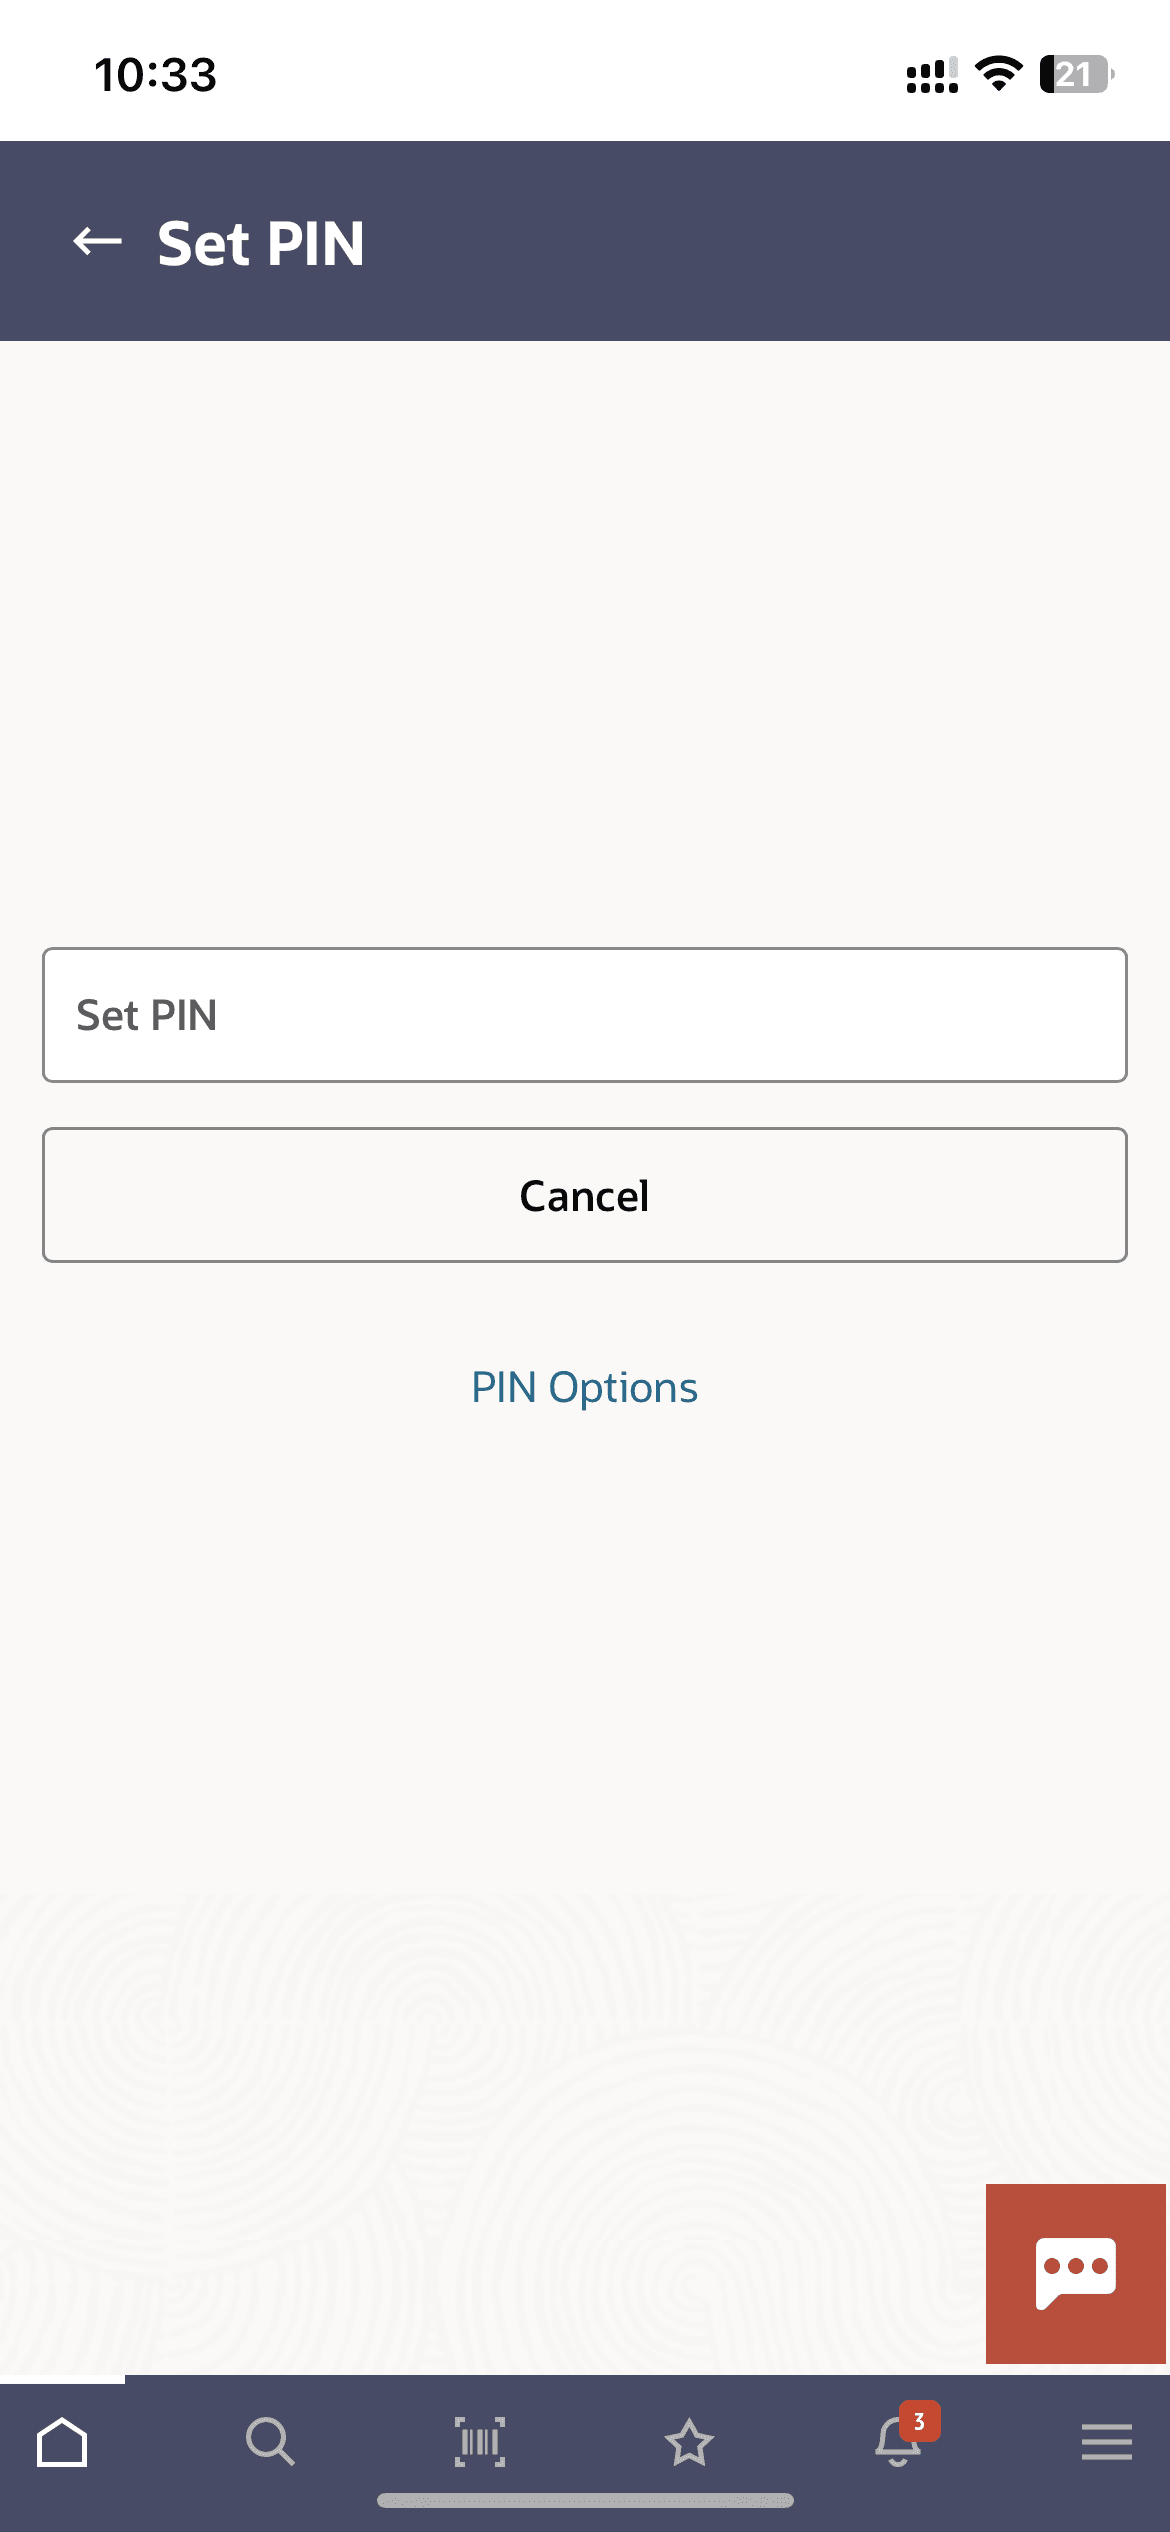
- Select the PIN based authentication method. The Set PIN screen appers.
- Perform one of the following actions:
- In the Set PIN field, enter the PIN that needs to be set for
login.
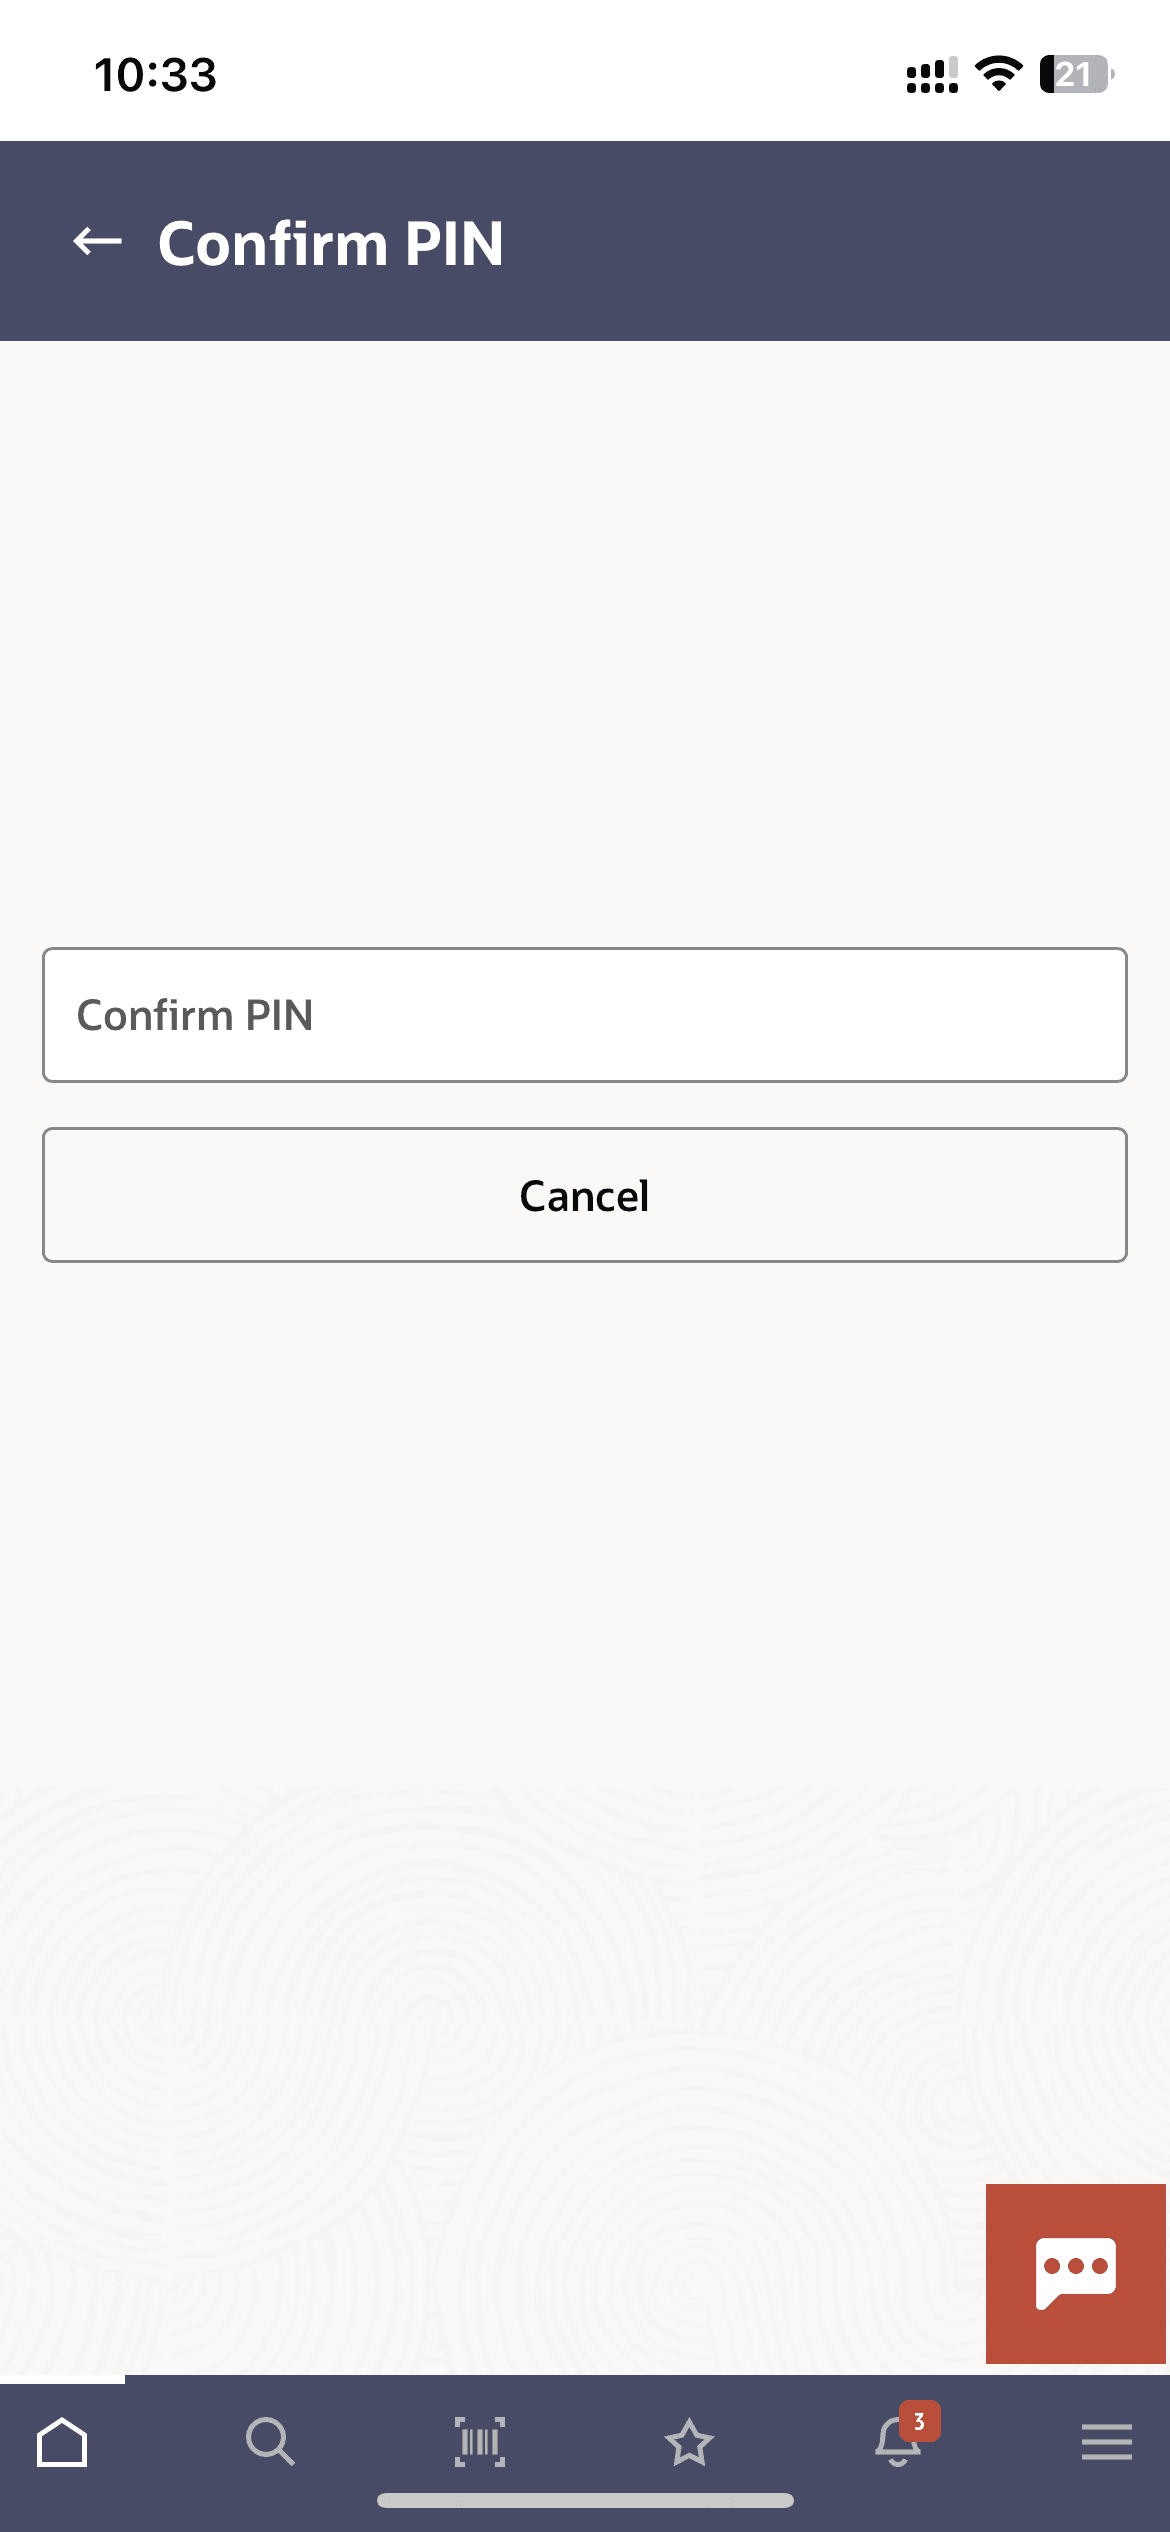
The Confirm PIN screen appears.
- Click Cancel to cancel the transaction.
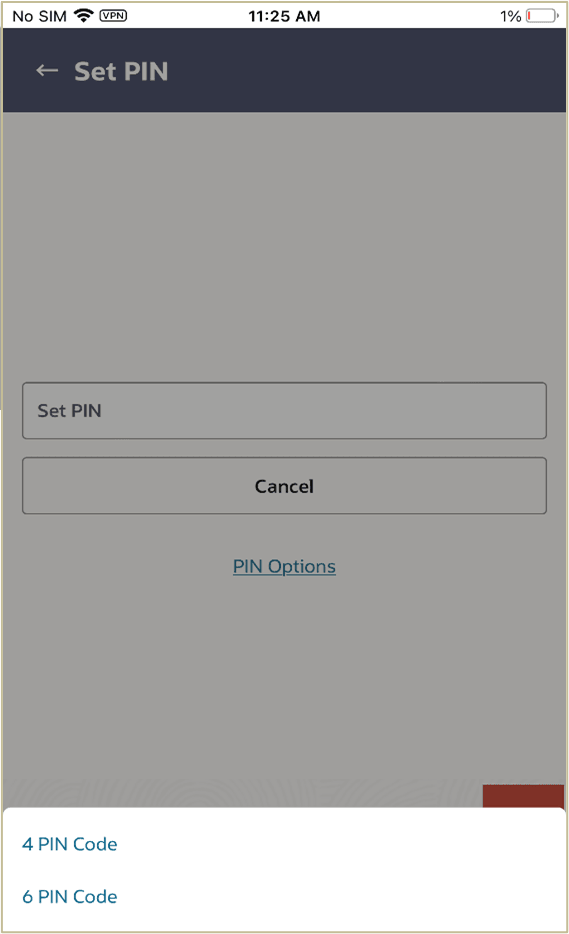
- Click PIN Options to choose the pin length.
- In the Set PIN field, enter the PIN that needs to be set for
login.
- Click Login.The Select Login Method screen appears.
- Select the desired PIN length.
Note:
The fields which are marked as Required are mandatory.For more information on fields, refer to the field description table.
Table 1-1 PIN Options screen - Field Description
Field Name Description PIN Options This option lets the user to decide the length of the PIN. The options are:
- 4 PIN Passcode: Set the 4 digit PIN for login transaction.
- 6 PIN Passcode: Set the 6 digit PIN for login transaction.
Note:
The fields which are marked as Required are mandatory.For more information on fields, refer to the field description table.
Table 1-2 Confirm PIN screen - Field Description
Field Name Description Confirm PIN Re-enter the PIN to confirm. - Perform one of the following actions:
- In the Confirm PIN field, re-enter the pin for confirmation.
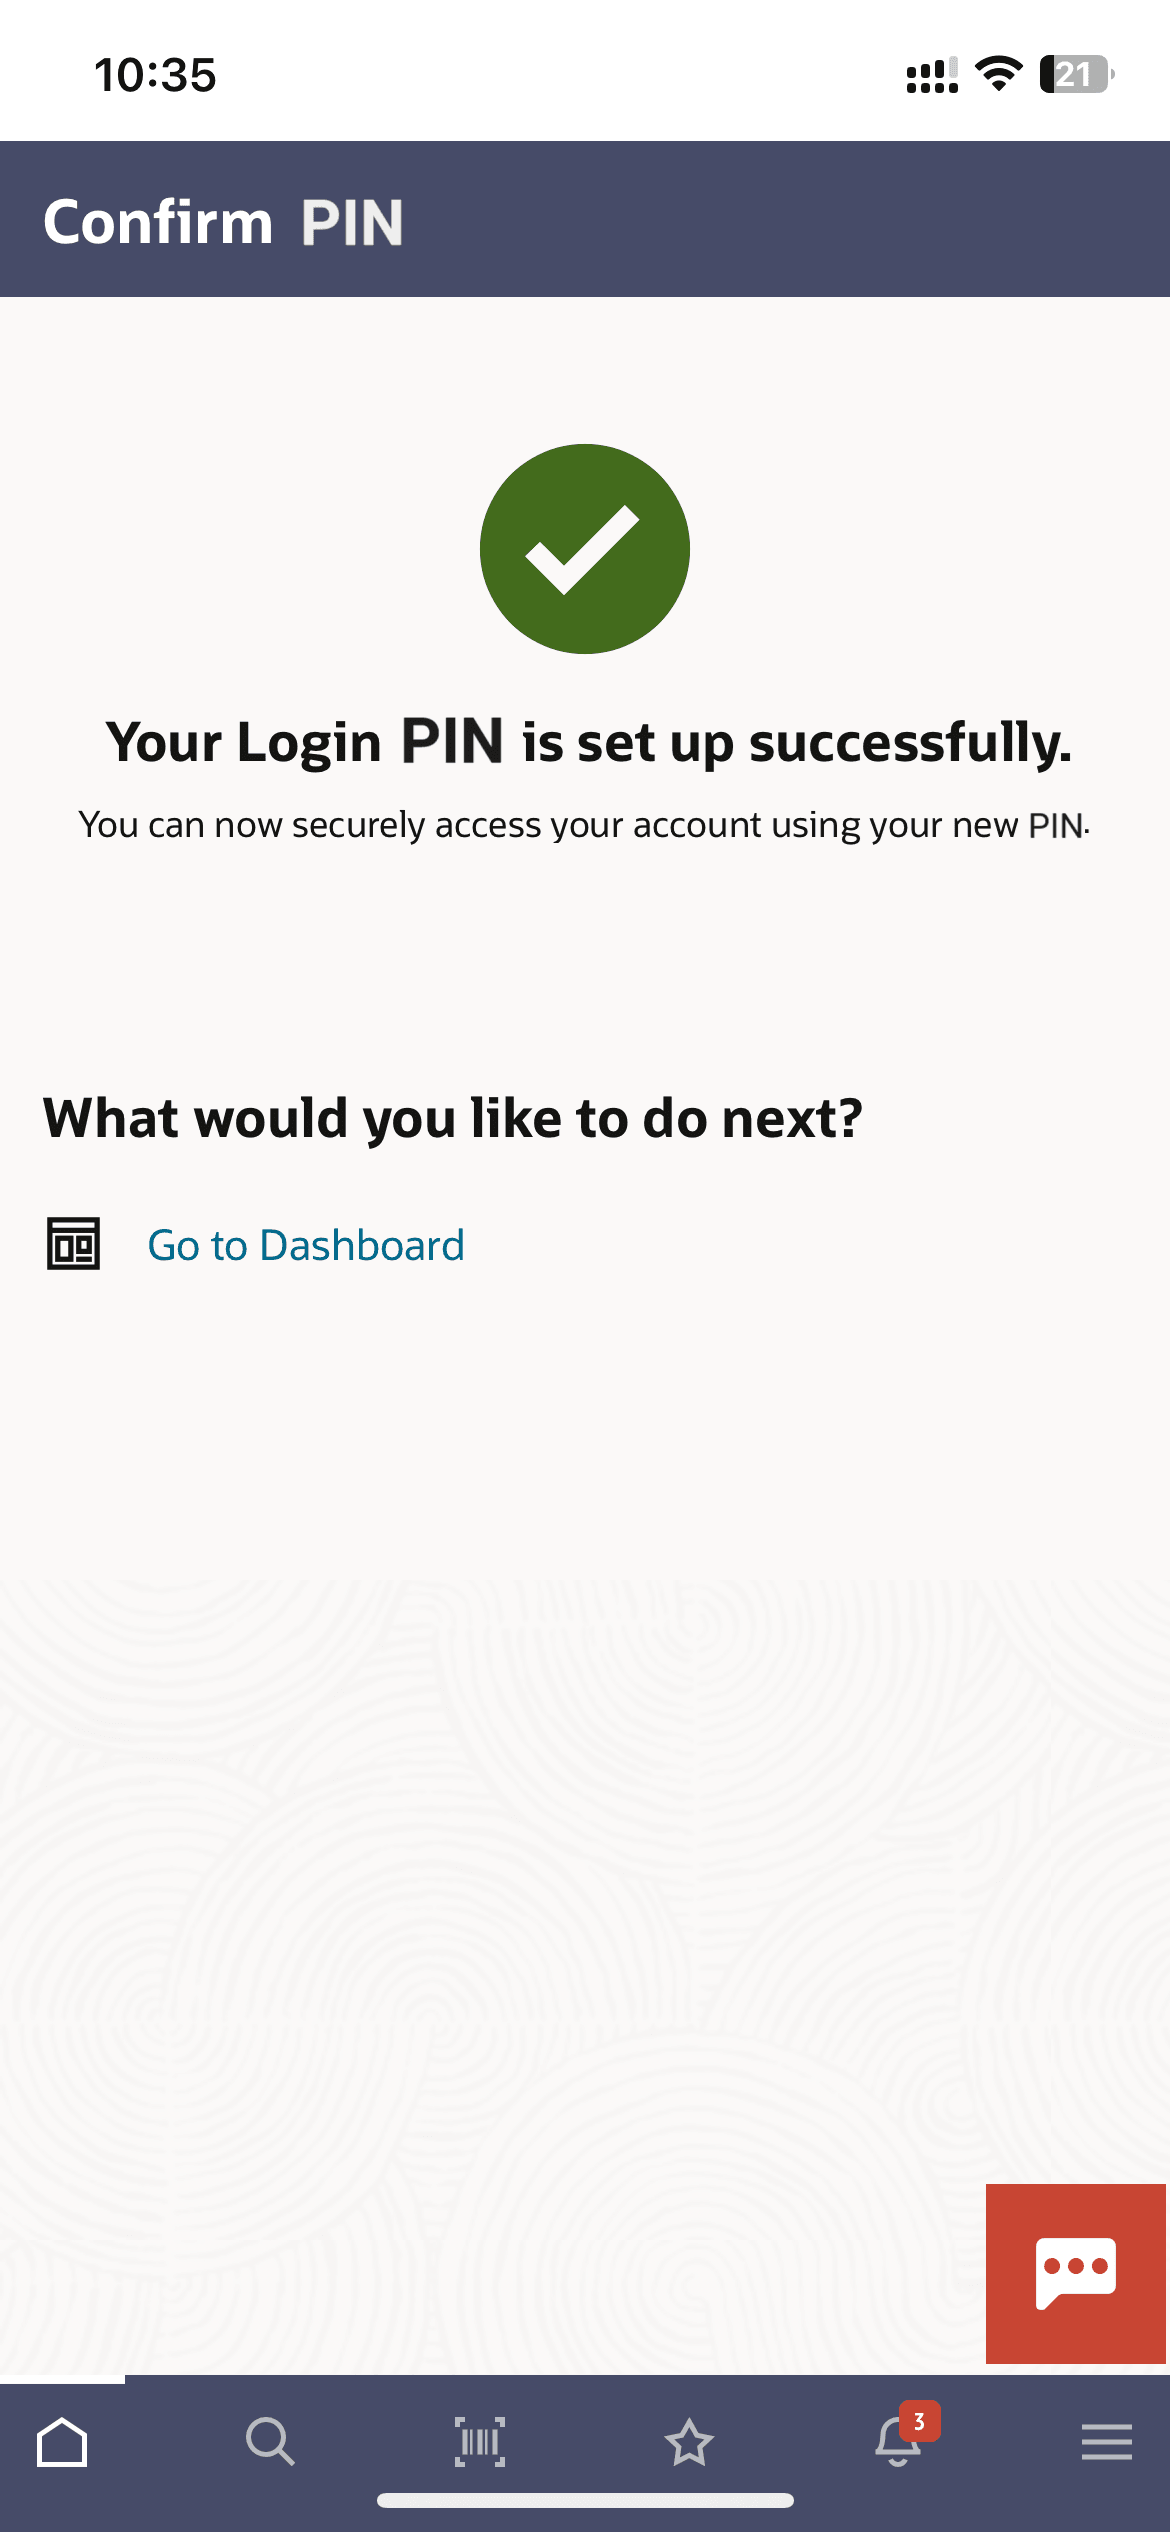
The success message of PIN set appears.
The PIN will get set and you will be redirected to the Dashboard.
Note:
Once the PIN is set, the system will prompt you to enter the PIN at the time of login. - Click Cancel to cancel the transaction.
- In the Confirm PIN field, re-enter the pin for confirmation.
Parent topic: PIN based Authentication
