3.1 Self-Register
This topic describes the information about Self-Register feature. This feature enables customers to register themselves for channel access.
Customers who do not have access to online channels can onboard themselves without having to approach the bank physically. Bank customers who have existing savings accounts, term deposits Loans or Credit Cards can onboard themselves by authenticating their relationship with the bank. Customer authentication is done on the basis of primary details registered with the bank.
On the successful authentication of the details provided by the user, user receives a link to set up his user ID and password on his registered email ID.
Pre-requisites
In order to be able to register oneself, a user must have any of the following existing relationships with the Bank:
- Demand Deposit
- Loan
- Term Deposit
- Credit Card
To register for access to banking channels:
- Perform any one of the following navigation to access the Register screen:
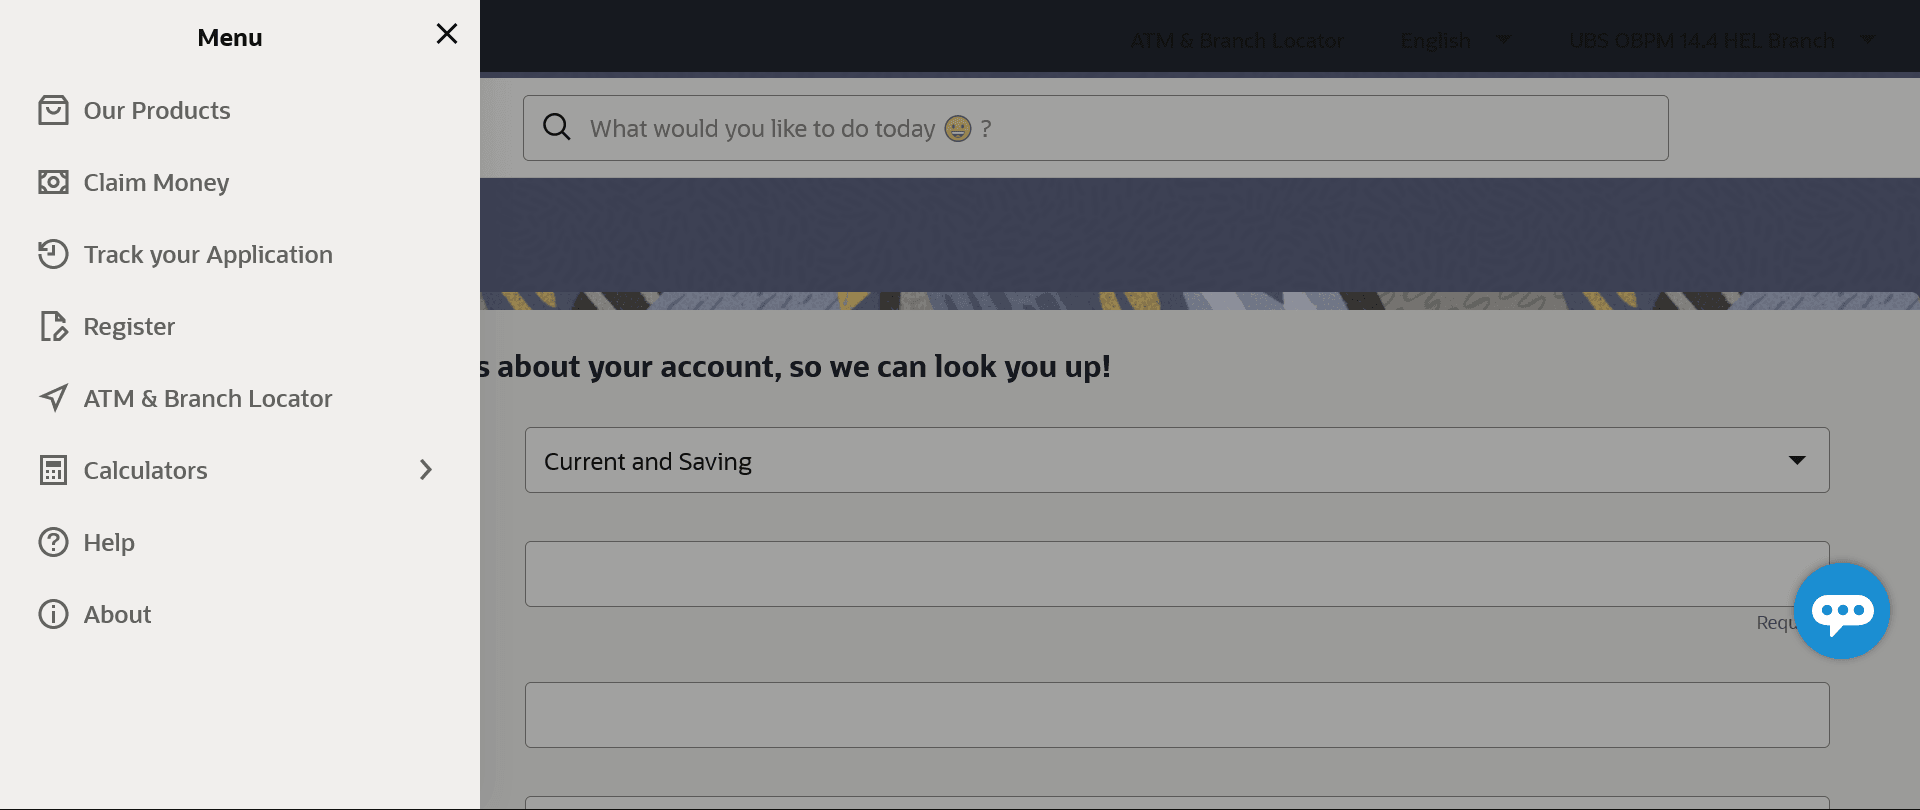
- From Bank's portal page, click Toggle menu, and then click Register.
- From Bank's Log-IN page, click Register.
- Navigate to above path.
Figure 3-1 Channel Onboarding - User Registration
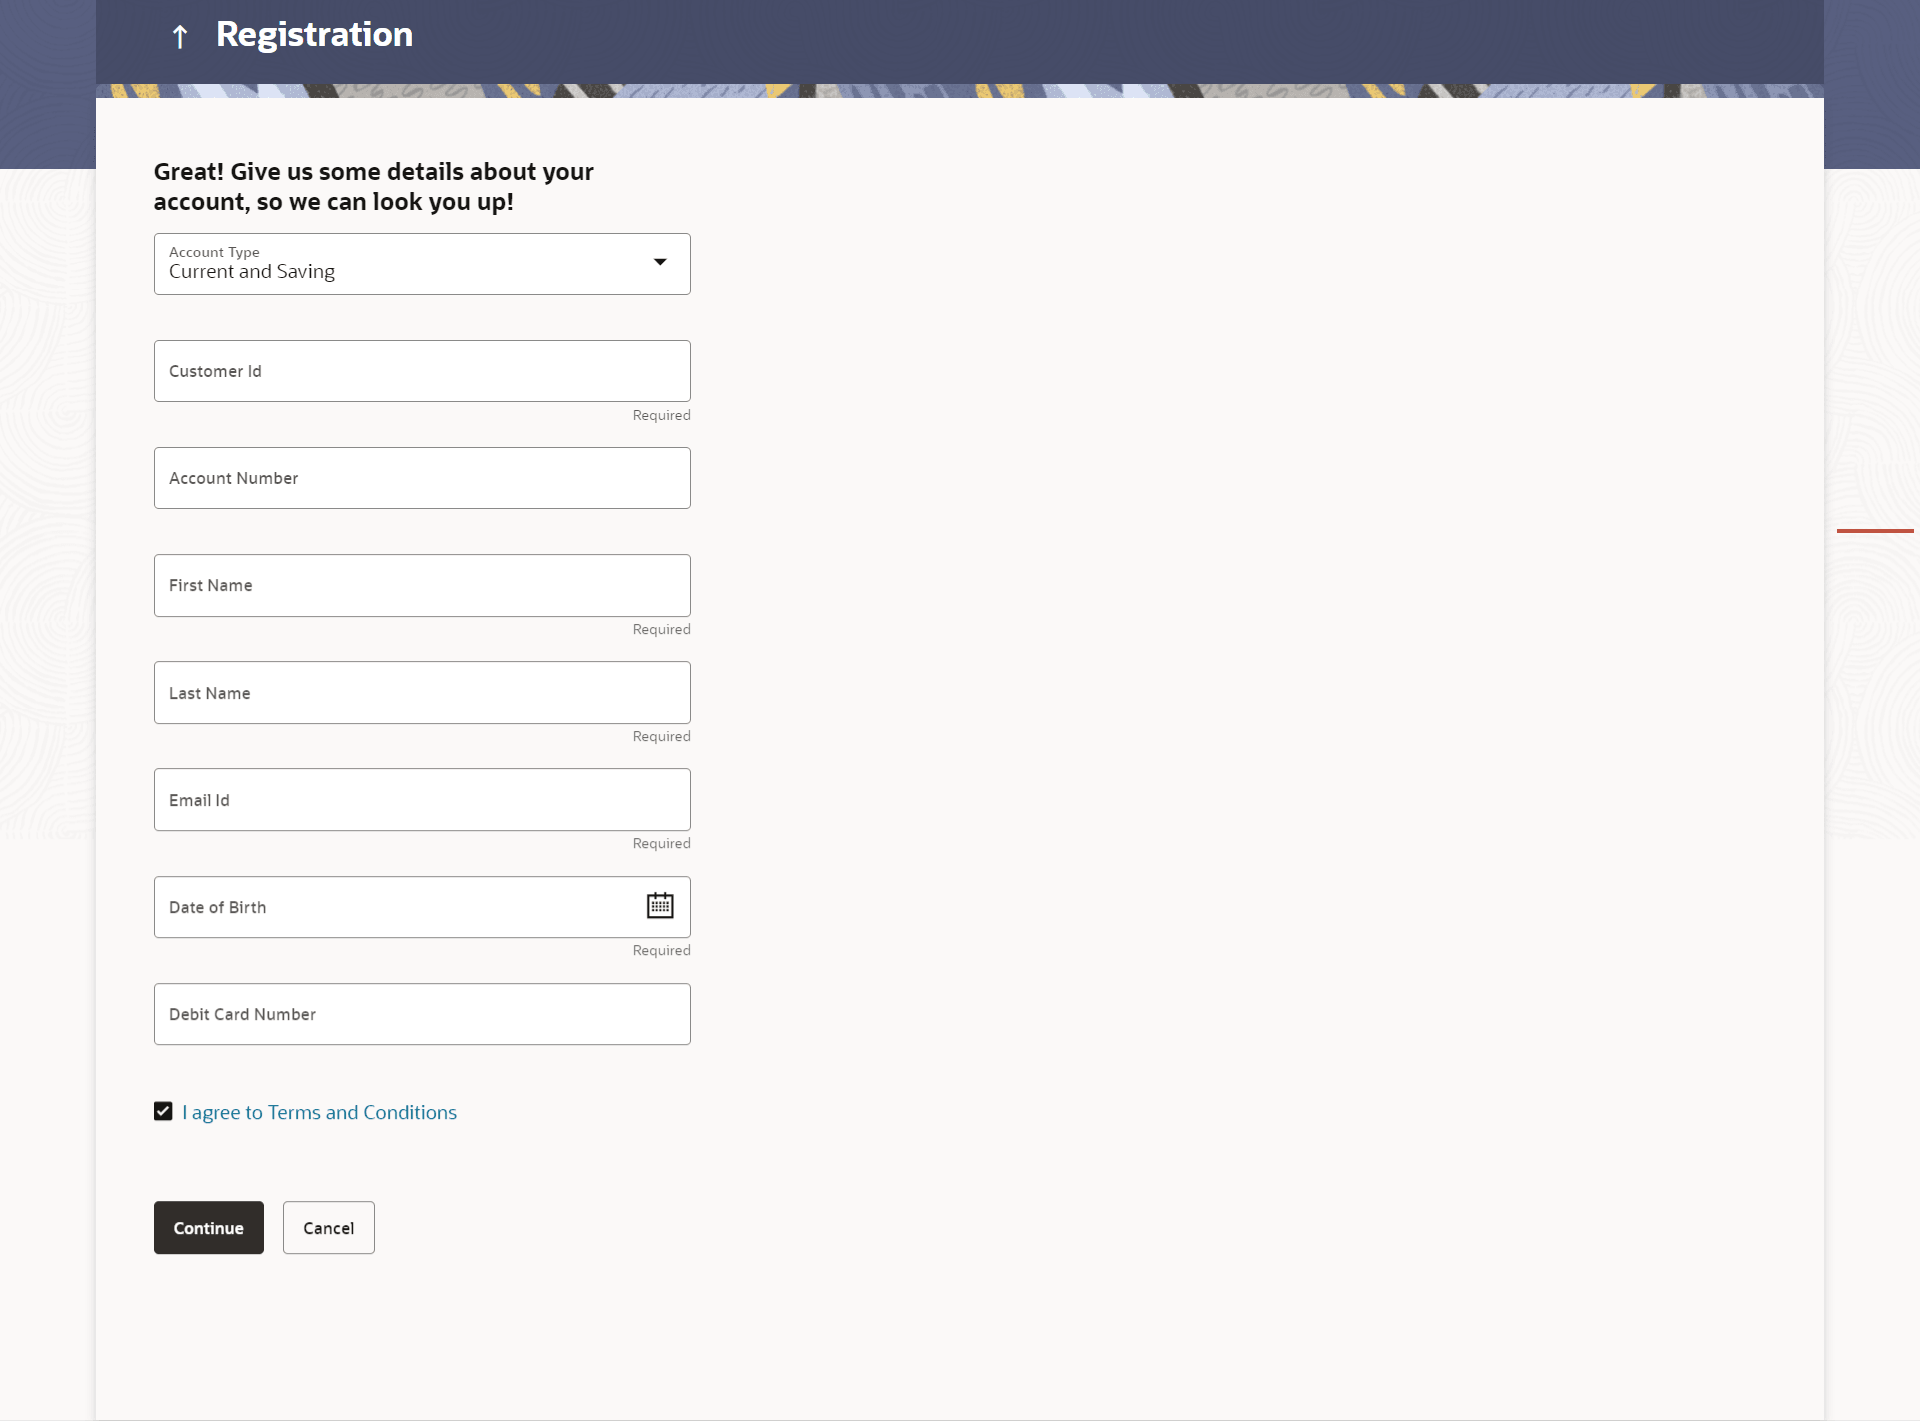
- The Channel Onboarding - User Registration screen appears. Enter the relevant
information.
Figure 3-2 Channel Onboarding - User Registration
Note:
The fields which are marked as Required are mandatory.For more information on fields, refer to the field description table.
Table 3-1 Channel Onboarding - User Registratio - Field Description
Field Name Description Account Type Identify your relationship with the bank by selecting the type of account that you hold with the bank. The options are:
- Demand Deposit
- Loan
- Term Deposit
- Credit Card
Account Type - Demand Deposit The following fields appear if you have selected options Demand Deposit, Loan or Term Deposit from the Account Type list. Customer ID Enter your customer ID. Account Number Specify the account number that you hold with the bank corresponding to the account type selected in the Account Type field. First Name Enter your first name. Last Name Enter your last name. Email ID Enter your email ID. Date of Birth Specify your date of birth. Debit Card Number Specify the debit card number associated with the account defined in the Account Number field. This field is displayed only if you have selected Demand Deposit against the Account Type field.
Debit Card PIN Enter the PIN of the debit card defined in the Debit Card Number field. This field is displayed only if you have selected Demand Deposit against the Account Type field.
Credit Card The following fields appear if you have selected the option Credit Card from the Account Type list. Credit Cards are maintained with a third party system. Credit Card Number Enter the number of the credit card that you hold with the bank. Name as on Card Enter your name as embossed on the credit card. Email Id Enter your Email ID. Credit Card Expiry Date Specify the date on which your credit card will expire by selecting the month and year from the provided fields. CVV Number Enter the Card Verification Value (CVV) number printed on your credit card. This number can be found printed on the bank of most credit cards. Date of Birth Specify your date of birth. - From the Account Type list, select the type of account that you
hold with the bank.
- If you have selected options Demand Deposit, Loan or Term Deposit from the Account Type list:
- In the Customer ID field, enter your customer ID.
- In the Account Number field, enter your account number corresponding to the account type selected against the Account Type field.
- In the First Name and Last Name fields, enter your first and last name.
- In the Email ID field, enter your email ID.
- From the Date of Birth field, select your date of birth.
- If you have selected the option Demand Deposit against the Account Type field, in the Debit Card Number and Debit Card PIN fields, specify your debit card number and PIN.
- If you have selected option Credit Card from the Account Type list:
- In the Credit Card Number field, enter your credit card number.
- In the Name as on Card field, enter your name as embossed on the card.
- In the Email ID field, enter your email address.
- In the Credit Card Expiry Date fields, select the month and year in which your credit card will expire.
- In the CVV Number field, enter your CVV number.
- From the Date of Birth field, select your date of birth.
- If you have selected options Demand Deposit, Loan or Term Deposit from the Account Type list:
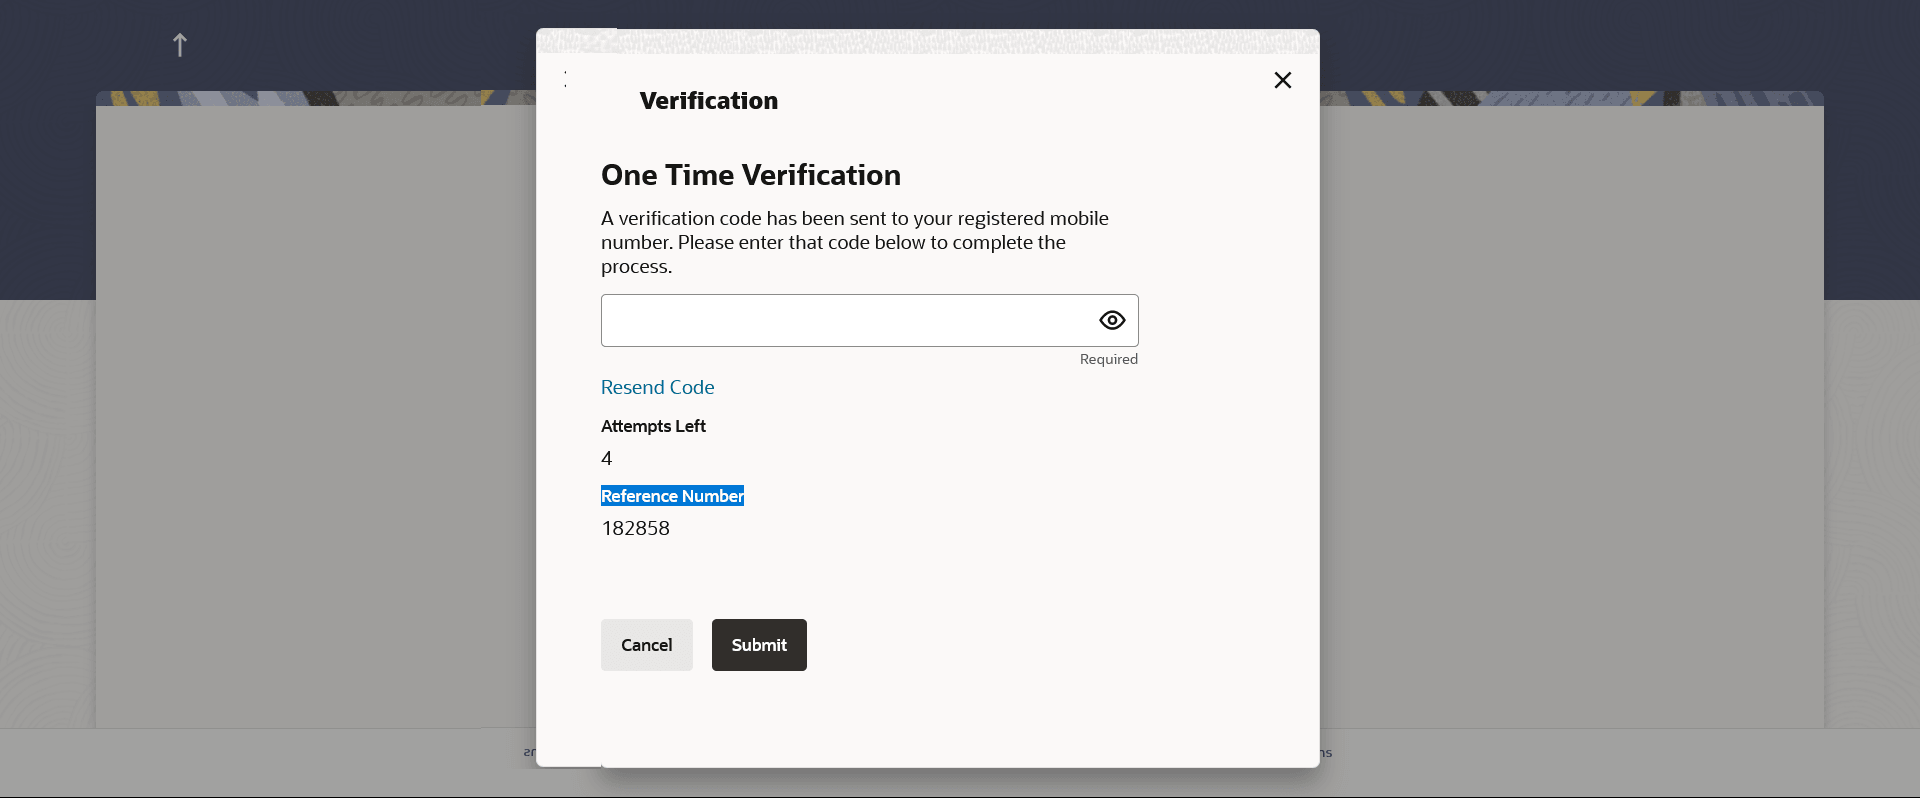
- Click Continue. The Verification screen appears. For more information refer the One Time Password section.
- Enter the verification code and click Submit. The Confirmation screen appears along with a message stating that the link to generate username and password has been sent on your email.
- Click on the link received on your email. The link will be redirected to OBDX portal for setting up your user name and password.
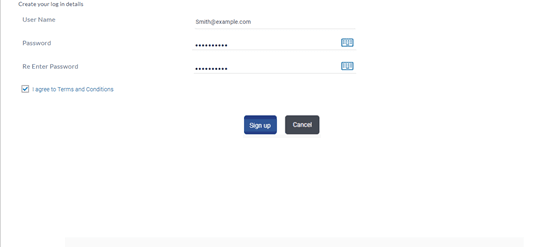
- Enter a user name and password that you want to set as your log in credentials.
Note:
The fields which are marked as Required are mandatory.For more information on fields, refer to the field description table.
Table 3-2 Create your log in details - Field Description
Field Name Description Create your login details Information specified in below fields are related to create your login details. User Name Enter a value that you want to set as your user name. Password Enter a password to be considered as your login password. Re-Enter Password Re-enter the password entered in the Password field to confirm the same. I agree to Terms and Conditions Select the checkbox to acknowledge acceptance of registration terms and conditions. Terms and Conditions The link to view the terms and conditions. - In the User Name field, enter a value to be considered as your user name.
- In the Password field, enter a password to be set as your login
password.
- Click
 icon to enter the password using the virtual keyboard.
- Click
- In the Re-enter Password field, re-enter the password.
- Click
 icon to re-enter the password using the virtual keyboard.
- Click
- To accept the terms and conditions, select the check box.
- Click Sign Up.
- Click Cancel to end the registration process.
- The success message appears. A mail is sent to the user’s email ID containing his login user name and password.
- Click Login to start using online banking.
Parent topic: Channel On-boarding


