4 First Time Login
This topic describes the systematic instruction to Login details for the first time.
When a new user logs into the application for the first time with the user name and password provided by bank, there are certain tasks that he/she needs to fulfill before being able to access the online services of the bank. These steps are configured by Bank and can include accepting Terms and Conditions, Setting up Security Question, My profile and limit information.
Note:
Each step will either have Next or Skip button basis on the configuration done by Bank Administrator.
Prerequisites:
- The bank administrator has enabled the First time login steps for Retail users.
To log in to the application:
- From the Portal page, click Login.
- Open an internet browser to access the application.
- Type the Oracle Banking Digital Experience URL in the Address bar, and press
Enter. The Portal page appears.
- Click Login. The Login screen appears.
Note:
The fields which are marked as Required are mandatory.For more information on fields, refer to the field description table.
Table 4-1 Login Page - Field Description
Field Name Description Username Enter your login user name. Password Enter your login password. - In the Username field, enter the user ID.
- In the Password field, enter the password.
Note:
- Click inside the field, the Virtual Keyboard link appears. Click on the link to use virtual keyboard to enter the Username/Password.
- The characters typed in the Password field appear masked (••••••) for security reasons.
- Click Login.The next configured screen appears.
Note:
Force Change password is not a part of First Time Login flow wizard, this screen will appear for every new user.The Force Change Password screen will only appear for users for whom the password is set by administrator and not for the users who have self-registered themselves.
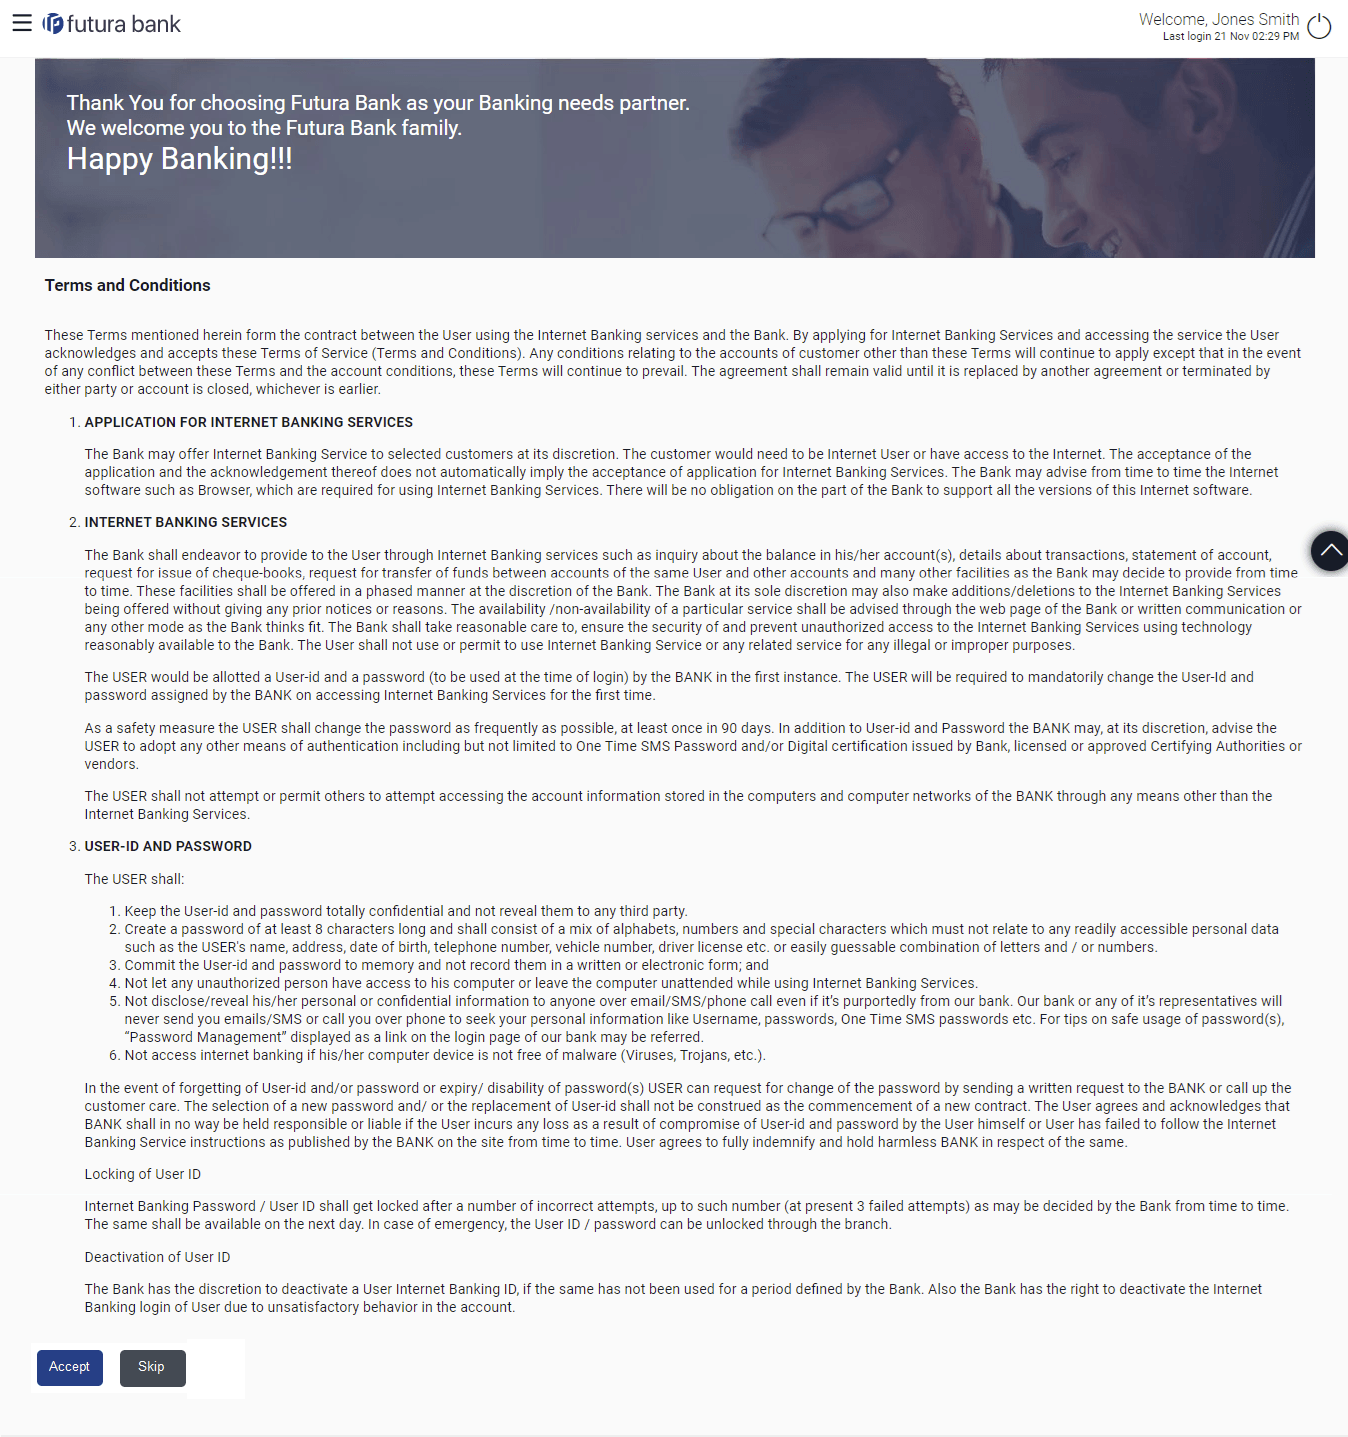
Figure 4-2 First Time Login - Terms and Condition
- Read the terms and conditions.
- Click Accept to accept the terms and Conditions. The next configured screen appears.
Note:
The fields which are marked as Required are mandatory.For more information on fields, refer to the field description table.
Table 4-2 Profile - Field Description
Field Name Description Personal Information Information specified in below fields are related to personal information. User Name Full name of the user gets displayed. Date of Birth Date of birth of the user gets displayed. Aadhar Card Number Aadhar number of the user, as maintained with the bank gets displayed. It is an identification number issued by government of India. Note: This identification type is applicable for India region. Bank can configure the identification types to be displayed and to be available for modification as per their region.
PAN Card Number PAN number of the user, as maintained with the bank gets displayed. It is issued by the income tax department of India. Note: This identification type is applicable for India region. Bank can configure the identification types to be displayed and to be available for modification as per their region.
Contact Information Information specified in below fields are related to contact information. Communication Address Address of the user, as maintained with the bank, will be displayed. Email ID Email ID of the user, as maintained with the bank, gets displayed in masked format. Fax Number Fax number of the user, as maintained with the bank, gets displayed in masked format. Phone Number Phone number of the user, as maintained with the bank, gets displayed in masked format. - Click
 icon against the field that you want to edit.
 - Click Next.
- The next configured screen appears.
-
Click
 icon to download the profile.
Note:
The fields which are marked as Required are mandatory.For more information on fields, refer to the field description table.
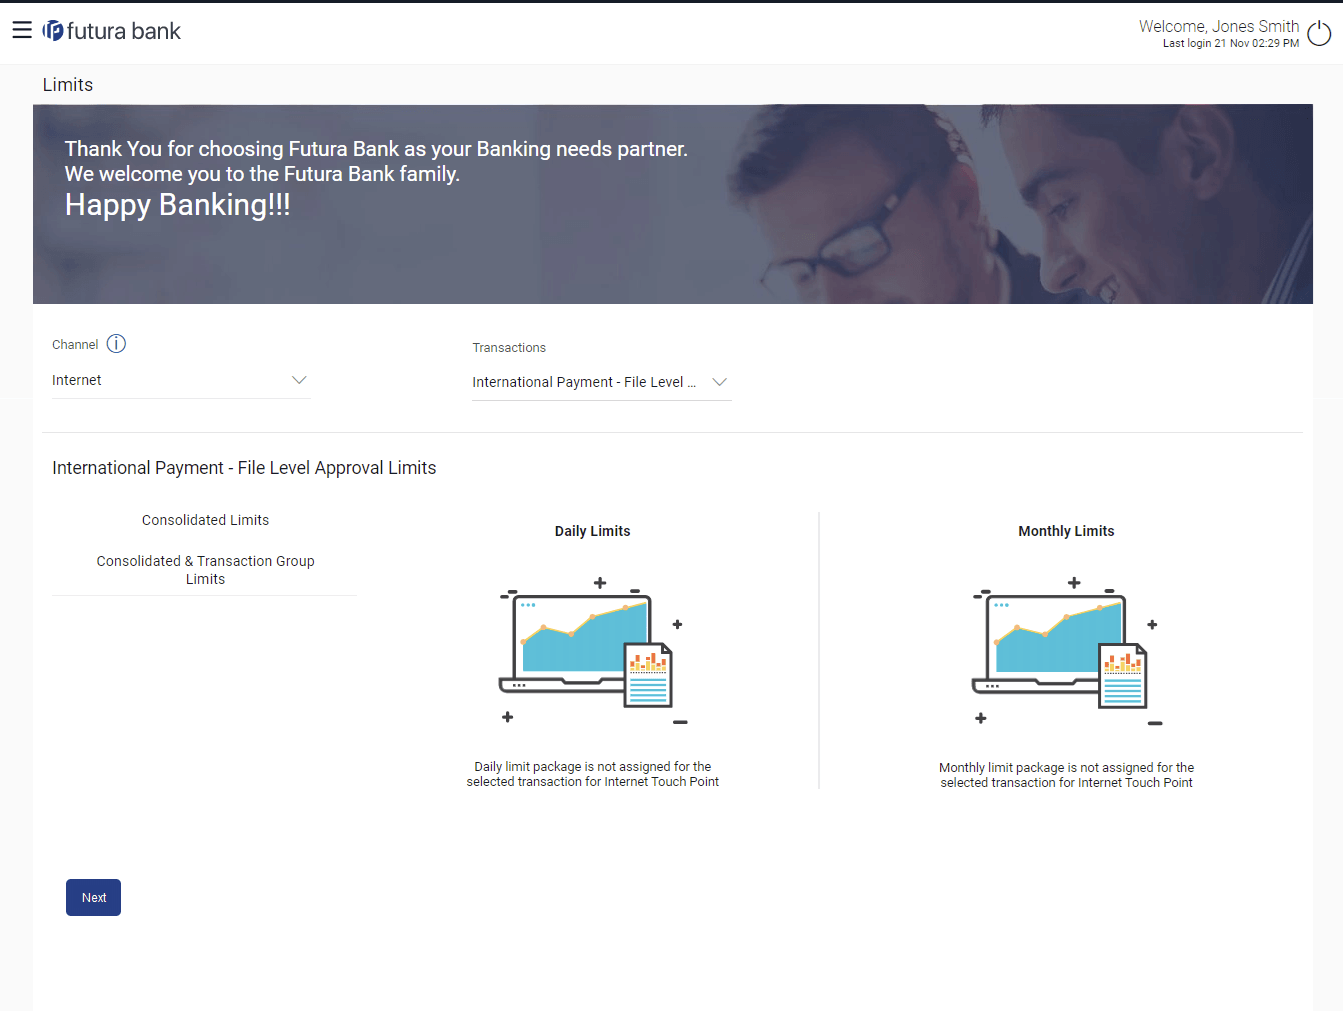
Table 4-3 Daily Limits - Field Description
Field Name Description Channel Select the channel for which user limits are to be displayed. Transactions Select the transaction for which user limits are to be displayed. Transaction Name The name of the transaction as selected in the above field is displayed. Min Amount The per transaction limit - minimum amount. Max Amount The per transaction limit - maximum amount. Transaction Limit - Daily Limits The daily amount limit and transaction count limit (available and utilized) of a transaction is displayed. This is also represented in a graph - with a (colored) utilized amount (numeric figure below it) and the available limit allocated by the Bank (numeric figure below it) and the total of utilized and available limits.
Transaction Limit - Monthly Limits The monthly amount limit and transaction count limit (available and utilized) of a transaction is displayed. This is also represented in a graph - with a (colored) utilized amount (numeric figure below it) and the available limit allocated by the Bank (numeric figure below it) and the total of utilized and available limits.
Transaction Group Limit - Daily Limits The daily amount limit and transaction count limit (available and utilized) of a transaction group is displayed. This is also represented in a graph - with a (colored) utilized amount (numeric figure below it) and the available limit allocated by the Bank (numeric figure below it) and the total of utilized and available limits.
Transaction Group Limit - Monthly Limits The monthly amount limit and transaction count limit (available and utilized) of a transaction group is displayed. This is also represented in a graph - with a (colored) utilized amount (numeric figure below it) and the available limit allocated by the Bank (numeric figure below it) and the total of utilized and available limits.
Channel Group Limit - Daily Limits The daily amount limit and transaction count limit (available and utilized) of a channel group is displayed. This is also represented in a graph - with a (colored) utilized amount (numeric figure below it) and the available limit allocated by the Bank (numeric figure below it) and the total of utilized and available limits.
Channel Group Limit - Monthly Limits The monthly amount limit and transaction count limit (available and utilized) of a channel group is displayed. This is represented in a graph - with a (colored) utilized amount (numeric figure below it) and the available limit allocated by the Bank (numeric figure below it) and the total of utilized and available limits.
Channel & Transaction Group Limit - Daily Limits The daily amount limit and transaction count limit (available and utilized) of a channel and transaction group is displayed. This is also represented in a graph - with a (colored) utilized amount (numeric figure below it) and the available limit allocated by the Bank (numeric figure below it) and the total of utilized and available limits.
Channel & Transaction Group Limit - Monthly Limits The monthly amount limit and transaction count limit (available and utilized) of a channel and transaction group is displayed. This is also represented in a graph - with a (colored) utilized amount (numeric figure below it) and the available limit allocated by the Bank (numeric figure below it) and the total of utilized and available limits.
- From the Channel list, select a channel to view applicable limits.
- From the Transactions list, select the transaction to view its limits.
- Click the Transaction Limits / Transaction Group Limit/ Channel Group Limit/ Channel & Transaction Group Limit tabs to view the specific daily and monthly amount and count limits applicable at each level.
- Perform anyone of the following actions:
- Click Next. The next configured screen appears.
- Click Edit to edit the limits.
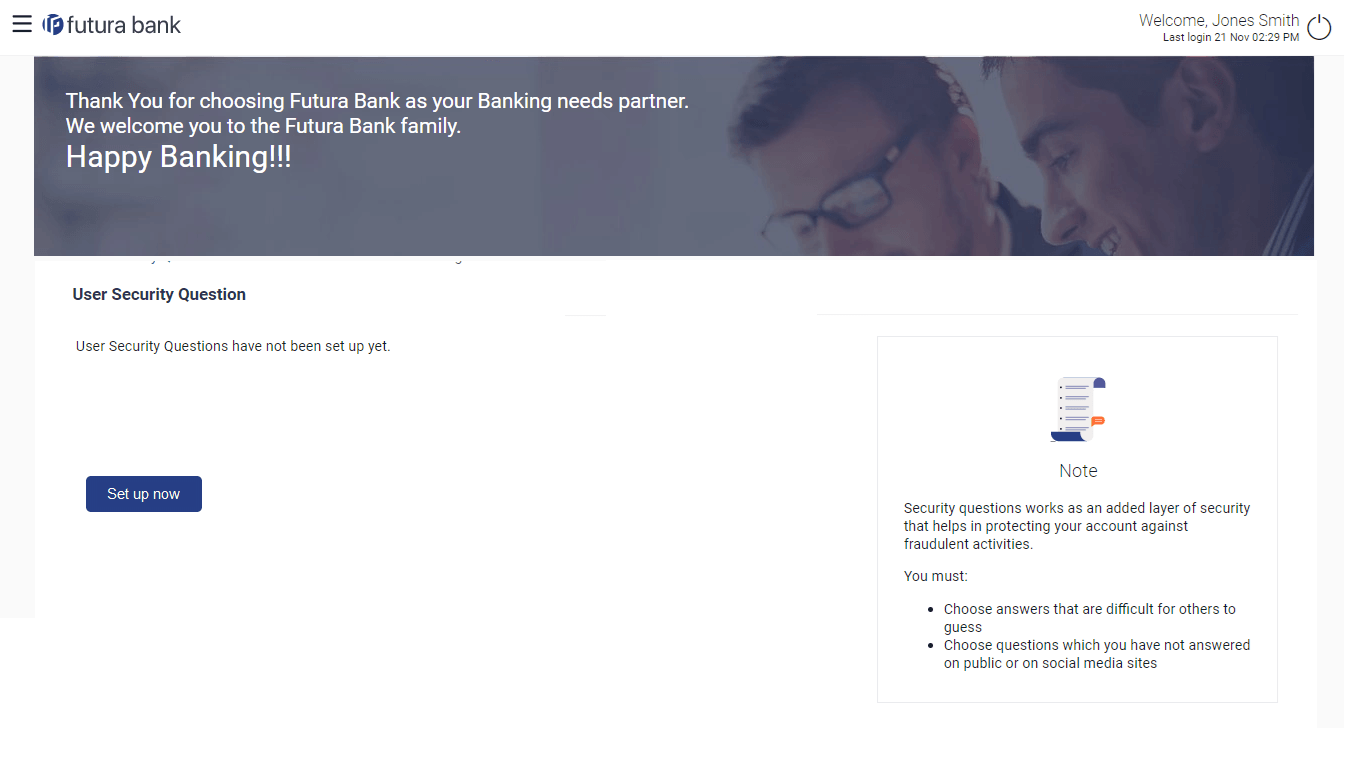
- Perform anyone of the following actions:
- Click Setup Now to setup security questions. The Set Security Questions screen appears.
- Click Skip to skip this step.
Note:
The fields which are marked as Required are mandatory.For more information on fields, refer to the field description table.
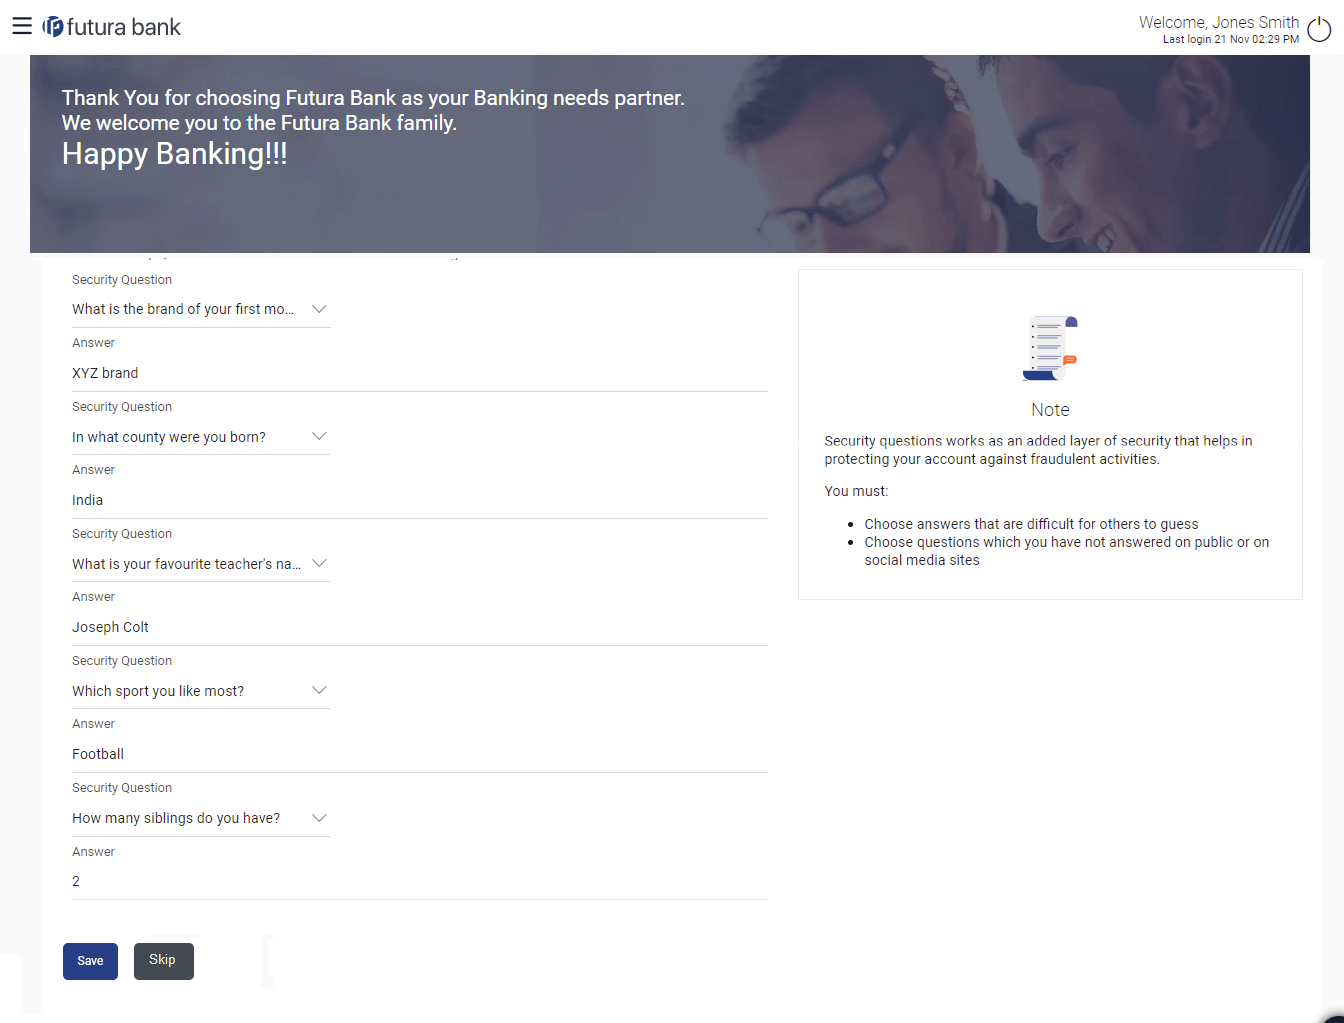
Table 4-4 Set Security Questions - Field Description
Field Name Description Security Questions Select a question to be assigned as a security question. The security questions will be numbered, e.g. Security Question 1, Security Question 2 and so on. The number of security questions and answers available will be dependent on the number configured by the bank administrator.
Answer Specify an answer for the selected security question. The fields in which you can specify answers to selected security questions will be displayed below each security question and will be numbered, e.g. Answer 1, Answer 2 and so on.
- From the Security Question list, select the security question to be added in your security question set.
- In the Answer field, enter an answer for the corresponding security question.
- Click Save to save the security questions. The user is directed to the Dashboard screen.


