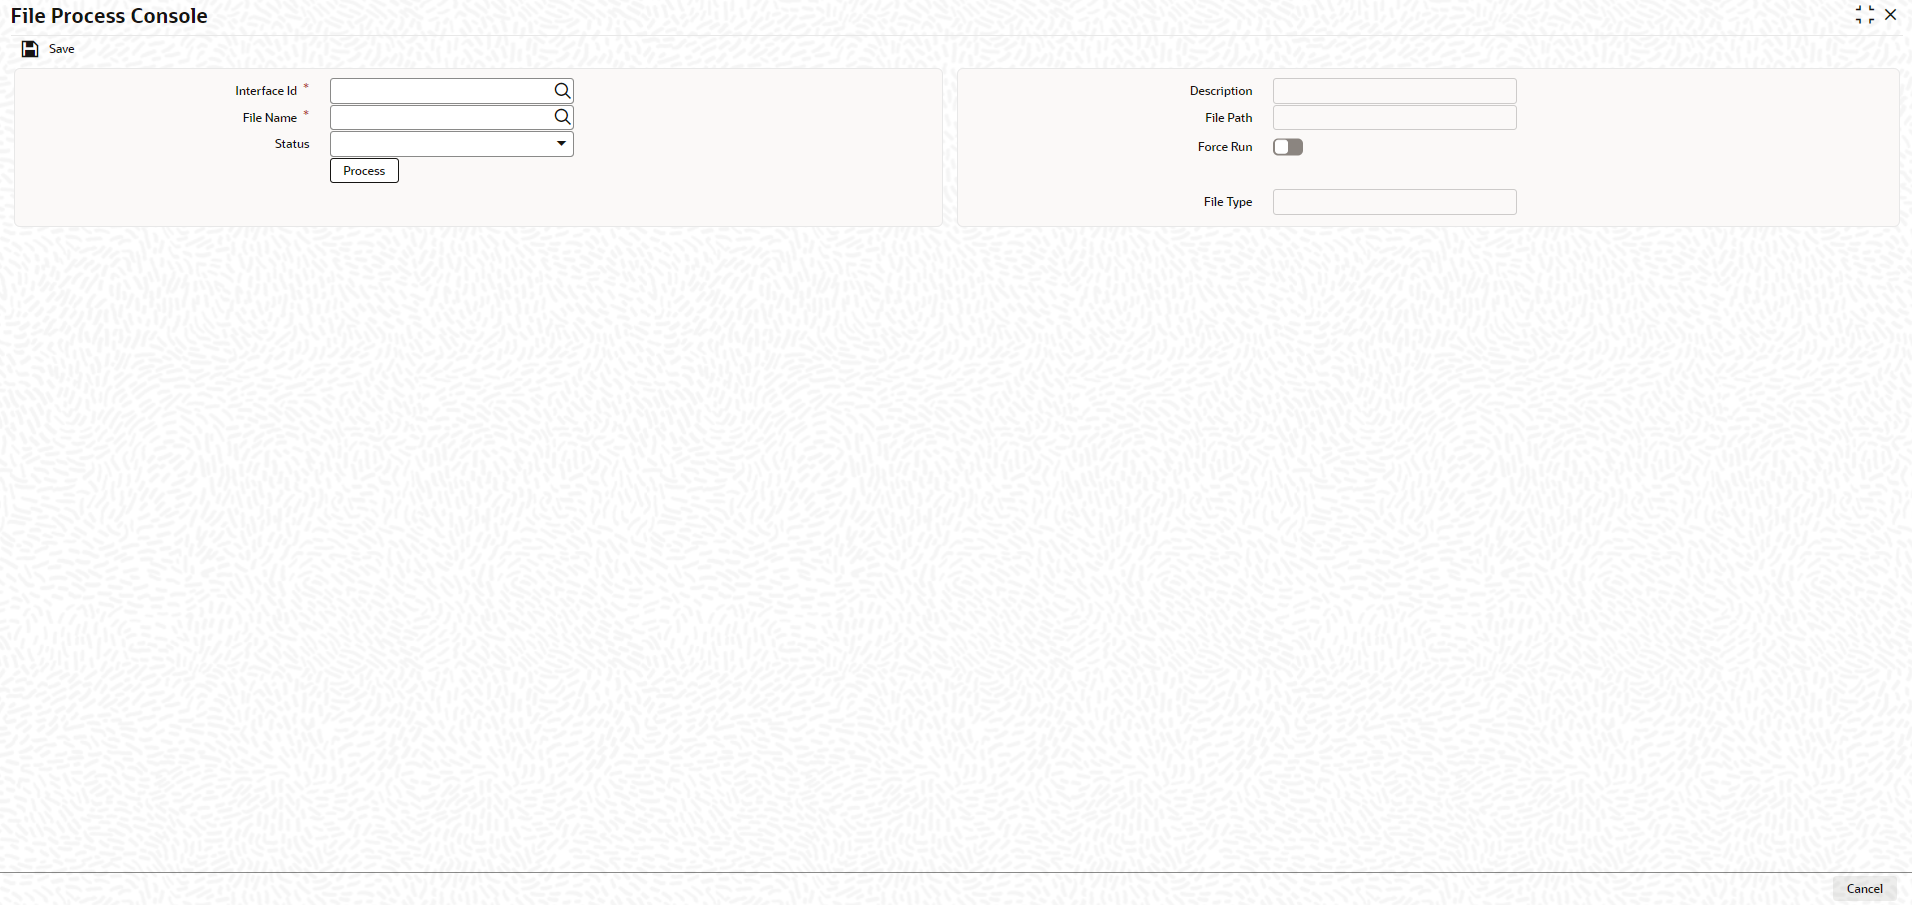
2.4 File Process Console

This topic describes about the instructions to trigger the file process.

The File Process Console allows to trigger file processing for interface files maintained in Interface Definition Maintenance screen. The file processing can be triggered for both the inbound and outbound files using this screen.

Note:

Static data must be inserted for field formats and function formats table. Refer below for sample inbound and outbound files.

Table 2-9 Sample Inbound and Outbound files - Field Description

Field Description
Liability Inbound Liability Inbound
Liability Outbound Liability Outbound

Note:

The fields, which are marked with an asterisk, are mandatory.
  1. On the Home screen, specify GEDINTDF in the text box and click the Next arrow icon.
    The File Process Console screen displays.

    Figure 2-9 File Process Console


  2. On File Process Console screen, click New and specify the fields.
    For more information on fields, refer to the field description table.

    Table 2-10 File Process Console - Field Description

    Field Description
    Interface Id Click the Search icon and select the interface ID from the list.
    Description Specify the description of the interface id specified.
    File Name Click the Search icon and select the file name from the list.
    File Path The system automatically populates the file path based on the maintained interface definition.
    Status Select the status from the drop-down list, if file type is inbound. The options are available:
    • File to upload - No processing happens in this stage, only upload happens. System reads from file and uploads into Upload table GETU_UPLOAD_DETAILS. The processing status will be U (Unprocessed).
    • Upload to Master - System reads records from Upload table with status U and processes the record (Status in GETU_UPLOAD_DETAILS table will become P/E)
    • Retry Error - When the records goes to E, user can retry by selecting Retry Error status and Force Run check box.
    • File to Master - This is a combination of File to Upload and Upload To Master options. The system reads from file, uploads to the upload table and then subsequently processes the record from the upload table.
    Force Run

    Switch to On to enable this parameter.

    Switch to off to disable this parameter.

    Process Click Process button to trigger file processing.
    File Type The system automatically populates the file type based on the maintained interface definition.

    Note:

    • For successful file processing, four folders (ready, wip, processed, and error) must be created in WINSCP. For example: /scratch/work_area/ELCM144/FileUpload
    • For inbound file type, files should be inside Ready folder
    • Processed files will be moved to Processed folder and error files will be moved to Error folder
    • Inbound file format can be viewed in GETB_FUNCTION_FORMAT / GETB_FIELD_FORMAT.
    • Outbound file format can be viewed in GETB_FUNCTION_FORMAT / GETB_FIELD_OUT_FORMAT
  3. Click Save to save the record.