1.18.1 Create IC Group Change

This topic describes the systematic instructions to create IC group change.

Specify User ID and Password, and login to Home screen.
  1. On Home Screen, click Interest and Charges. Under Interest and Charges , click IC Group Change.
  2. Under IC Group Change, click Create IC Group Change.
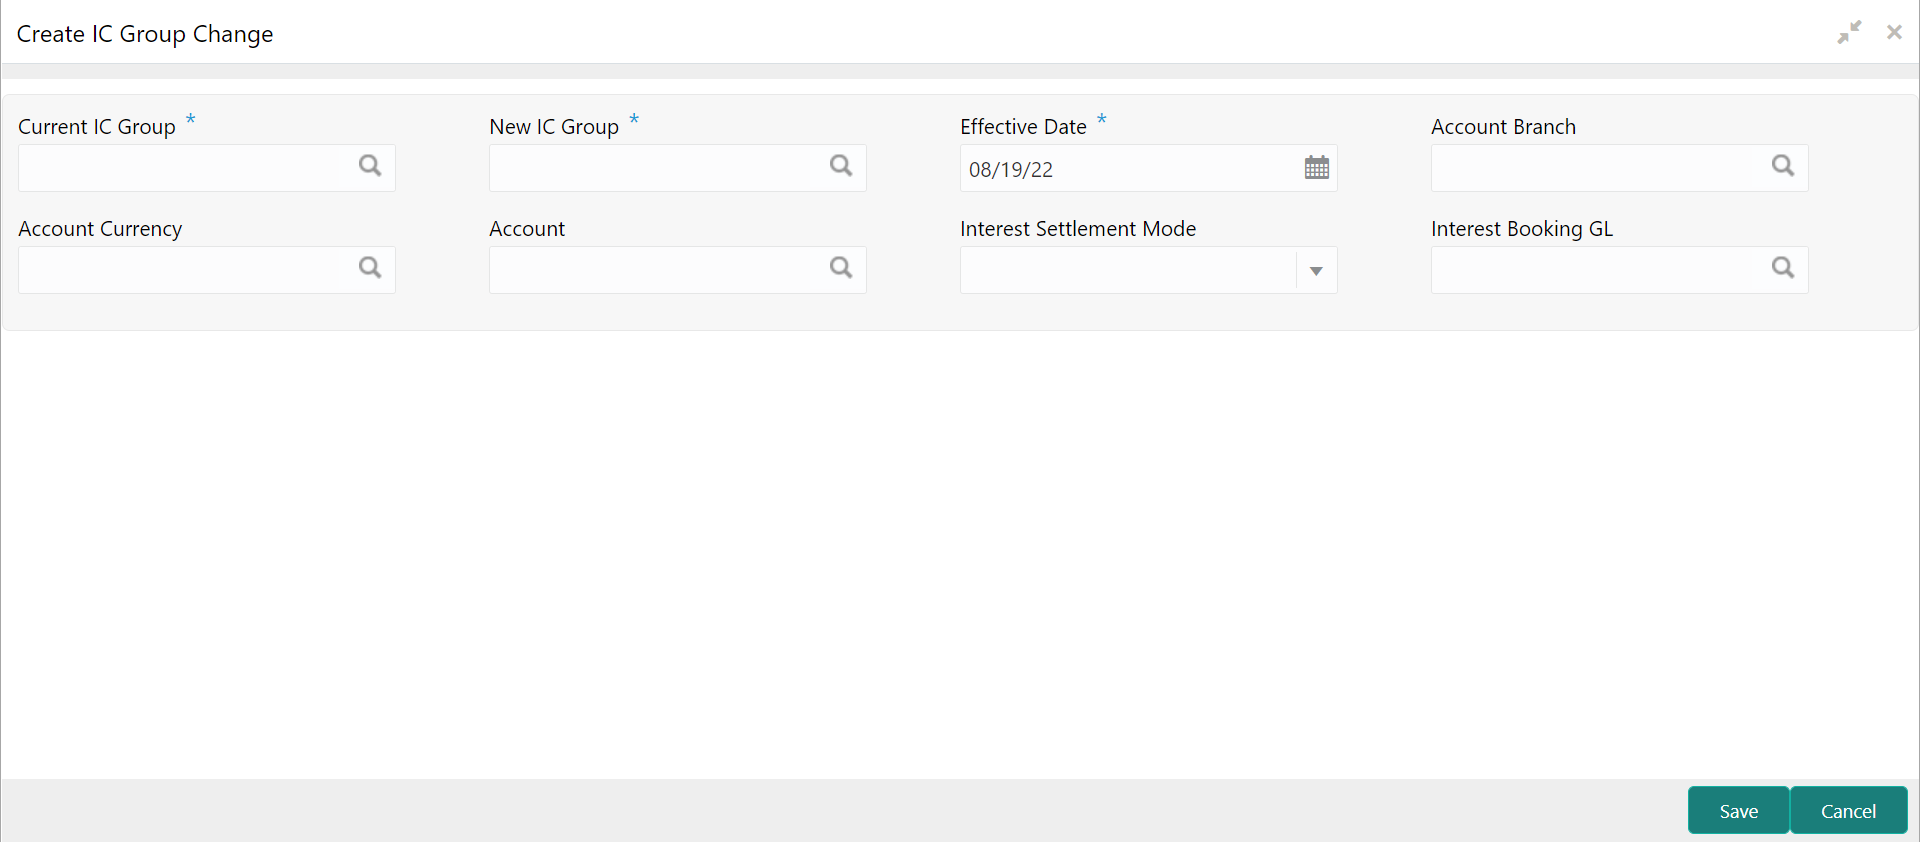
    The Create IC Group Change screen displays.

    Figure 1-36 Create IC Group Change


  3. Specify the fields on Create IC Group Change screen.

    Note:

    The fields, which are marked with an asterisk, are mandatory.

    For more information on fields, refer to the field description table.

    Table 1-37 Create IC Group Change - Field Description

    Field Description
    Current IC Group Specify the current IC group.
    New IC Group Specify the new IC group.
    Effective Date Specift the effective date for the IC group change.
    Account Branch Specify the account branch.
    Account Currency Specify the account currency.
    Account Specify the account.
    Interest Settlement Mode Select the interest settlement mode from the drop-down list. The list contains the following values:
    • Reverse Till Date Accruals
    • Liquidate to Book Account
    • Liquidate to Different Account
    • Liquidate to GL
    Interest Booking GL Click the Search icon and select the interest booking GL.
  4. Click Save to save the details.
The user can view the configured IC group changes using View IC Group Change screen.