- User Guide
- Maintenance for Liquidity Management
- Customer Parameters
- Create Customer Parameters
5.9.1 Create Customer Parameters
This topic describes the systematic instructions to configure the customer parameters.
Specify User ID and Password, and login to Home screen.
- On Home screen, click Oracle Banking Liquidity Management System. Under Oracle Banking Liquidity Management System, click Maintenance.
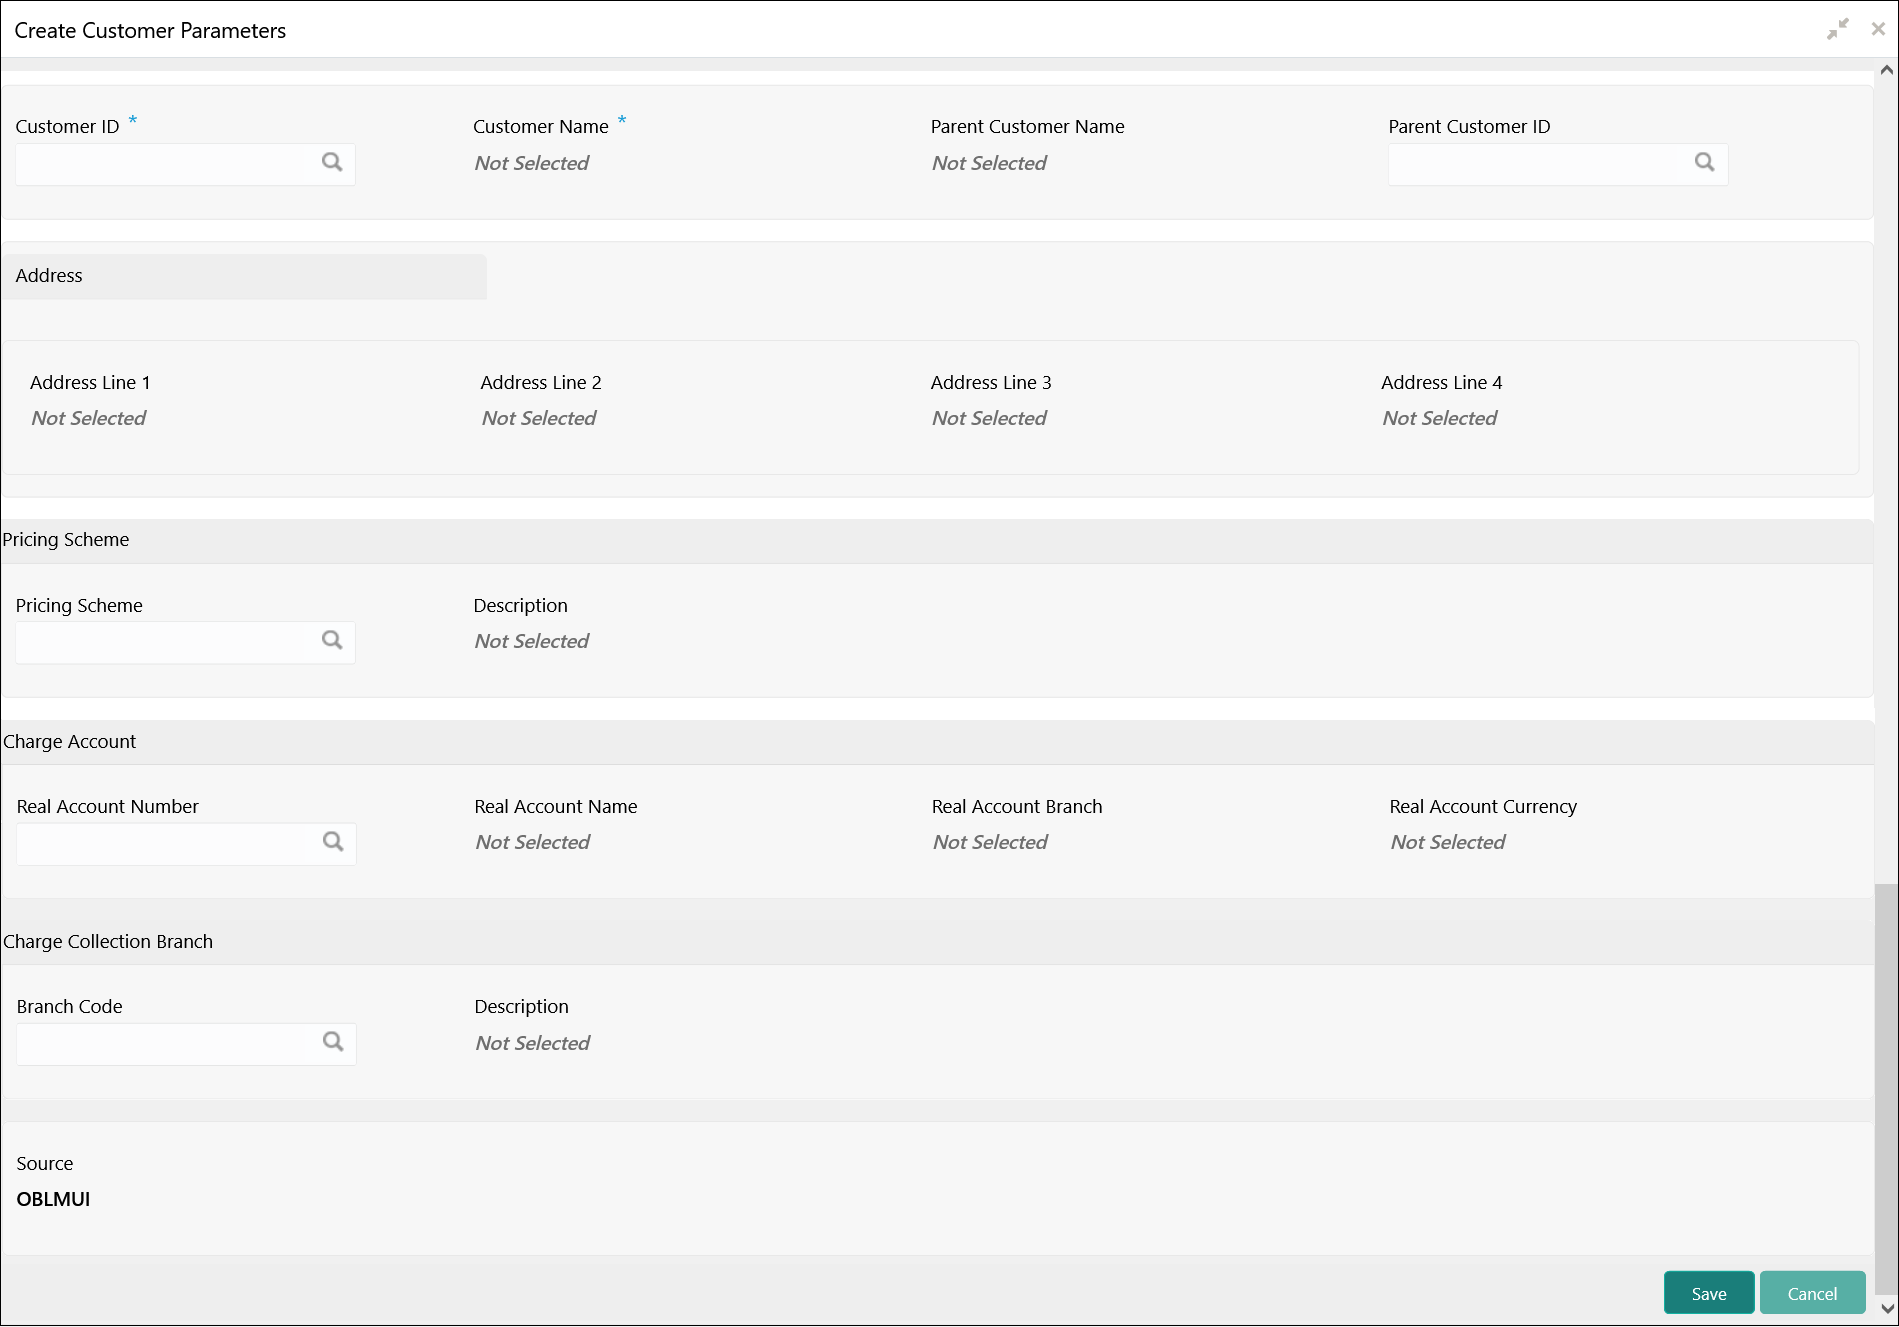
- Under Maintenance, click Customer Parameters. Under Customer Parameters, click Create Customer Parameters.The Create Customer Parameters screen displays.
- Specify the fields on Create Customer Parameters screen.For more information on fields, refer to the field description table.
Note:
The fields, which are marked with an asterisk, are mandatory.Table 5-18 Create Customer Parameters – Field Description
Field Description Customer ID Click Search to view and select the customer ID (LOV details come from Common Core). Customer Name Displays the customer name based on the customer ID selected. Parent Customer ID Click Search to view and select the parent customer of the new customer. Parent Customer Name Displays the parent customer name based on the parent customer ID selected. Address Line 1 - 4 Displays the address of the customer. Pricing Scheme Click Search to view and select the required pricing scheme. Description Displays the description of pricing scheme based on the selection. Real Account Number Click Search to view and select the required real account number to collect the charges. Real Account Number Displays the real account branch based on the Real Account Number selected. Real Account Currency Displays the real account currency based on the Real Account Number selected. Real Account Name Displays the real account name based on the Real Account Number selected. Branch Code Displays the real account name based on the Real Account Number selected. Description Displays the branch description based on the Branch Code selected. Source Displays the source defaulted from common core. Note:
Added Customer must be authorized by different user which has the authorization role assigned. - Click Save to save the details.
Parent topic: Customer Parameters
