10 Launch Oracle Banking Origination from FLEXCUBE Universal Banking
This topic provides information on setting up database related configuration for the installation Oracle Banking Origination.
It is recommended to create different schema for each application. Below setup is designed to work with separate schema for each application.
To launch Oracle Banking Origination from FLEXCUBE Universal Banking:
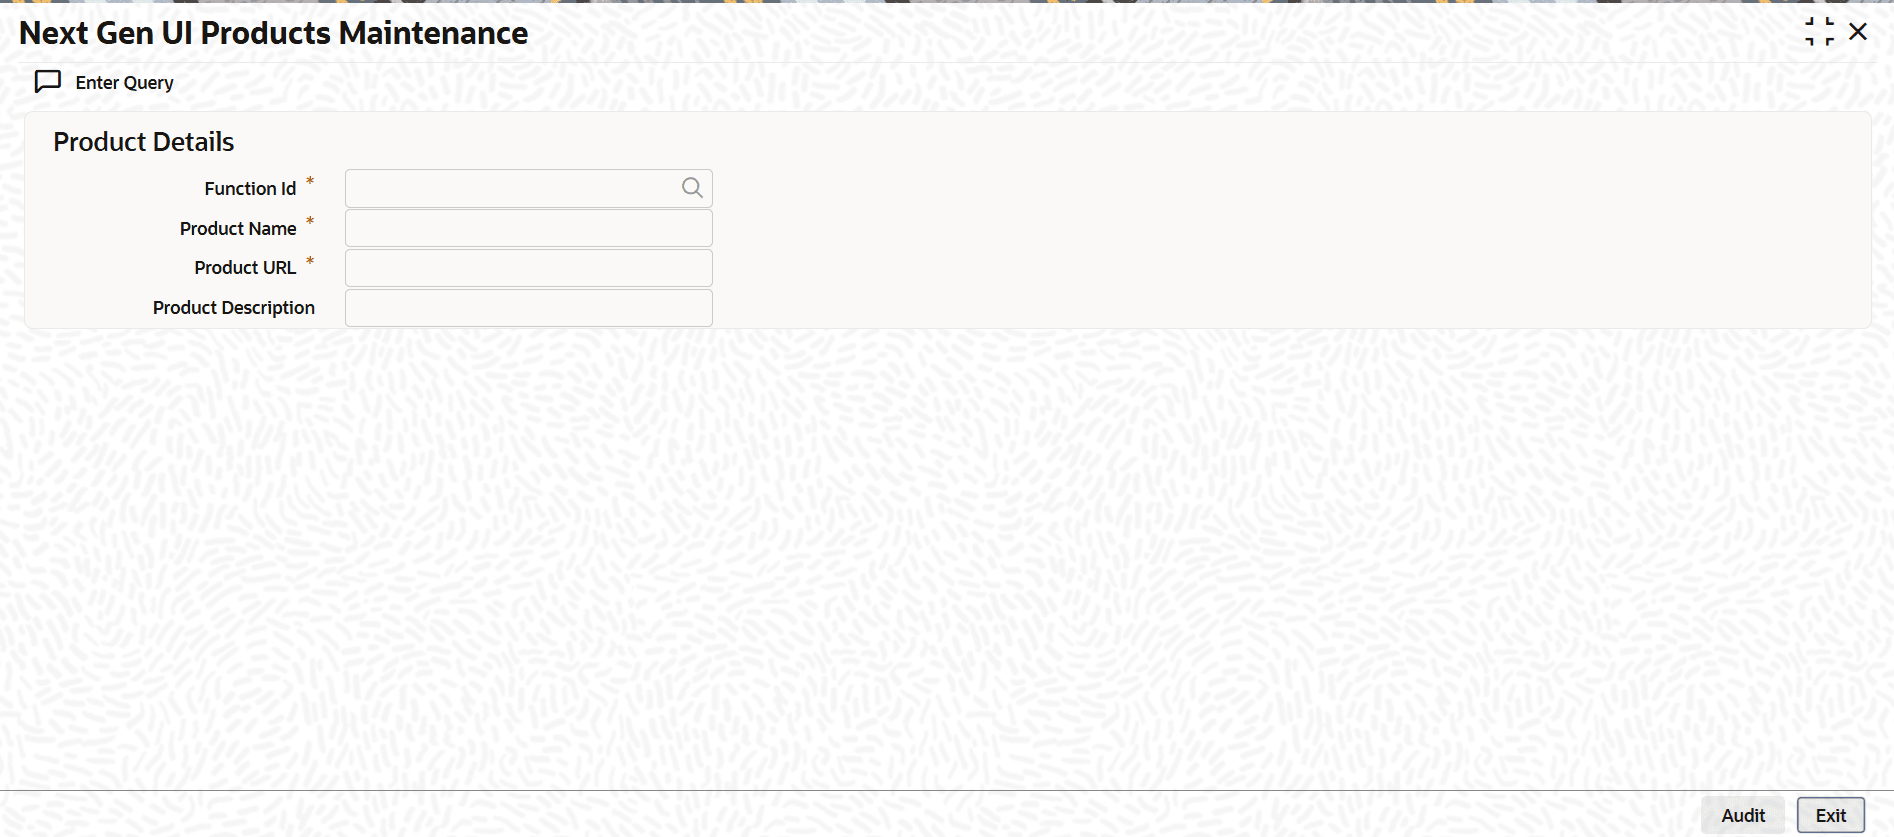
- On the Homepage, specify CSDNGUIM in the text box, and click the next arrow.
Note:
Make sure that the user has roles for the screen.The Next Gen UI Products Maintenance screen is displayed.Figure 10-1 Next Gen UI Products Maintenance
- On the Next Gen UI Products Maintenance screen, and update the Oracle Banking Microservices Architecture Product URL.
Note:
For more information on the screen, refer to the FLEXCUBE Universal Banking Documentation Library.A new Function ID NGTELLER is released as static data.
- Make sure that the user roles are maintained for the new Function ID.
- Once the roles are maintained, click Next Gen UI on the toolbar.
The Next Gen UI Dashboard displayed with the list of products.
- Click OFLO product.
The Oracle Banking Microservices Architecture Teller Dashboard appears.
Note:
Make sure the same User ID is maintained for the Oracle Banking Origination product and it has the necessary roles. - Configure Oracle Banking Microservices Architecture as follows:
- Update the
SECURITY_CONFIGtable in thePLATO_SECURITYschema.For information on the entries, refer to the table below:
Table 10-1 Security Configuration
Key Value INTEGRATION_ENABLEDTrueINTEGRATION_CALLBACK_URLhttps://FCUBShostname:FCUBSport/FCJNeoWeb/ValidationService/FCNonceValidation/validate - Update the hostname and port number of FLEXCUBE Universal Banking in the integration callback URL.
- Update the
