5 Configure Weblogic Console
This topic provides the systematic instructions to configure the WebLogic Console.
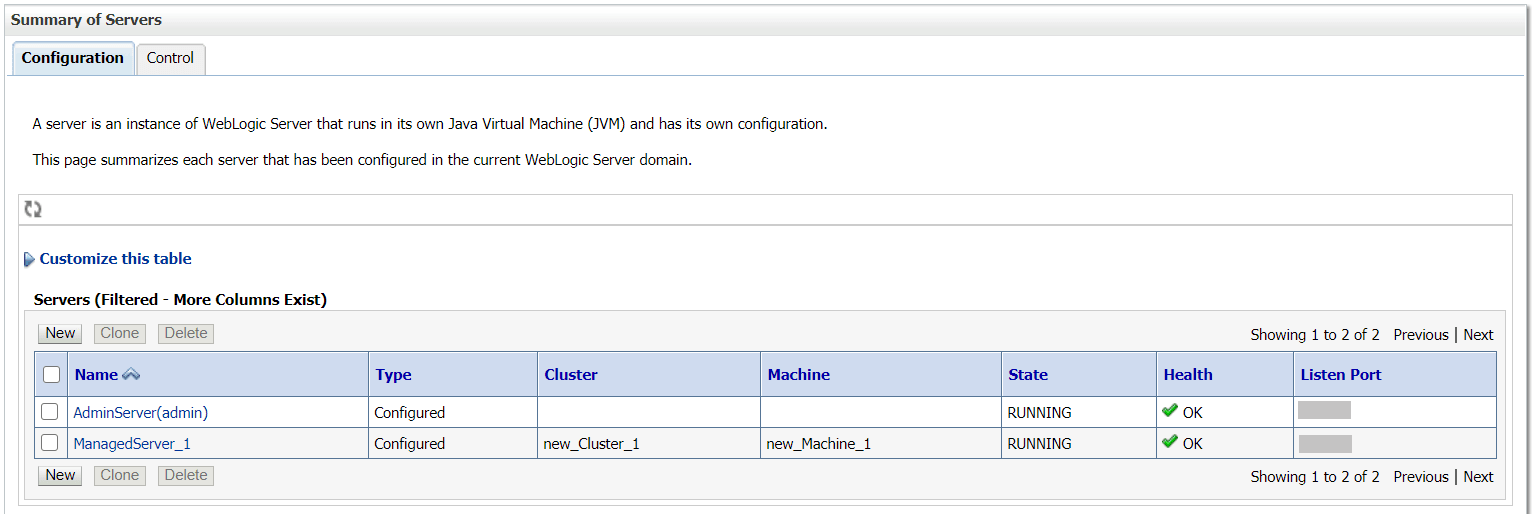
- Select Admin Server to enable SSL options.
- Do the below steps in the General tab:
- Select SSL Listen Port Enabled, Client Cert Proxy Enabled, and Weblogic Plug-In Enabled.
- Click Save.
- Select SSL Listen Port Enabled, Client Cert Proxy Enabled, and Weblogic Plug-In Enabled.
- Do the below steps in the Keystores tab:
- In the Keystores tab, specify the details. For more information on fields, refer to the field description table.
Table 5-1 Keystores - Field Description
Field Description - Custom Identity Keystore
- Custom Trust Keystore
Specify the value as same as the Keystore Name created in the above steps with full path.
- Custom Identity Keystore Type
- Custom Trust Keystore Type
Specify the value as jks.
- Custom Identity Keystore Passphrase
- Confirm Custom Identity Keystore Passphrase
- Custom Trust Keystore Passphrase
- Confirm Custom Trust Keystore Passphrase
Specify the value as same as the Store Password entered in the above steps.
- Click Save.
- In the Keystores tab, specify the details.
- Do the below steps in the SSL tab:
- In the SSL tab, specify the details.
For more information on fields, refer to the field description table.
Table 5-2 SSL - Field Description
Field Description Private Key Alias
Specify the value as same as the alias name entered in the above steps.
- Private Key Passphrase
- Confirm Private Key Passphrase
Specify the value as same as the Private Key Password entered in the above steps.
Hostname Verification
Change the value to None.
- Click Save.
- In the SSL tab, specify the details.
- Repeat the steps (1) and (4) for all the managed servers.
The admin server and managed servers are SSL enabled.
- Restart all the servers.


