1.8.1 Add and Delete Rows

This topic describes the systematic instruction to add and delete rows.

The Add row and Delete row icons are used when you have to enter or fill up rows of data in a screen. Let us take the example of the Treasury Customer Additional Details Maintenance screen, you can launch this screen by entering STDTRCIF in the text box and click the Next arrow.
  1. On the Treasury Customer Additional Details Maintenance screen, click the CLS Restrictions tab in the bottom of the screen.
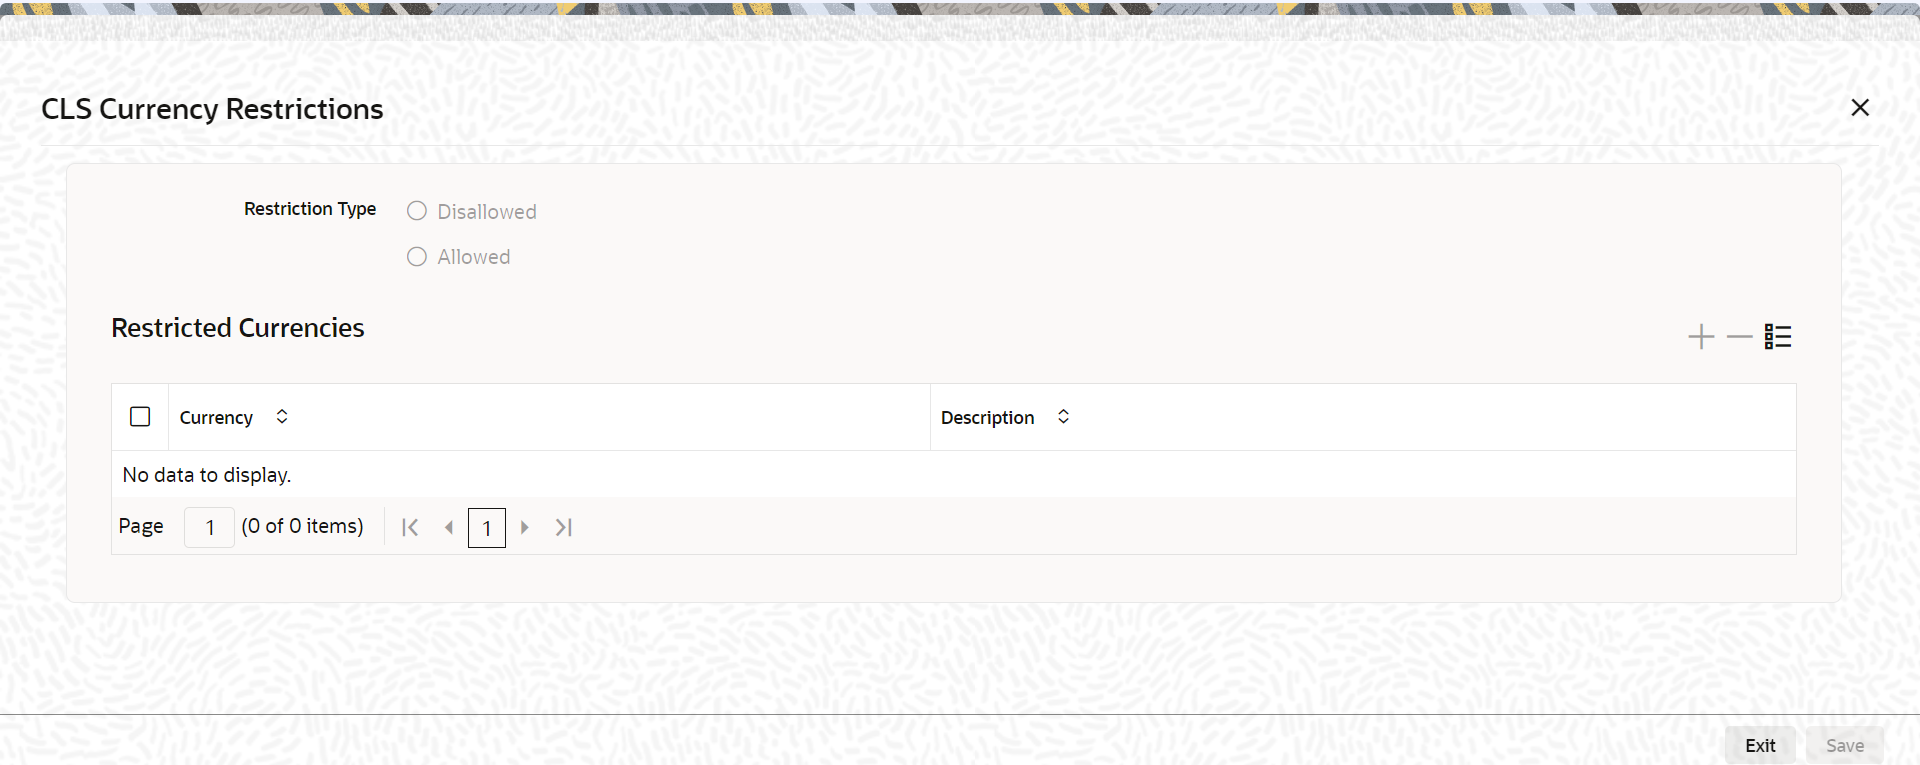
    The CLS Currency Restrictions screen displays.

    Figure 1-16 CLS Currency Restrictions

    Description of Figure 1-16 follows
    Description of "Figure 1-16 CLS Currency Restrictions"
  2. Add various clause codes to the Document code. To do this, you will first choose the Clause code from the option list. Both Clause code and description will get populated.
    Now the first row is completed.
  3. Click add icon to save the data in the first row and take you to the next row.
  4. Suppose you realize that you have allotted the wrong group ID and you do not want to save the data in the first row. Click delete icon. The data will not be saved in the row and you can fill it with the correct data.