4.2 View Branch Groups

This topic describes the systematic instructions to view the configured branch groups and can accordingly map branches to specific groups.

The user can configure a Branch Groups using the Create Branch Groups.

Specify User ID and Password, and login to Home screen.
  1. On Home screen, click Virtual Account Management. Under Virtual Account Management, click Configuration.
  2. Under Configuration, click Branch Groups. Under Branch Groups, click View Branch Groups.
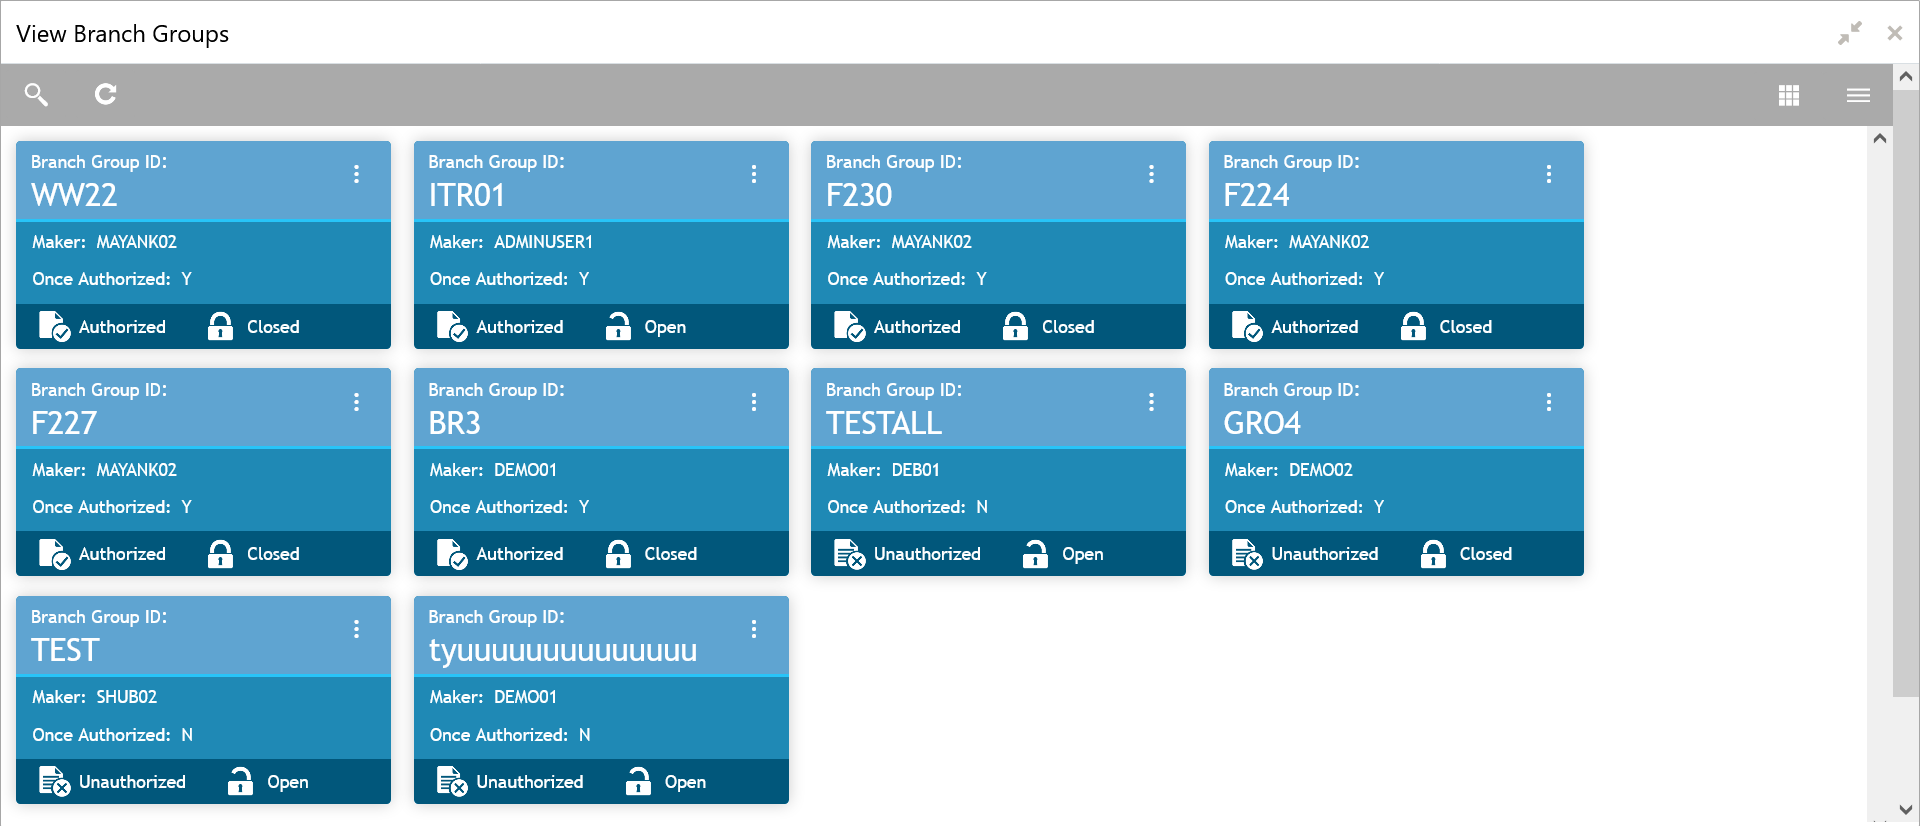
    The View Branch Groups screen displays.
    For more information on fields, refer to the field description table.

    Table 4-2 View Branch Groups – Field Description

    Field Description
    Branch Group ID Displays the branch group ID.
    Maker Displays the Maker name.
    Description Displays the description of the branch group.
    Authorization Status Displays the authorization status of the report.
    The options are:
    • Authorized
    • Unauthorized
    Record Status Displays the record status of the report.
    The options are:
    • Open
    • Closed
  3. For a specific branch group, click View Branches to view the list of linked branches.
    The View Branches Popup screen displays.
    For more information on fields, refer to the field description table.

    Table 4-3 View Branches Popup – Field Description

    Field Description
    Branch Group ID Displays the branch group ID.
    Description Displays the branch group description.
    Branch Code Displays the linked branch code.
    Branch Name Displays the linked branch name.