1.1 Set up RestService REST EJB Application
This topic explains the steps involved in setting up Blockchain Adapter WAR.
- Double-click FCUBSInstaller.bat batch file to start
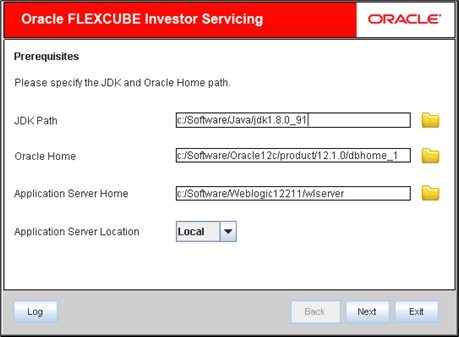
Oracle FLEXCUBE Universal Installer.The Oracle FLEXCUBE Universal Installer screen is displayed.
Figure 1-1 Oracle FLEXCUBE Universal Installer
- On Oracle FLEXCUBE Universal Installer screen, enter the
following details.Refer to the table for JDK and Oracle Home path.
Table 1-1 JDK and Oracle Home path
Field Description JDK Path Provide Home folder path of JDK1.8.
Oracle Home Provide home folder path of Oracle Client or Database.
Application Server Home Provide home folder path of Application Server.
Note: In case any of the selected directories is incorrect, the Installer will display an appropriate error message. In that case, you need to correct the directory path and proceed.
Application Server Location Select location of the application server either as local or remote.
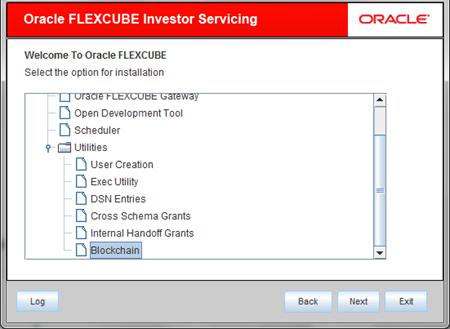
- Click Next to select the utility option for installation.
- Select Blockchain from the lists of
Utilities option.The options available for installation are displayed.
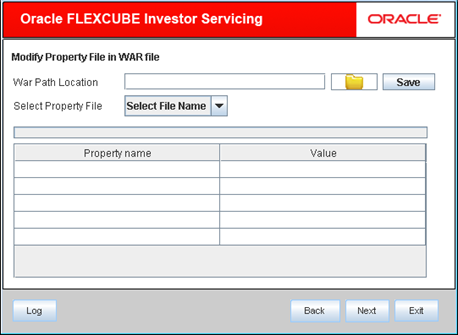
- Click Next to modify property file in WAR file.The following screen is displayed.
Figure 1-3 Modify Property file in WAR file_WAR Path Location
- Select the Blockchain Adapter WAR file in the WAR Path Location for modifying the properties and Configuration XMLs.
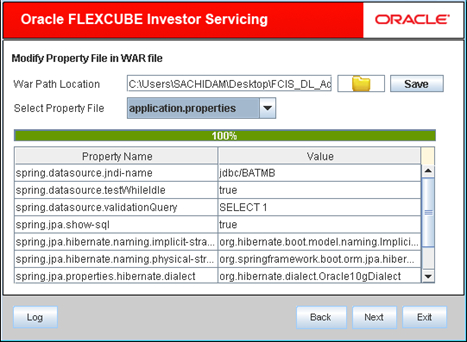
- Select the application.properties to modify the JNDI
name for the respective LOB schema.The following screen is displayed.
Figure 1-4 Modify Property file in WAR file_Select Property File
- Click Save to commit the changes.No other property file requires changes.
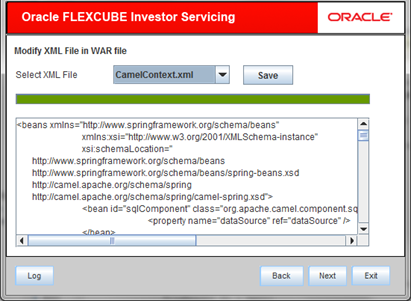
- Click Next to modify XML file in WAR file.The following screen is displayed.
Figure 1-5 Modify XML file in WAR file_Select XML File
- Select CamelContext.xml file in the Select
XML File to modify the configuration.Update Distributed Ledger Client URI as to uri in P2, P4, P6 route ids.
- Click Save to commit the changes.No other configuration XML requires changes.
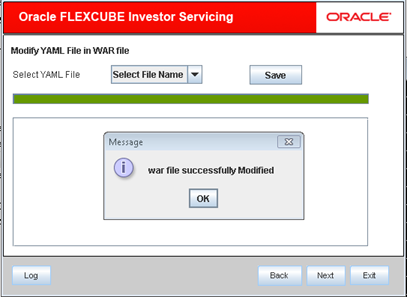
- Click Next to modify YAML file in WAR file.The following screen is displayed if there are no YAML files to modify and the WAR file is ready for the deployment.
Figure 1-6 Modify YAML file in WAR file_Select YAML File
Parent topic: Blockchain Utility
