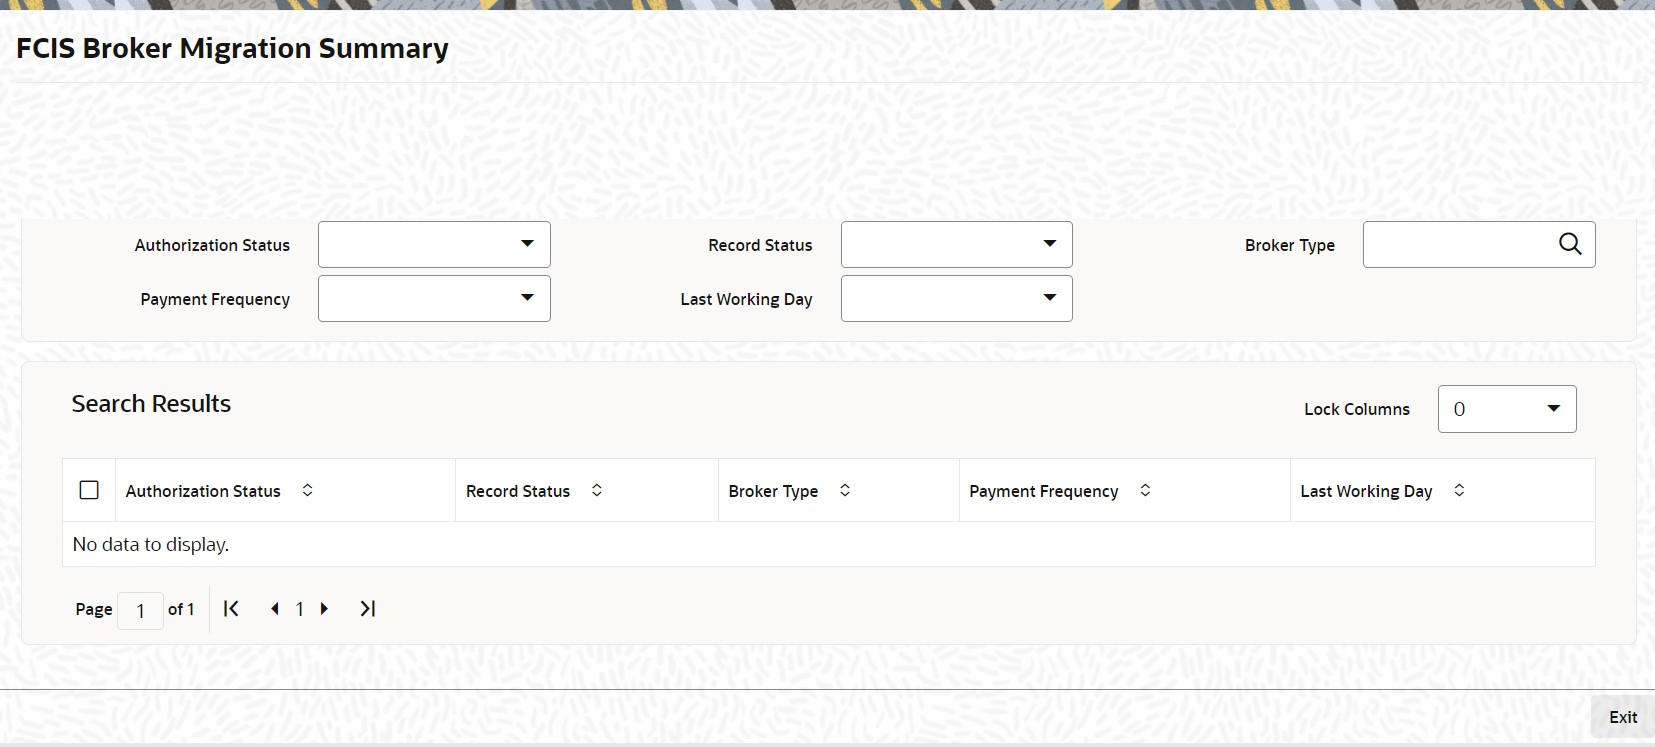
4.9 FCIS Broker Migration Summary

This topic provides the systematic instructions to perform the basic operations on the selected records.

Retrieve Broker Migration

  1. On Home screen, type UTSBRMIG in the text box, and click Next.
    The FCIS Broker Migration Summary screen is displayed.

    Figure 4-16 FCIS Broker Migration Summary


  2. On FCIS Broker Migration Summary screen, specify any or all of the following details in the corresponding fields:
    • Authorization Status - If you choose the status, then the records matching the specified status are retrieved. If you do not choose any option, then all the records are retrieved.
    • Record Status
    • Source Broker ID
    • Destination Broker ID
    • Effective Date
  3. Click Search button to view the records.
    All the records with the specified details are retrieved and displayed in the lower portion of the screen.

    Note:

    You can also retrieve the individual record detail from the detail screen by querying in the following manner:
    • Press F7
    • Input the Source Broker ID
    • Press F8
  4. Perform Edit, Delete, Amend, Authorize, Reverse, and Confirm operations by selecting the desired operation from the Action list. You can also search a record by using a combination of % and alphanumeric value.
    You can search the record for Source Broker ID by using the combination of % and alphanumeric value as follows:
    • Search by A%: System will fetch all the records whose Source Broker ID starts from Alphabet ‘A’. For Example: AGC17, AGVO6, AGC74 and so forth.
    • Search by %7: System will fetch all the records whose Source Broker ID ends by numeric value’ 7’. For Example: AGC17, GSD267, AGC77 and so forth.
    • Search by %17%: System will fetch all the records whose Source Broker ID contains the numeric value 17. For Example: GSD217, GSD172, AGC17 and so forth.