1.1 Set Up Gateway EJB Application
This topic explains the methods of setting up Gateway EJB Application.
gw_ejb_logger.propertiesGW_EJB_Prop.properties
Refer to the topic Gateway EJB Application in Gateway Property File Creation.
Build EAR File
Follow the steps given below to build EAR file for Gateway EJB Application:
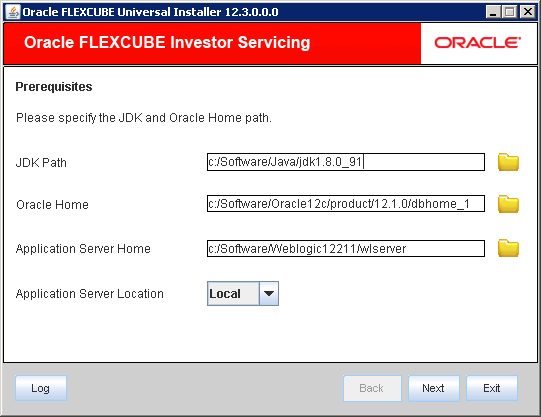
- Start Oracle FLEXCUBE Universal Installer.The Oracle FLEXCUBE Universal Installer is displayed.
Figure 1-1 Oracle FLEXCUBE Universal Installer
- On Oracle FLEXCUBE Universal Installer screen, enter the
following details.Refer to the table for JDK and Oracle Home path.
Table 1-1 JDK and Oracle Home path
Field Description JDK Path Provide Home folder path of JDK1.8.
Oracle Home Provide home folder path of Oracle Client or Database.
Application Server Home Provide home folder path of Application Server.
Application Server Location Select location of the application server either local or remote.
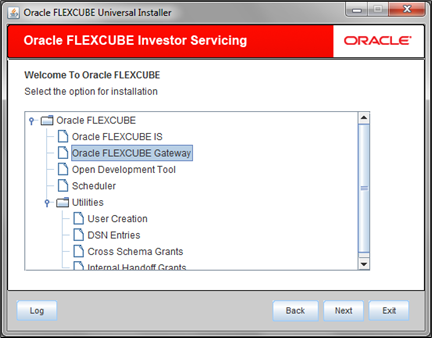
- Click Next to select the option for installation.
- Select Oracle FLEXCUBE Gateway from the lists of
Oracle FLEXCUBE options.The available options for installation are displayed.
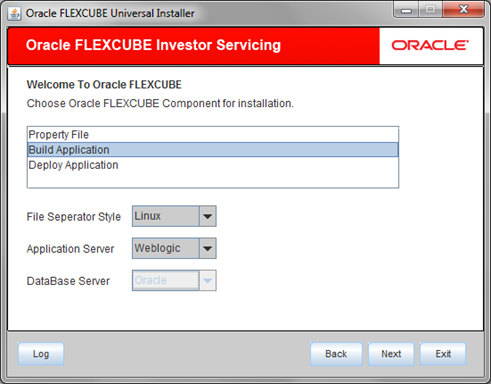
- Click Next to choose Oracle FLEXCUBE component for installation.
- Select Build Application.
- Specify the type of file separator (Eg: Linux or Windows). Choose the appropriate one from the drop-down list. You also need to specify the version of the selected operating system.
- Specify the application server in which you are creating the property file. Choose the appropriate one from the drop-down list.
- Click Next to specify the Installation
Type.The following screen is displayed.
Figure 1-4 Installation Type and Schema details
- Enter the source path in FC Home and specify the SMS
schema details.
Note:
This is the FC Home folder that needs to be set. Also, it should point to SMS schema. Those versions less than or equal to the current environment are allowed. - Click Test Connection to test the connection with the
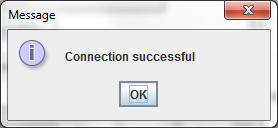
Application server.On successful connection, the following message is displayed.
Figure 1-5 Information Message on Successful Connection
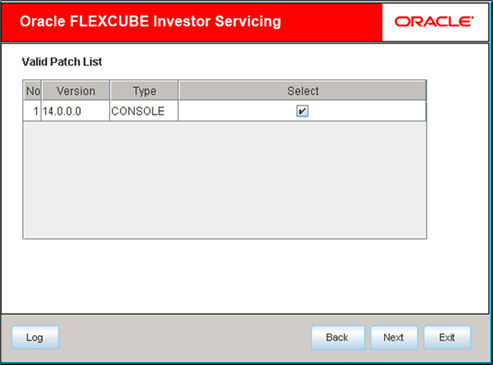
- Click Next to specify the patch list details.
- Click Next and select Gateway EJB
from the Gateway Application Type.The screen displays the selected Gateway Application Type.
Figure 1-7 Gateway Application Type_Gateway EJB
- Click Next.The following screen is displayed.
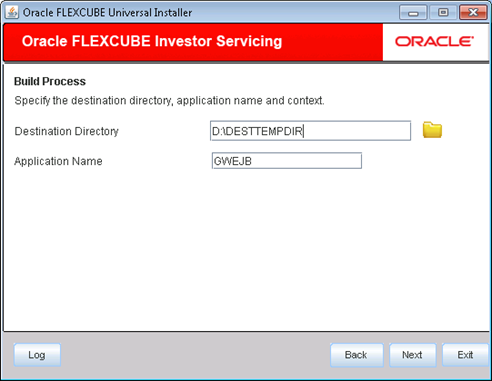
Figure 1-8 Destination Directory and Application Name_GWEJB
- On the Build Process screen, specify the following
details.Refer to the Build Process table.
Table 1-2 Build Process
Field Description Destination Directory Specify the location of the destination directory. The source files from the software will be copied to this location.
Eg: D:\Testing\source\dest
Application Name Specify the EAR name of the application.
The application name should not contain special characters and space. However, you may use
_(Underscore).The EJB reference name will be {APPLICATIONAME}_GW_EJB_Bean and the JNDI name will be {APPLICATIONAME}/ejb/GW_EJB_Bean.
For example, consider that the application name is GWEJB. In that case EJB and JNDI names will be as follows:- EJB reference name: GWEJB_GW_EJB_Bean
- JNDI name: GWEJB/ejb/GW_EJB_Bean
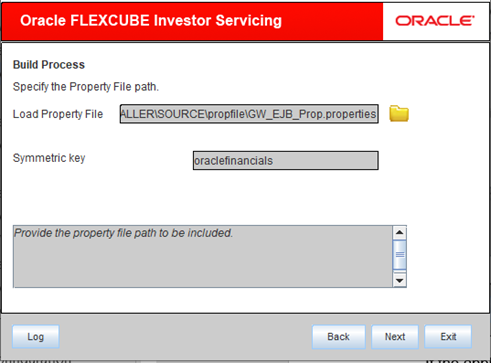
- Specify the Property File path.Refer to the details of Property File table.
Table 1-3 Property File
Field Description Load Property File Specify the exact property file by clicking the folder icon to modify an existing property file.
Note: Do not load the
Logger.properties file. The installer will load that file automatically based on the property file.Symmetric Key Specify the symmetric key details.
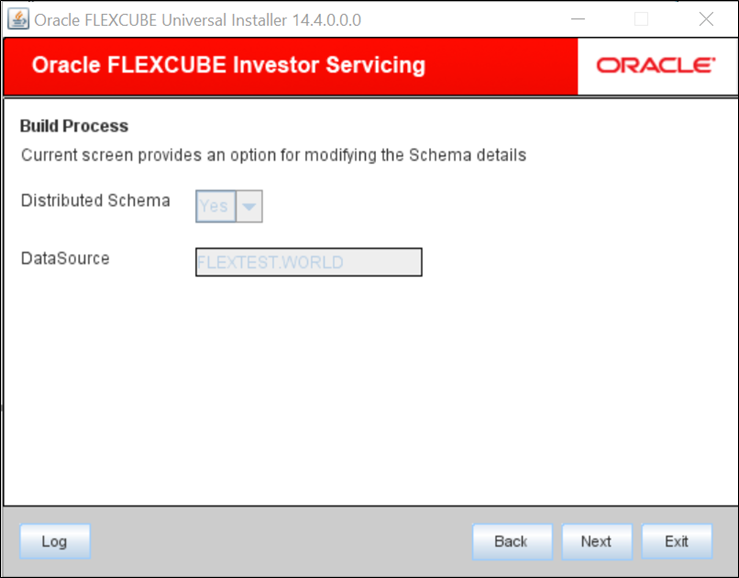
- Click Next. You are provided with an option for
modifying the schema details.The following screen is displayed.
- Specify the modifying the schema details.Refer to the table for modifying the schema details.
Table 1-4 Modify schema details.
Field Description Distributed Schema Select Distributed Schema as Yes.
Data Source Specify the data source of the schema.
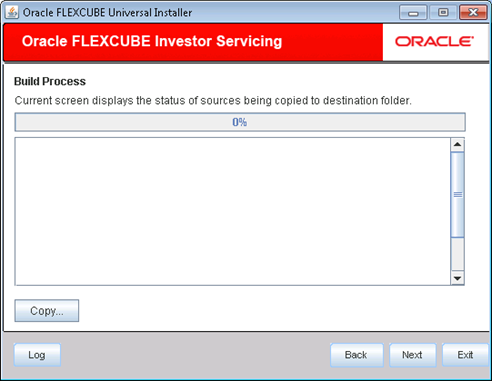
- Click Next to view the status of sources being copied to
destination folder.The following screen is displayed.
Figure 1-11 Status of Sources being Copied
- Click Copy button.The installer copies the files.
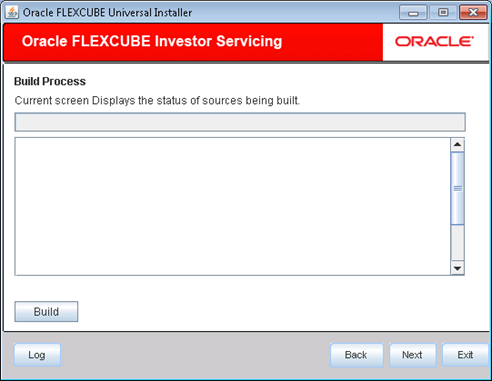
- Click Next.The screen displays the status of sources being built.
- Click Build button to start the build process.The installer builds the source files.
Parent topic: Set up Gateway for Oracle FLEXCUBE
