1 Set up Database for ODT
This topic explains the steps to set up Database for ODT.
FCUBSInstaller.bat batch file to start
Oracle FLEXCUBE Investor Servicing
Installer.
- Start Oracle FLEXCUBE Universal
Installer.The Oracle FLEXCUBE Universal Installer is displayed.
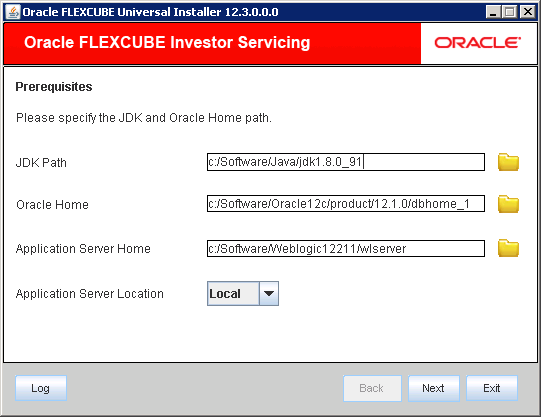
Figure 1-1 Oracle FLEXCUBE Universal Installer
- On Oracle FLEXCUBE Universal Installer
screen, enter the following details.Refer to the table for JDK and Oracle Home path.
Table 1-1 JDK and Oracle Home path
Field Description JDK Path Provide Home folder path of JDK1.8.
Oracle Home Provide home folder path of Oracle Client or Database.
Application Server Home Provide home folder path of Application Server.
Application Server Location Select location of the application server either local or remote.
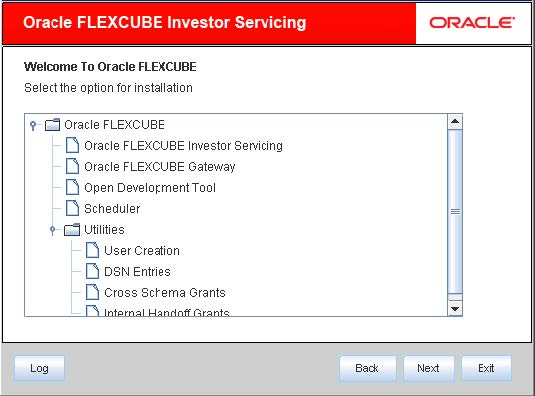
- Click Next to select the option for installation.
- Select Open Development Tool from the
lists of Oracle FLEXCUBE
options.The available options for installation are displayed.
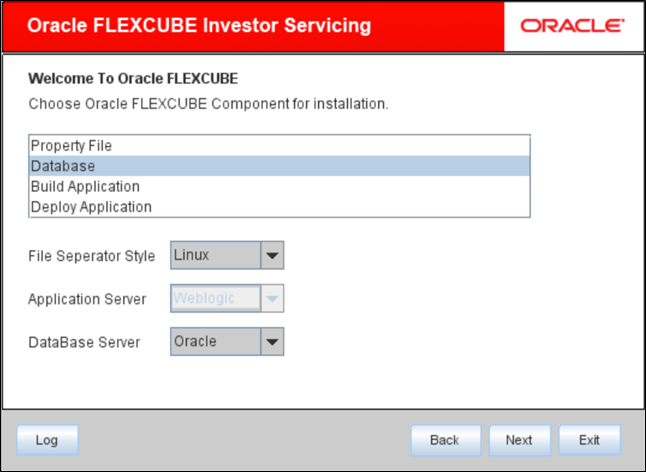
- Click Next to choose Oracle FLEXCUBE component for installation.
- Select Database.
- Select the appropriate operating system from the File Seperator Style drop-down.
- Choose Weblogic from the Application Server drop-down.
- Select the appropriate DataBase Server from the drop-down and click Next.
- Click Next to specify
Installation Type.The following screen is displayed.
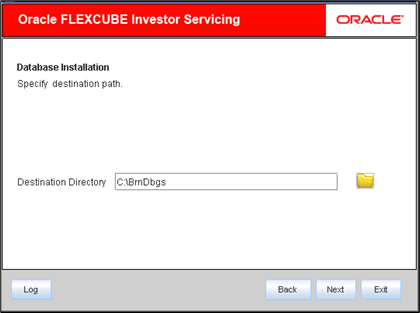
- Browse for file
Console_EXECin the FC Home and click Next. - Specify the destination path.You can use the directory icon to browse to the source directory location.The following screen is displayed.
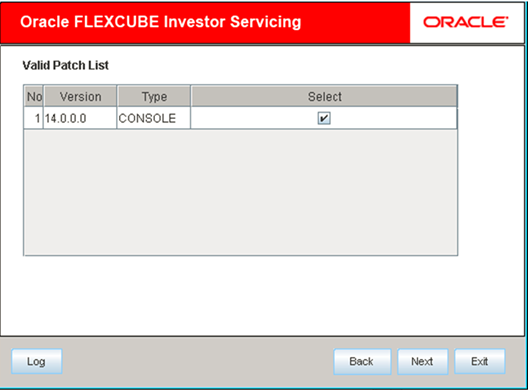
- Click Next to specify the patch list
details.The following screen is displayed.
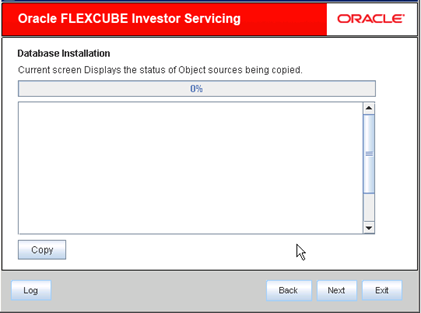
- Click Next to view the status of sources
being copied to destination folder.
Figure 1-7 Status of the objects sources being copied
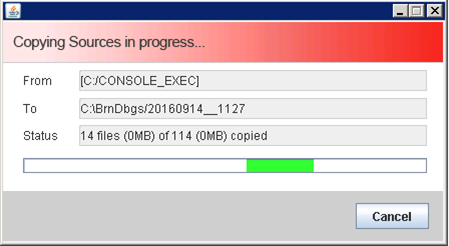
- Click Copy.The following screen is displayed.
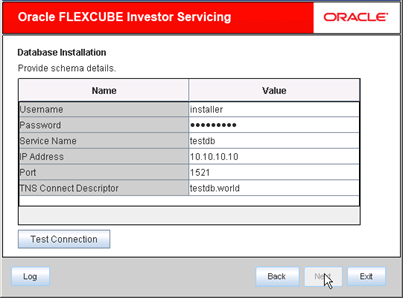
- Click Next once the source is copied to
specify schema details.
- Specify the following schema details in the database
installation screen and click
Next.Refer to the table for schema details.
Table 1-2 Schema details
Field Description User Name Specify the user name to access the schema.
Password Specify the schema password for the above user name.
Service Name Specify service name of database.
IP Address Specify the IP address of the system where the database schema is installed.
Port Specify the port number.
TNS Connect Descriptor Specify a valid connect string that contains the details for database connectivity.
- Click Test Connection to test the
connection with the Application server.
If there is an error in establishing the connection, the system displays the message Invalid DB Credentials.
If the TNS entry is not proper, the installer displays the message TNS entries are not proper.
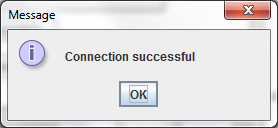
If the connection is established, the installer displays the message Connection Successful.Figure 1-10 Information Message on Successful Connection
- Click Next to view the status of the ODT
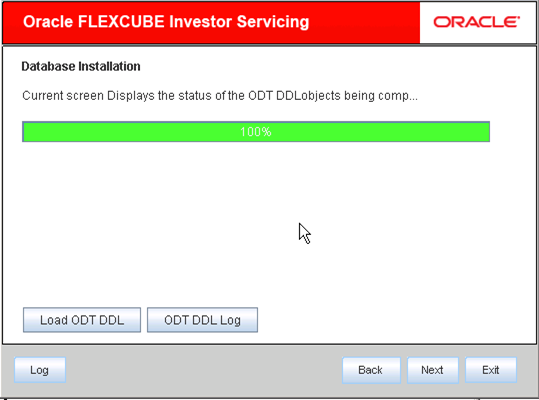
DDL objects being compiled.The following screen is displayed.
Figure 1-11 Status of the ODT DDL objects being Compiled
- Click Load ODT DDL button to start
compiling.You can verify the DDL objects compilation by comparing the current count and the release count. The release count is the number of files in the temporary folder to which the files are copied.The objects
Type,Table, andSequencewill be compiled and the count will be updated. - Click ODT DDL log to see the log.
- Click Next to view the status of the ODT
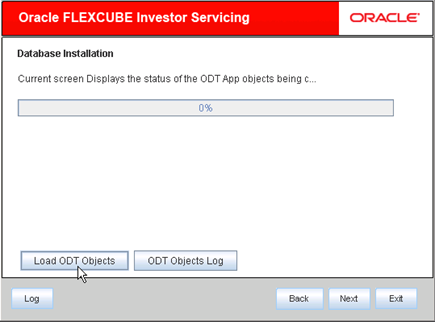
APP objects being compiled.The following screen is displayed.
Figure 1-12 Status of the ODT APP objects being Compiled
- Click Load ODT Objects button to compile
APP objects.The installer loads the functions, procedures, views, triggers and packages as per selection and compiles them.
Note:
You can verify the application objects compilation by comparing the count shown in this screen with the release count. - Click ODT Objects Log to view the
log.
Note:
The log fileLoadODTObj.logwill be available in the destination directory under the folder DBLogs. - Click Next to view the list of invalid
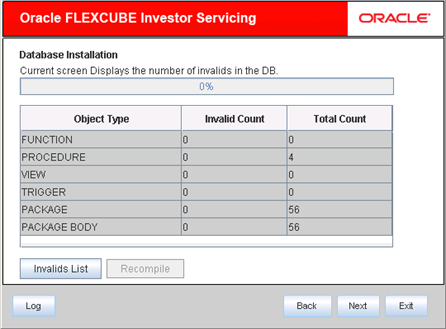
objects in the DB.The following screen is displayed.
- Click Invalids List button to view the
count of invalid objects in the database.The installer creates the file
InvalidList.txtin the destination directory under the folder DBLogs. - Click Recompile to recompile any invalid
objects if present. This reduces the invalid object
count.
Note:
The Installer allows Recompile multiple times in order to reduce the invalid objects count. - You can view the status of recompilation of ODT objects.
