1.1 Building Application for Setup
This topic explains the steps to build the application for setup using the installer.
- Double-click
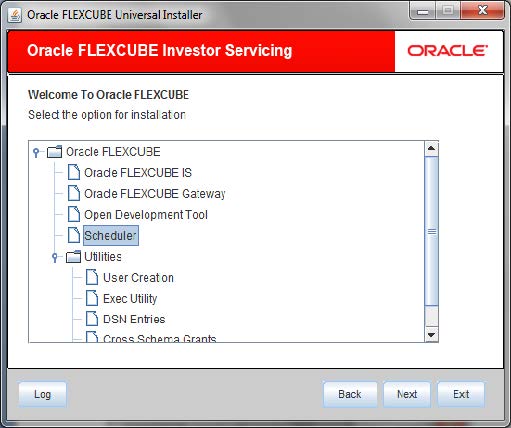
FCUBSInstaller.batbatch file to launch Oracle FLEXCUBE Universal Installer.The Oracle FLEXCUBE Universal Installer is displayed. - Click Next to select the option for installation.The following screen is displayed.
- Select Scheduler and click Next
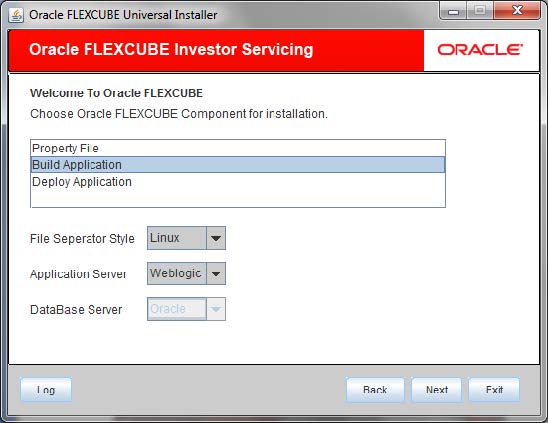
to choose the Oracle FLEXCUBE component for installation.The following screen is displayed.
Figure 1-2 Oracle FLEXCUBE Component for Installation
- Choose Build Application as Oracle FLEXCUBE component for installation.
- Specify the following details:
- Operating System: Specify the operating system in which you are building the application from the adjoining drop-down list.
- Application Server: Specify the application server on which you are building the application from the adjoining drop-down list.
- Click Next.
- Select the appropriate installation option. Specify the schema details for
validation in case of rolled up patch installation. The following screen is displayed.
- Click Next.For new schema details are not enabled.
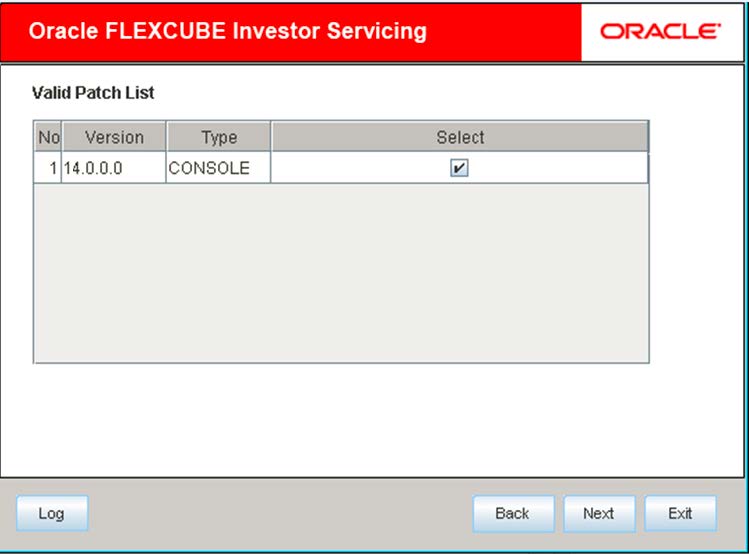
- Select the required deployable units from the Valid Patch
List.The valid list of deployable units are listed based on the FC Home selected.
- Choose the required set of Main and Patch releases.
- Click Next to specify Destination and Application
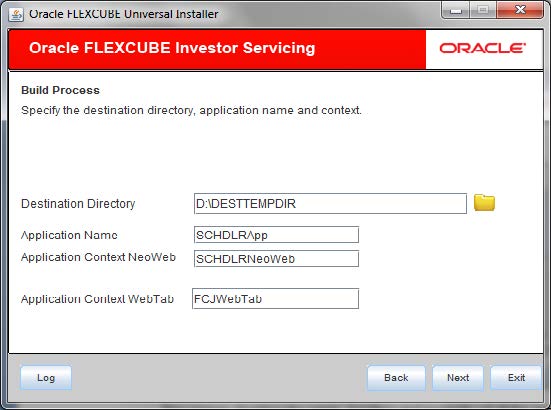
details.The following screen is displayed.
Figure 1-5 Build Process_Destination and Application Details
- Specify the following details:
- Destination Directory: Specify the destination directory. The installer will copy the source files from the source directory to the destination directory. Browse the source directory location using browsing directory icon.
- Application Name: Specify name for the application to be deployed. The application name should not contain special characters and space. However, you may use ‘_’ (Underscore).
- Application Context: The Installer displays the application context based on the application type selected. However, you may modify the default value. This information will be updated in application.xml. In case of a WebLogic server, this will be updated in weblogic.xml.
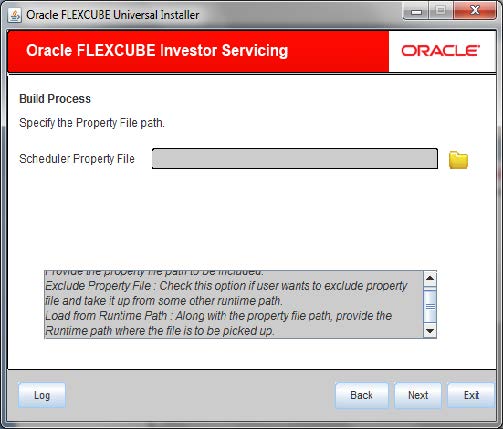
- Click Next to specify property file path.The following screen is displayed.
- Specify the location of the scheduler property file in the Scheduler
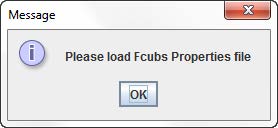
Property File.You can use the directory icon to browse and select the directory. The property file is required for EAR building. It is mandatory to load the property file.If you do not load a property file, the installer displays the following error message.
- You need to load the property file to continue.
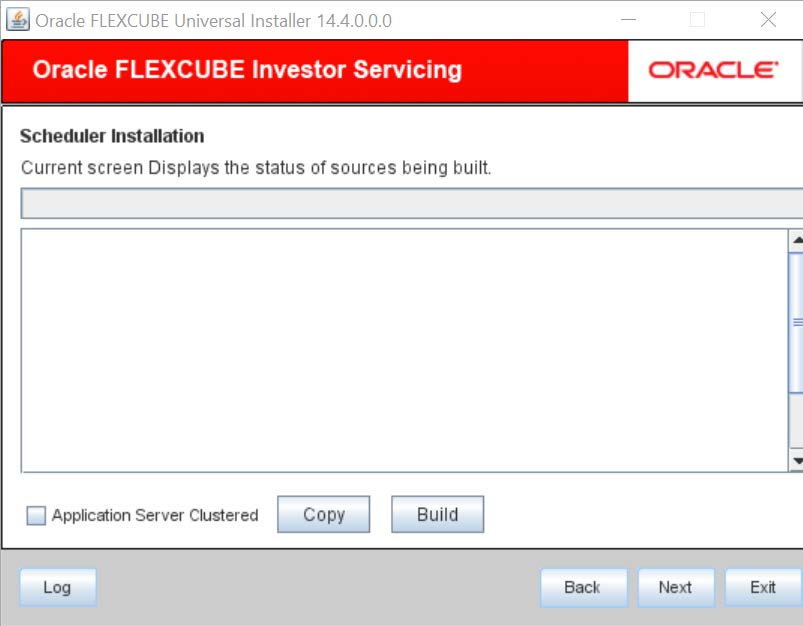
- Click Next.The following screen is displayed.
Figure 1-8 Status of Scheduler installation
- Copy the source using the Copy button and
Build button to build.The installer starts building the EAR/WAR files, after the files are copied. The compilation screen is not available in EXEC mode of installation.
- While copying the sources, the Installer copies all the plug-ins whether you have selected them or not. At this stage, the installer deletes the plug-ins that are not selected.
- If The EAR created is to be deployed in an Application server running in a clustered mode, the check box needs to check.
The Installer creates the EAR/WAR files in the destination directory, after the successful build process.
Parent topic: Standalone Scheduler EAR Building
