1 Build EAR files
This topic describes the process of building EAR files.
The process of building EAR files includes the following steps:
- Load property file
- Copy sources
- Compile sources
- Build sources
Follow the steps given below to build the application for setup using the Installer:
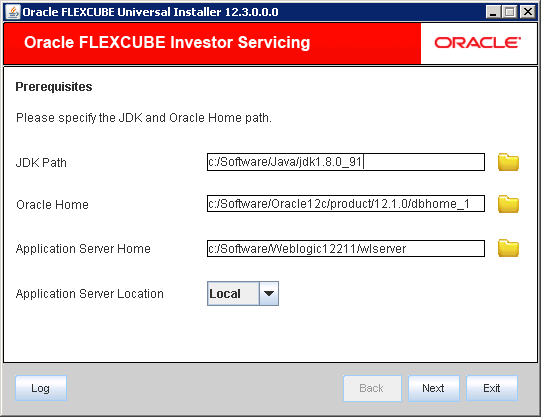
- Double-click FCUBSInstaller.bat batch file to start Oracle FLEXCUBE Universal Installer.The Oracle FLEXCUBE Universal Installer is displayed.
Figure 1-1 Oracle FLEXCUBE Universal Installer
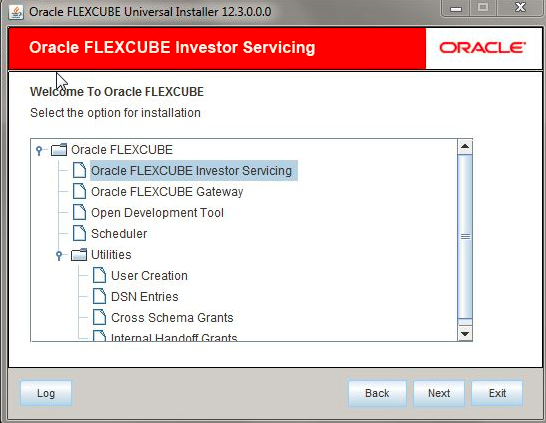
- Select Oracle FLEXCUBE Investor Servicing from the lists of Oracle FLEXCUBE options.The available options for installation are displayed.
- Click Next to choose Oracle FLEXCUBE component for installation.
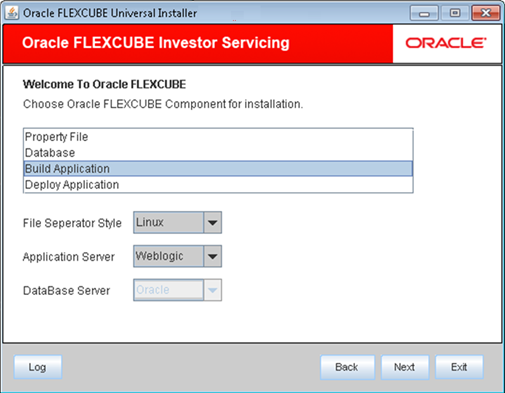
- Choose Build Application.
- Specify Oracle FLEXCUBE components for installation.Refer to the table for Oracle FLEXCUBE components.
Table 1-1 Oracle FLEXCUBE components
Field Description Operating System Specify the operating system in which you are building the Application. Choose the appropriate one from the drop-down list.
Application Server Specify the application server in which you are building the Application. Choose the appropriate one from the drop-down list.
File Separator Style Specify the file separator as per the OS.
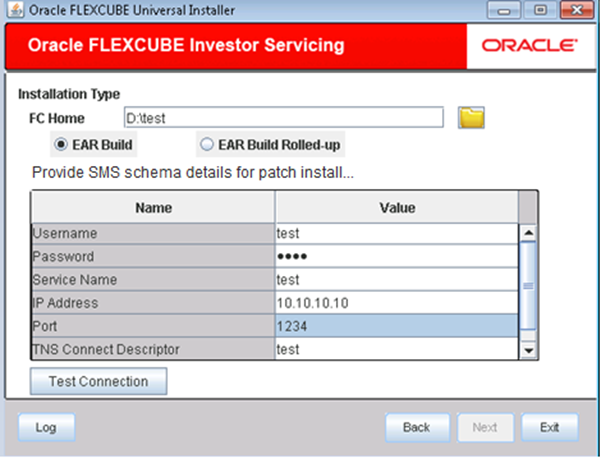
- Enter the source path in FC Home and specify the SMS schema details for patch installation.This is the schema on which the DB setup was done earlier. It should be validated and only those versions in FCHOME that are lesser /equal to than version mentioned in the DB will be chosen.
- Download the Web-sdk related javascript files for Oracle Digital Assistant (ODA) from the link (https://www.oracle.com/downloads/cloud/amce-downloads.html).The web-sdk.js file is downloaded.
- Place the web-sdk.js file inside FCIS OSDC folder location in the path, INFRA\FCJNeoWeb\Web-Content\script\JS.Refer FCIS Property File Setup and FCIS Oracle Digital Assistant Integration Guidefor the detailed information on Chatbot integration and properties.ODA instances are created and chat server url and channel id are readily available. Now ChatBot needs to be enabled while creating property file for FCIS Application.
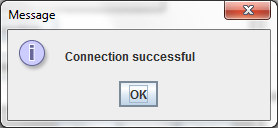
- Click Test Connection to test the connection with the Application server.On successful connection, the following message is displayed.
Figure 1-5 Information Message on Successful Connection
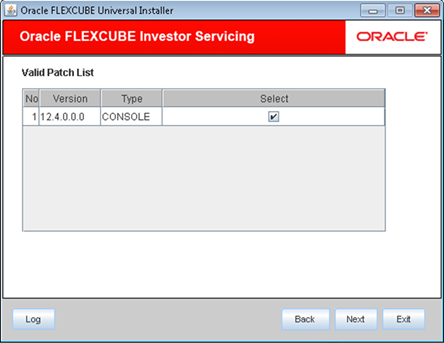
- Click Next to specify the patch list details.
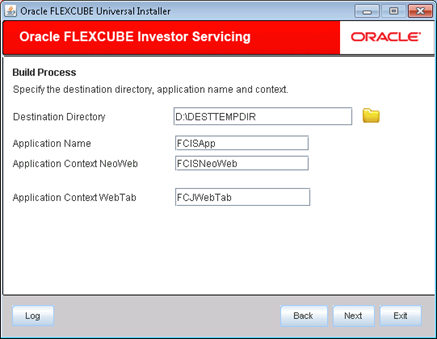
- On the Build Process screen, specify the following details.Refer to the Build Process table.
Table 1-2 Build Process
Field Description Destination Directory Specify the destination folder where EAR will be built.
Application Name Specify the name of the application.
Application Context Neoweb Specify the NeoWeb context name.
Application Context WebTab Specify the WebTab context name.
Figure 1-7 Application and Destination Details
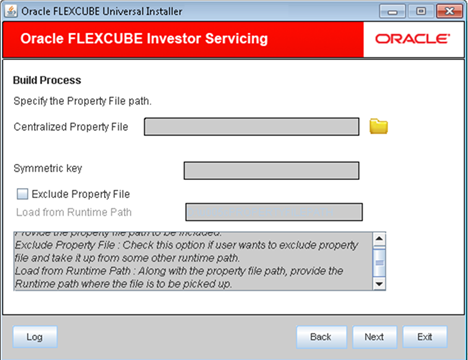
- Specify the Property File path.Refer to the details of Property File table.
Table 1-3 Property File
Field Description Centralized Property File Specify the location of the centralized property file. You can use the Directory button to browse and select the directory.
The property file is required for EAR building.
Symmetric Key Specify the symmetric key details.
Exclude Property File Check this box to exclude the property file.
By checking this box, you can include a property file from the runtime path.
If you check this box, you need to specify the location of the property file in the field Load from Runtime Path.
Load from Runtime Path If you have checked the box Exclude Property File, you need to specify the runtime path from where the Installer will pick up the property file.
It is mandatory to load the property file.
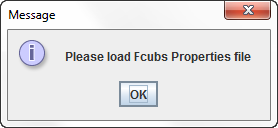
- Specify the runtime path in the field Load from Runtime Path, from where the Installer will pick up the property file.If you do not load a property file, the Installer will display the following error message.
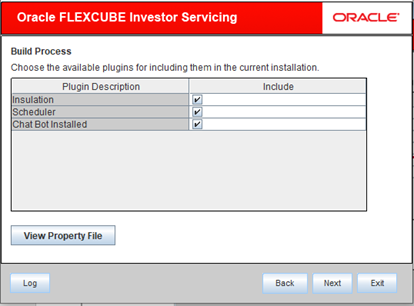
- Click Ok and load the property file to continue.This is a READ ONLY screen and shows the plugins included in the installation.Once the property file is loaded, the Plugin screen is displayed.
- Click Next after loading the property file to continue.
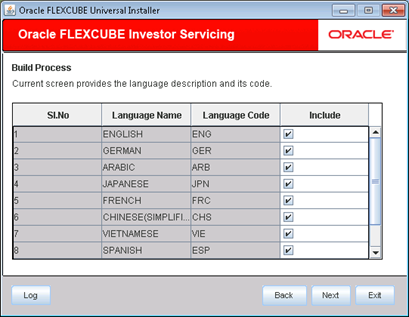
- Select the languages you wish to include in the installation.The following screen is displayed.
Figure 1-11 Language list during Installation
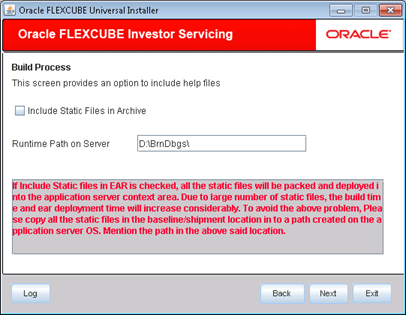
- Select the Include Static Files in EAR to include the static files in EAR file. It can be unselected only for Weblogic Application server. If you do not check this box, the Installer will not include the static files in the EAR file. The files would be consolidated into a folder called JS_UIXML under the destination folder. For details, read the information below.
Note:
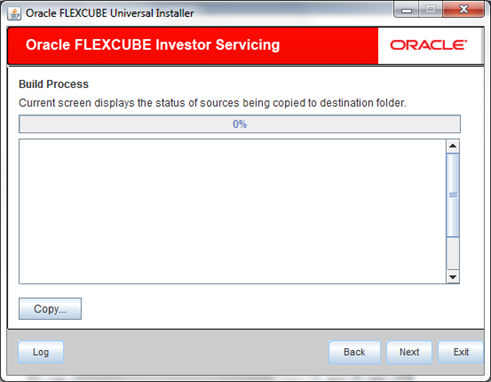
You have to manually copy the static files present in the JS_UIXML folder of the Destination Directory mentioned during build process to a specific folder in the Application server. This will reduce the time required for building EAR file. Copy the static files into a specific folder in the application. Later, specify the folder location in the field Runtime Path on Server. - Click Next.The Oracle FLEXCUBE Installer copies the files to the destination folder.
- Click Copy.The Installer starts building the EAR/WAR files after the files are copied.
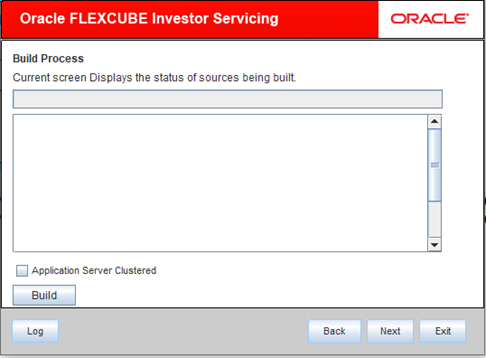
- Click Next and you can view the status of sources being built.
- Select the Application Server Clustered, if the EAR created is to be deployed in an application server running in a clustered mode.If the EAR created is to be deployed in the SOA enabled Application server then check box needs to be checked.
- The Installer creates the EAR/WAR files in the Destination Directory.The EAR file will be available in the selected EAR file location (Destination Directory) after the successful build process.
- If you have opted for BPEL, then FCBPELCIS.jar file will also be available in the EAR file location. In case of decentralized or hybrid setup, EAR files for the Host and WAR file for the Branch will be available in EAR file location.
