6 Create User in WebLogic
This topic provides the instructions to create user in WebLogic.
- Log in to WebLogic Remote Console.
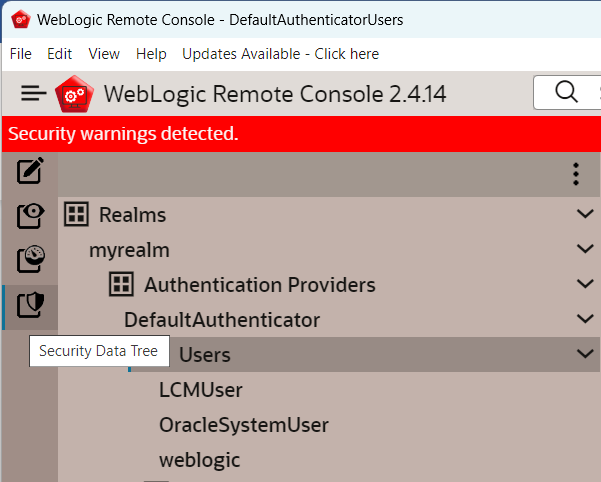
- Go to Security Data Tree and select Realms. Select myrealm within and click Authentication Providers.
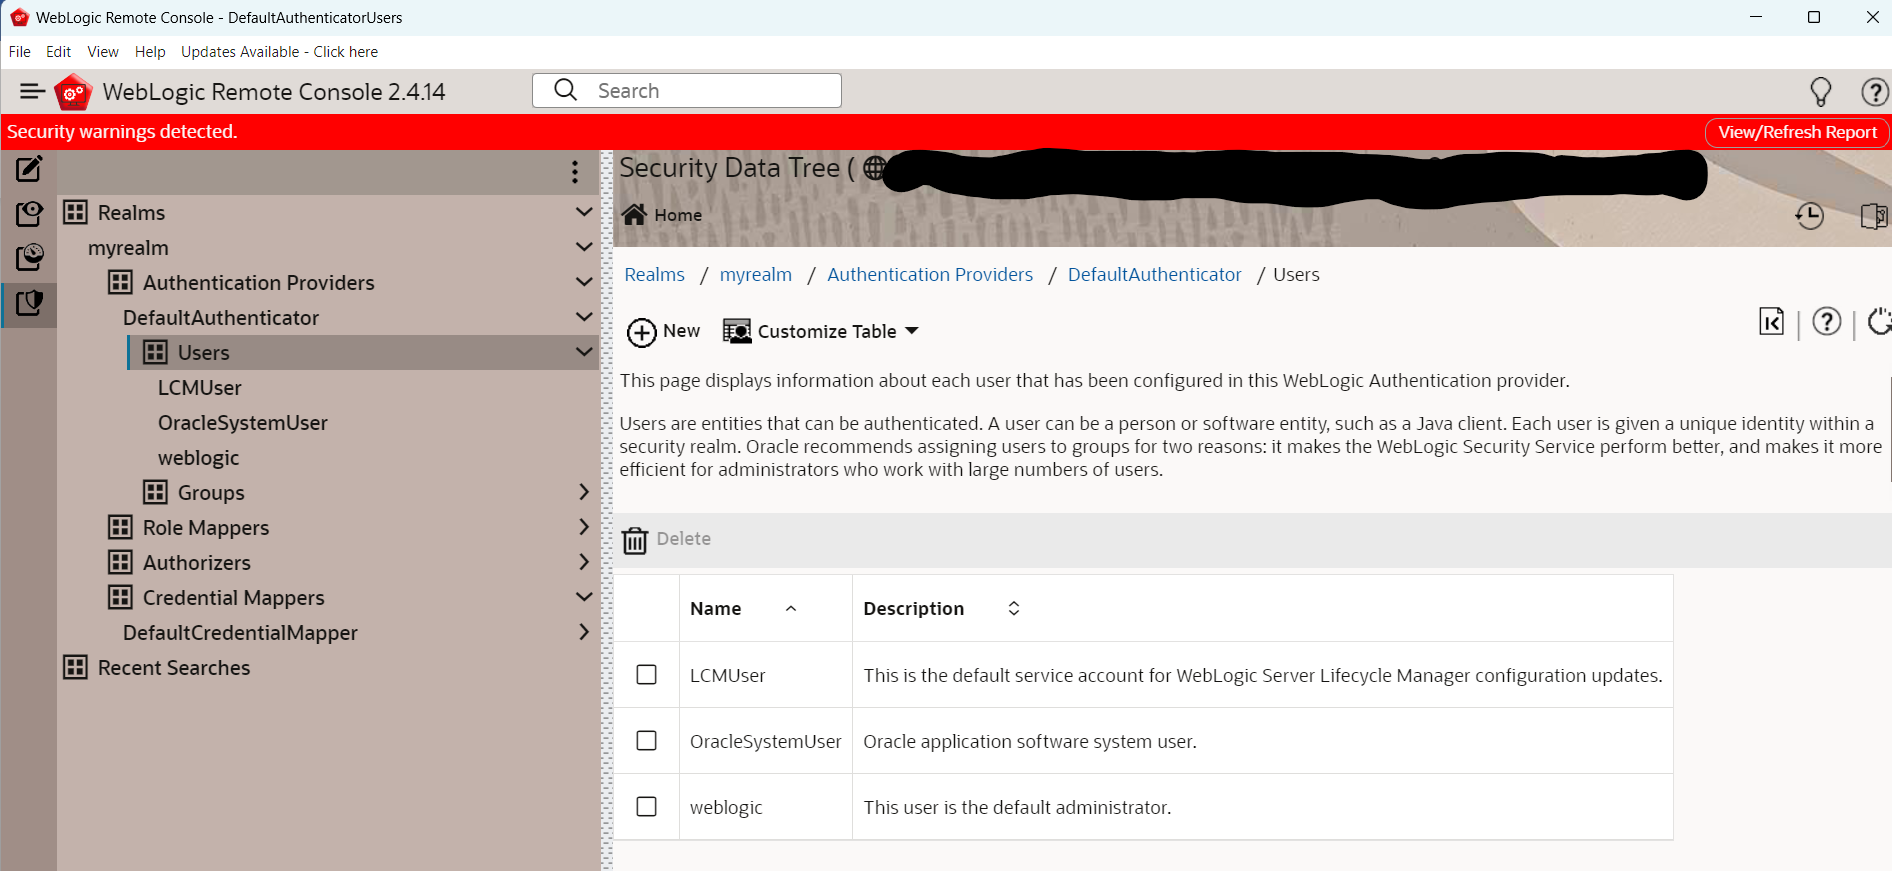
- Select DefaultAuthenticator and click Users.The Security Data Tree with options to create Users is displayed.
Figure 6-1 WebLogic Remote Console_DefaultAuthenticatorUsers
- Click New to create a new User.The Home Page with the option to create Users is displayed.
Figure 6-2 WebLogic Remote Console_Create Users
- Specify the username as MEADMIN1, set a password, and save the user details.
- Create the MEADMIN2 user by following the same steps as for MEADMIN1.
- Log in to the Application
https://<HOST_NAME>:8006/app-shell/with MEADMIN1 user, and create SYSADMIN1 and SYSADMIN2 as System Administrators for the application. - Log in with SYSADMIN1 Admin user and create a new role named ADMIN_ROLE.
- Identify and map the functional activities associated with the ADMIN_ROLE to enable screen access.
- Create TESTUSER1 with the Maker role and TESTUSER2 with the Checker role, then map the ADMIN_ROLE to each user.

