7.1.2 XA Enabled Data Source
This topic explains the systematic instructions to create the XA enabled data source in the Weblogic Application server.
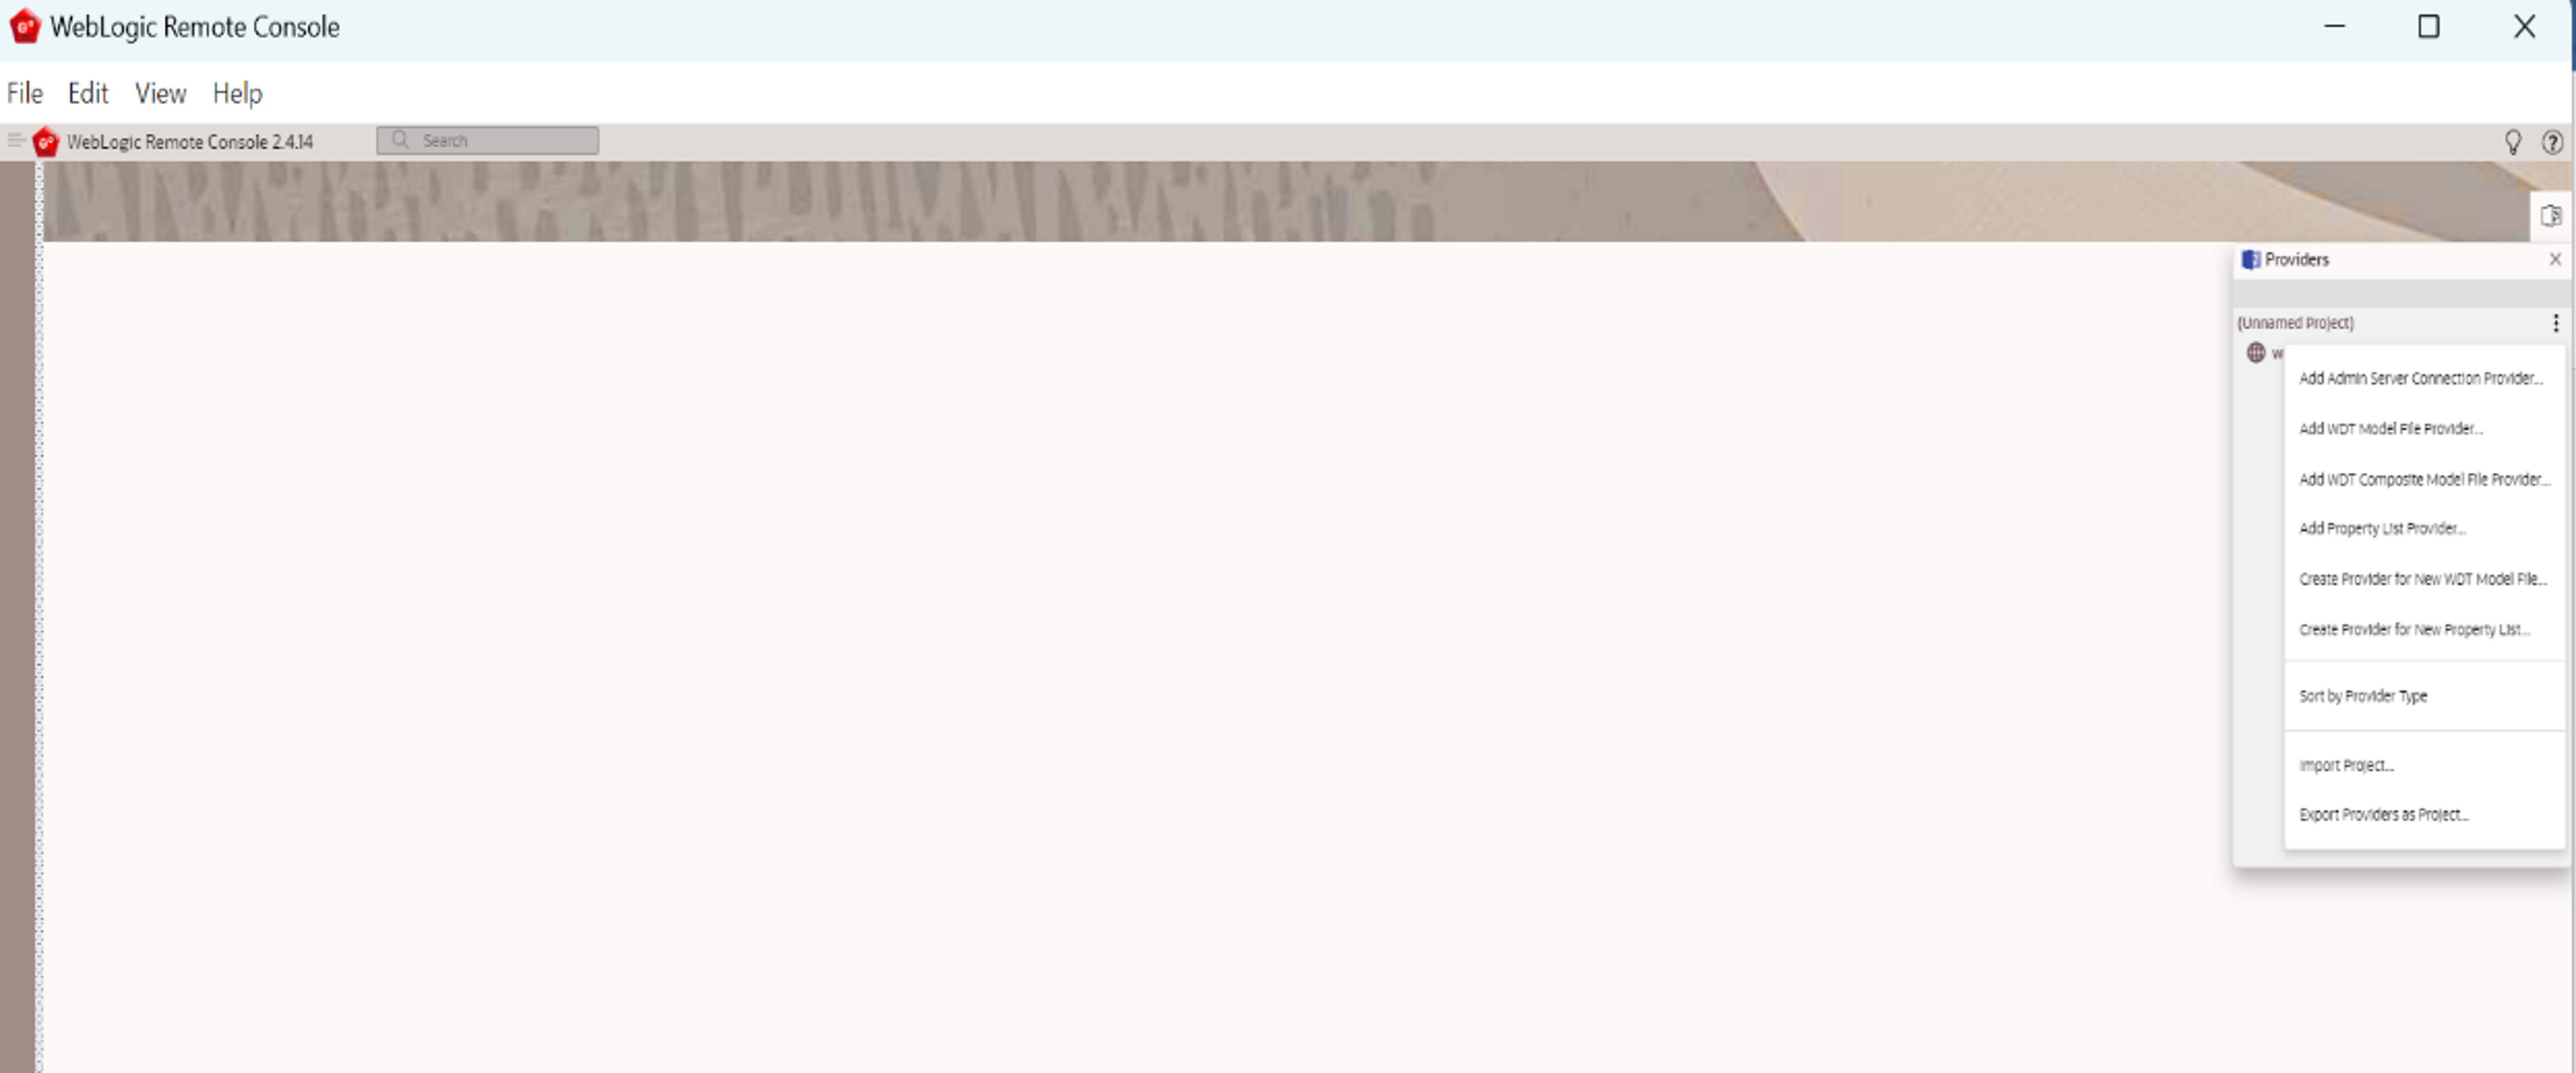
- Start the Administration Console of WebLogic Application server.You can start the Application by opening the Oracle
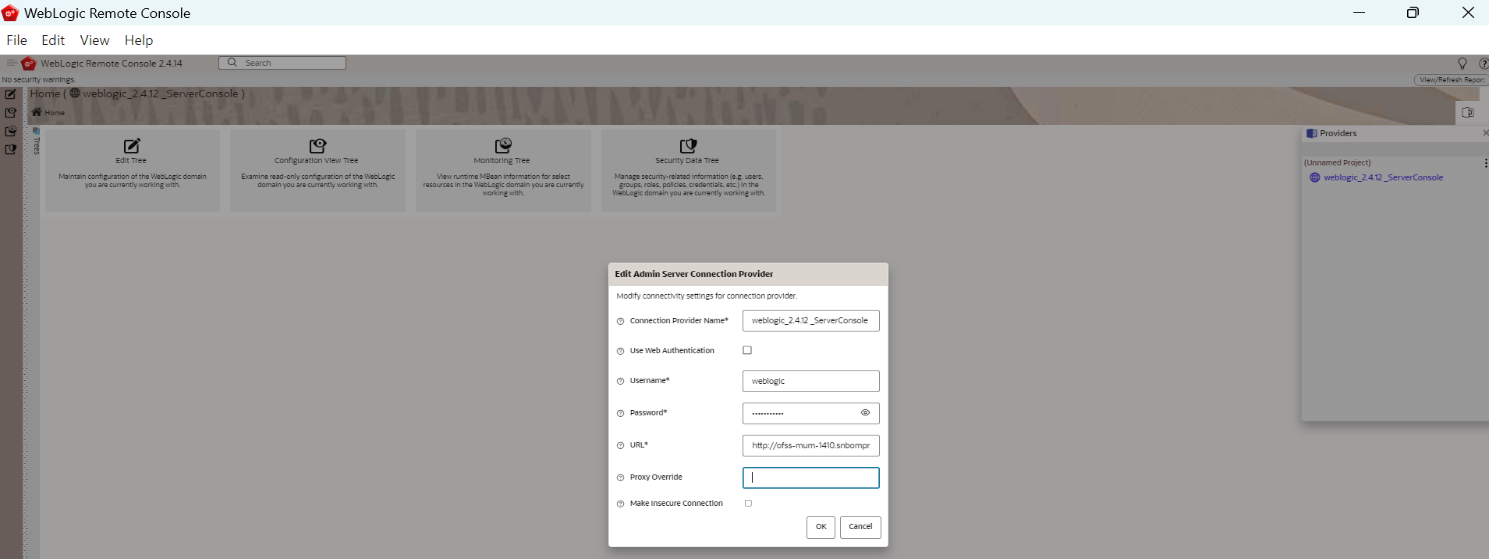
Weblogic Remote Consoleapplication post installing the application from the linkhttps://github.com/oracle/weblogic-remote-console/releases.The WebLogic Remote Console screen is displayed. - Click Providers and select Add Admin server Connection Provider.The user must enter the required URL, username, and password to establish a connection to the Admin Console.The Edit Admin Server Connection Provider popup window is displayed.
Figure 7-2 Edit Admin Server Connection Provider
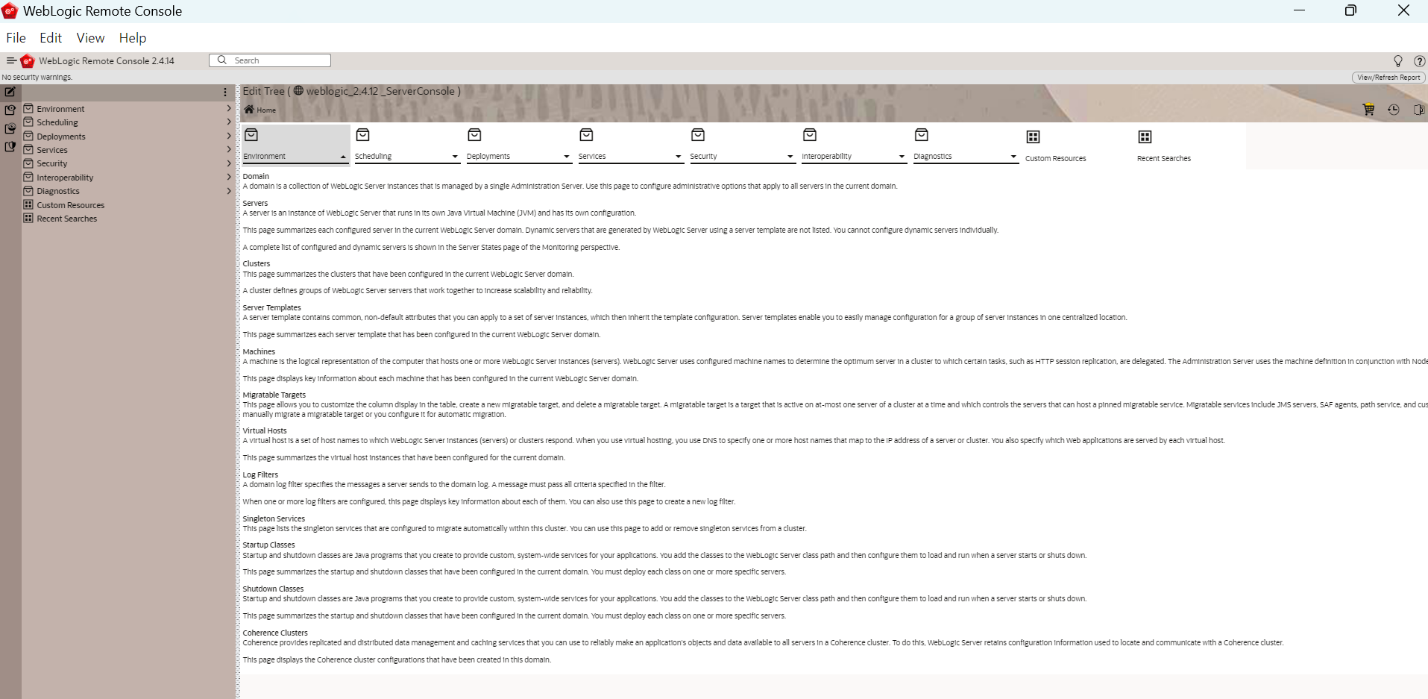
- Click Edit Tree icon after logging into the WebLogic Console.The following screen is displayed.
Figure 7-3 Weblogic Remote Console_Edit Tree
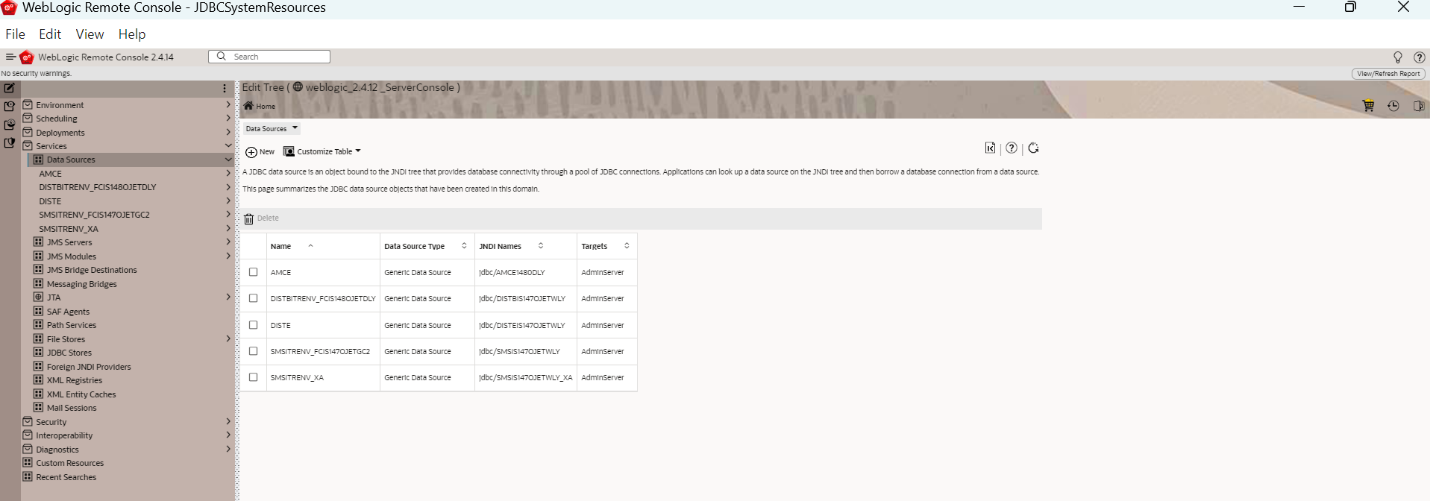
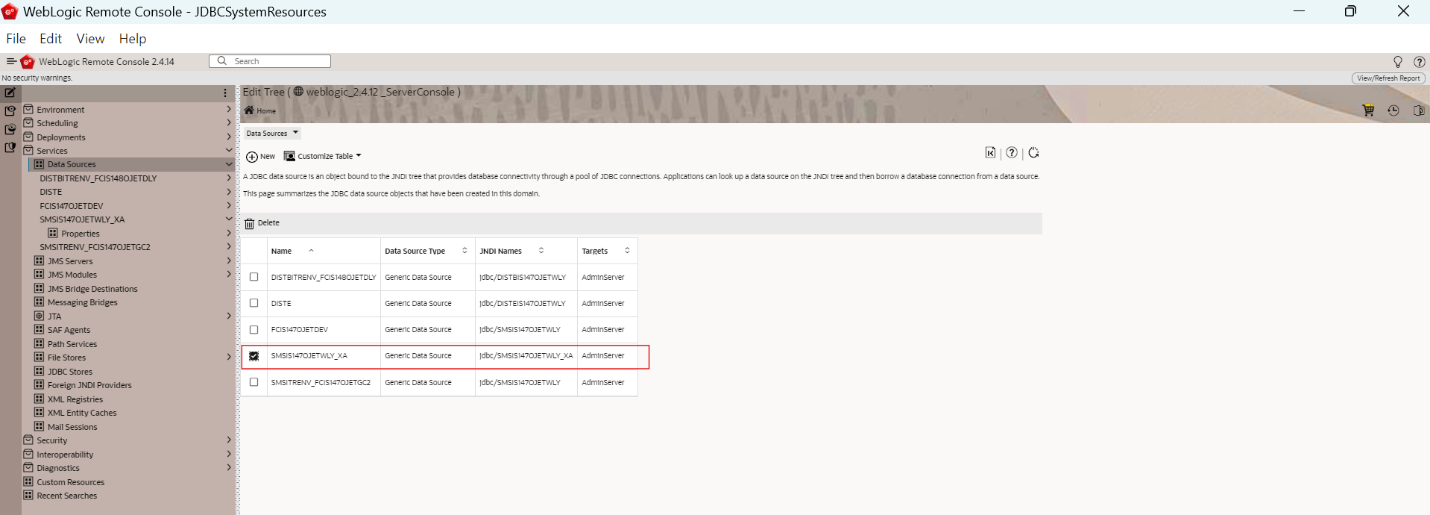
- Go to Services and then select Data Sources.The Data Sources screen is displayed.
Figure 7-4 Weblogic Remote Console_Services_Data Sources
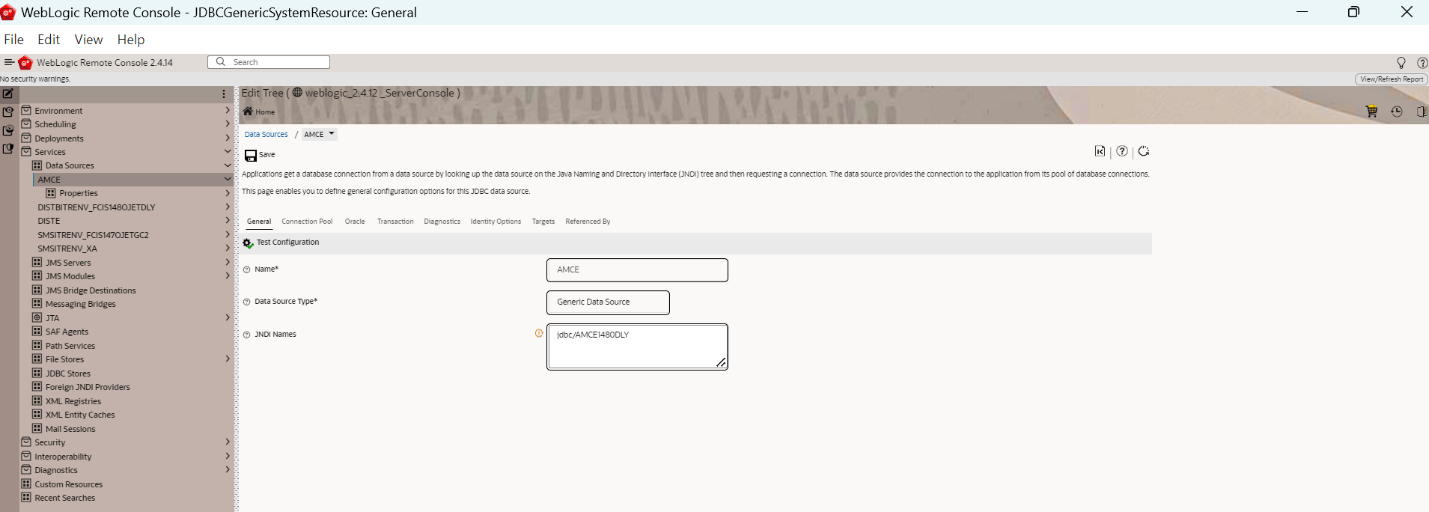
- Double-click on the data source created to edit, make the necessary changes, and save them.The following screen is displayed.
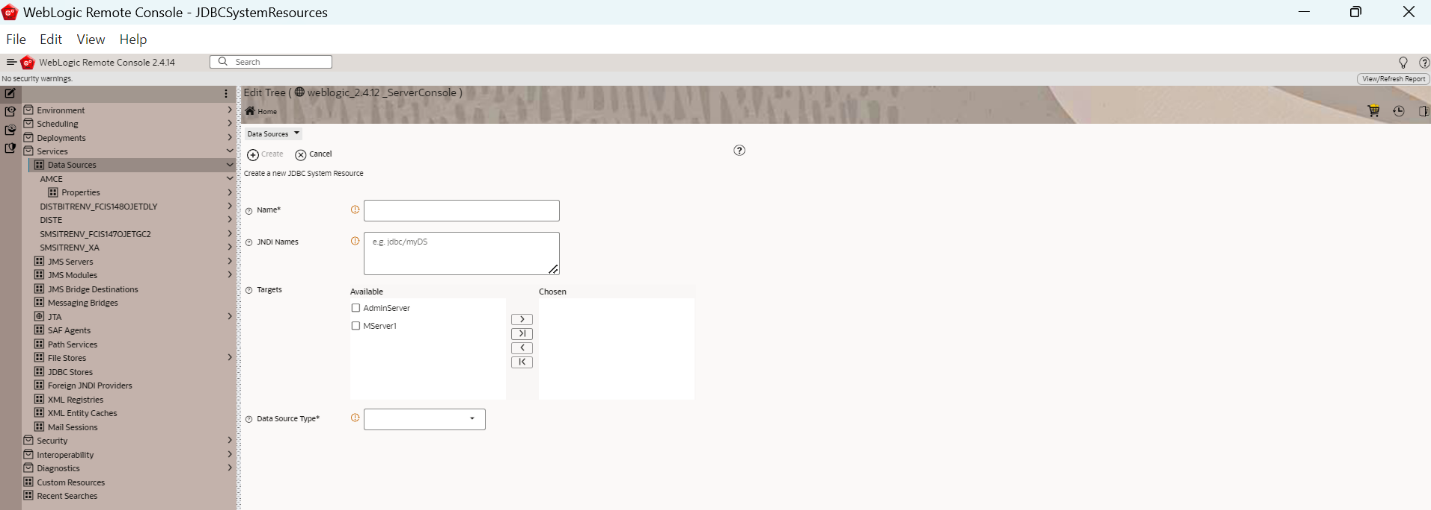
- Click New to create a new data source.The following screen is displayed.
- On the Create a New JDBC System Resource screen, specify the fields.For more information on fields, refer to the field description table.
Table 7-2 Create a New JDBC System Resource
Field Description JDBC Datasource Name Name of the data source.
SMSIS147OJETWLY
JNDI Name JNDI name which will be used for lookup.
jdbc/SMSIS147OJETWLY_XA
Database Type Specify the database type as Oracle from the drop-down list.
Oracle
Data Source Type Generic Data Source
Database Driver *Oracle's Driver (Thin XA) for Application Continuity
Versions: Any
Database Name Service Name
Host Name Host Name
Port Port Number
Database Username Data Base user id
Password Data Base Password
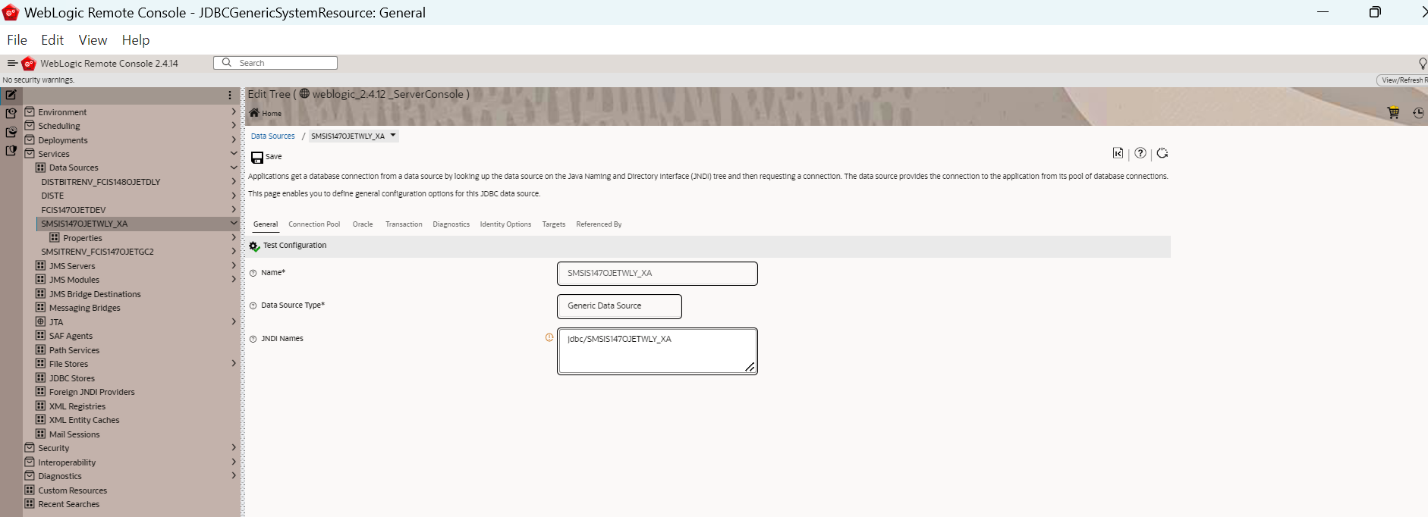
- Click Create.The following screen is displayed.
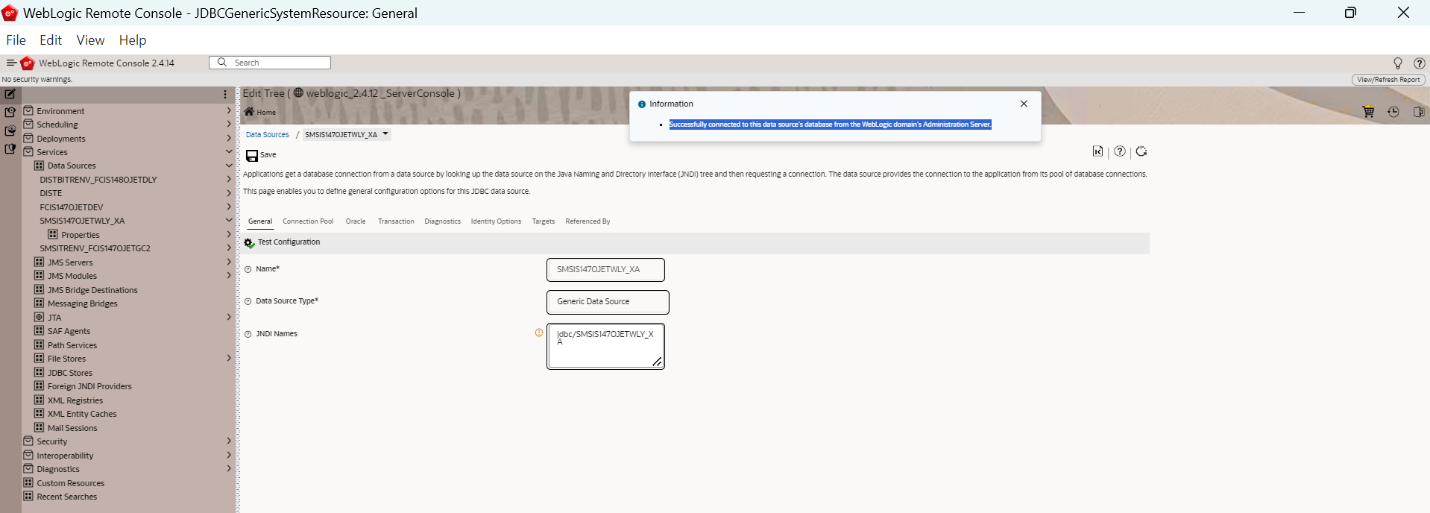
- Click Test Configuration to test the Data source.The Applications get a database connection from a data source by looking up the data source on the Java Naming and Directory Interface (JNDI) tree and then requesting a connection. If the connection is established successfully, the message Successfully connected to this data source's database from the WebLogic domain's Administration Server is displayed.The following screen is displayed.
Figure 7-8 Test Configuration Information Message
- You can view the data source created under Data Sources in the Services.SMSIS147OJETWLY_XA datasource has been created.The following screen is displayed.
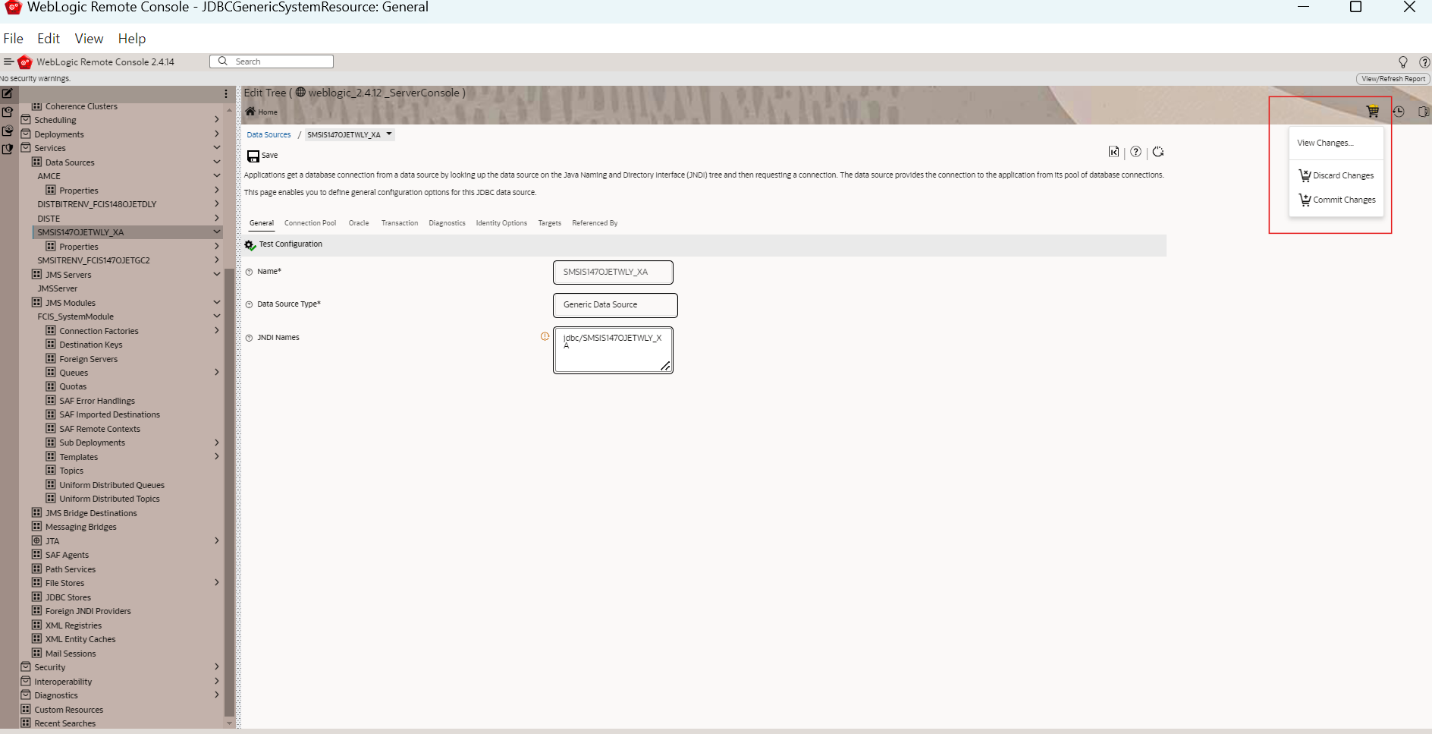
- Click the View or Commit icon to view or commit the changes.The following screen is displayed.
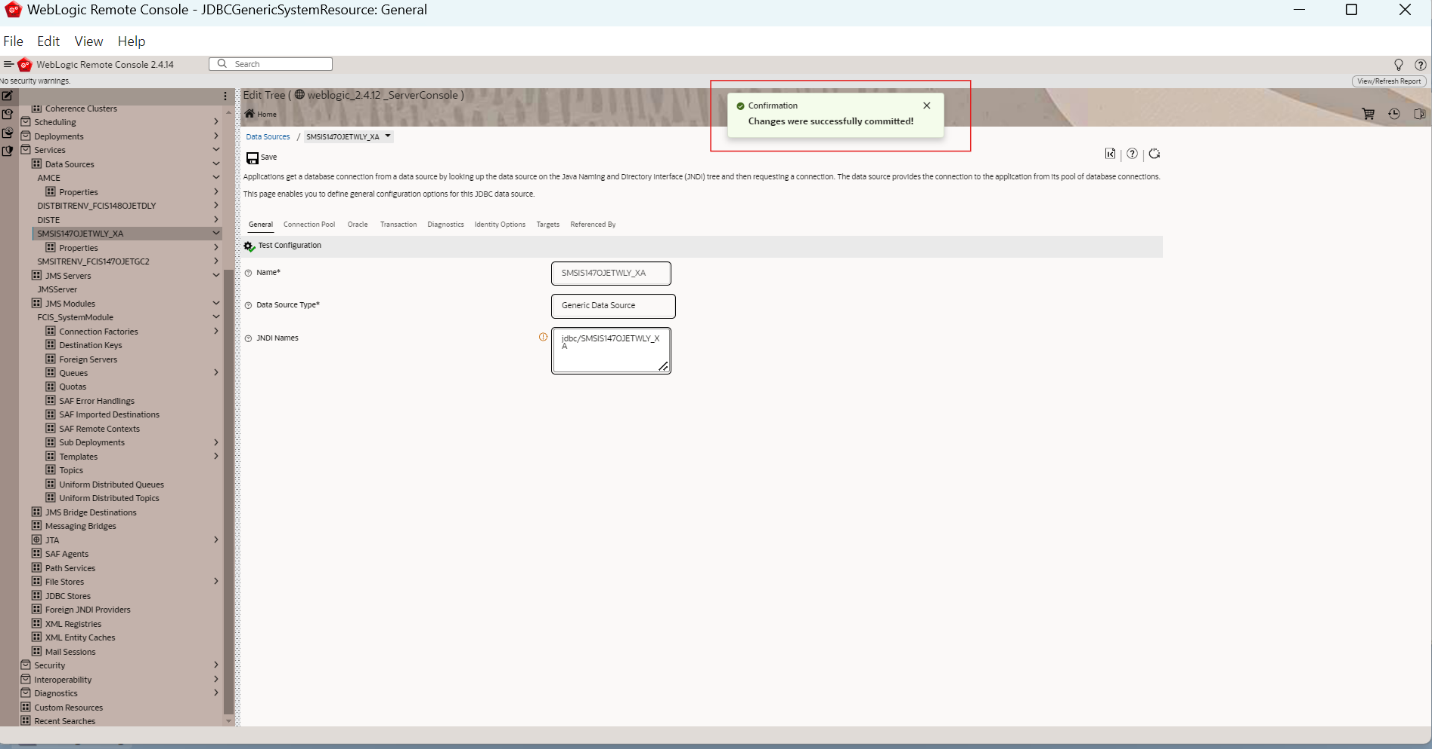
- Select Commit Changes option to apply the changes.The following screen is displayed.
Figure 7-11 Changes Applied Information Message
Parent topic: Resource Administration
