4.1 User Detailed
This topic provides the instructions to create a User.
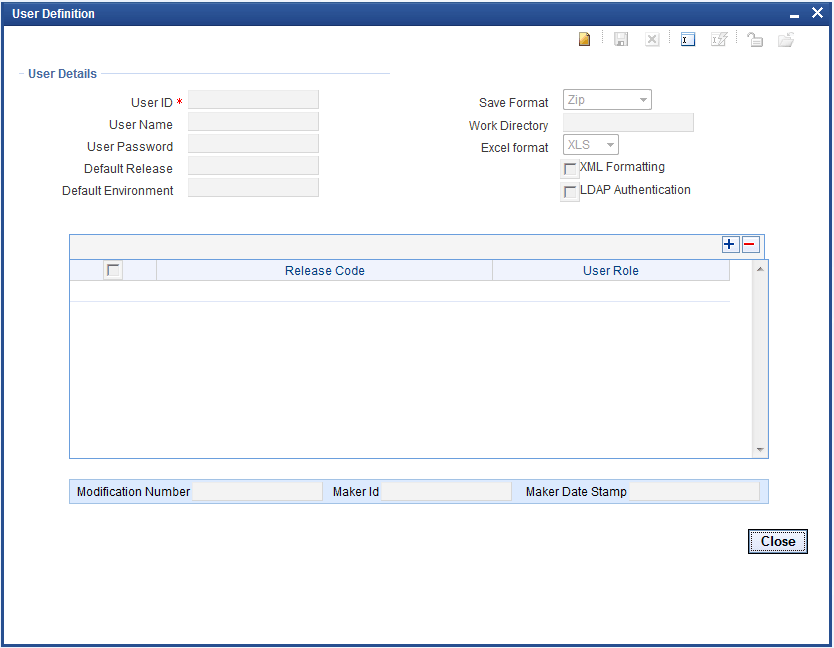
- Click Detailed option of User.The User Definition screen is displayed.
Figure 4-2 User Detailed Screen

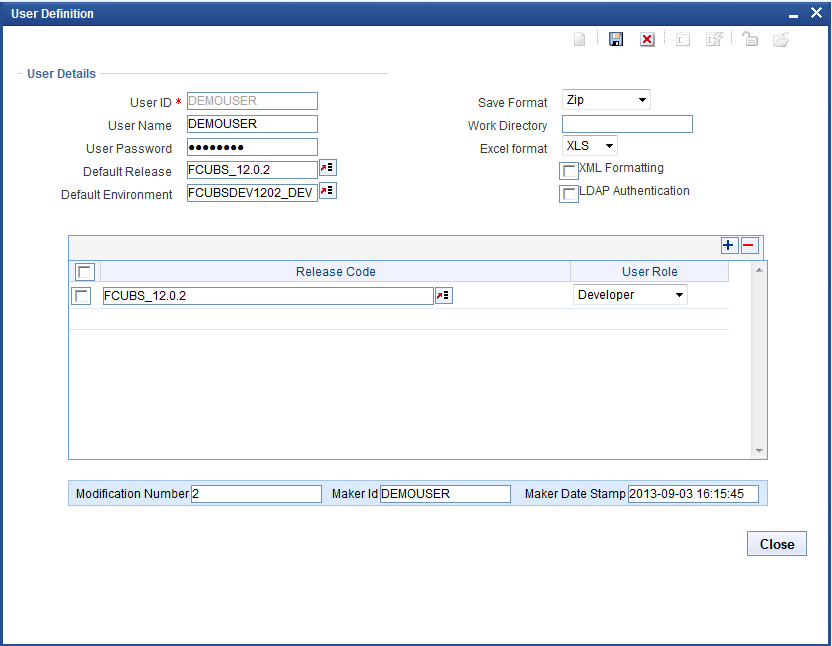
- On the User Definition screen, specify the fields.For more information on fields, refer to the field description below.
Table 4-1 User Detailed - Field Description
Fields Descriptions User ID This is the unique ID given to each user, used to login into Workbench. User Name This is the name of the user. User Password The password which the user has to enter to login to Workbench. Default Release Select Release code from the List of values. This will be the release to which the user will be mapped on to login the tool. If user is mapped to more than one release, user can switch between the releases using user preferences screen.
Default Environment Select the corresponding environment code created for the selected default release. If not selected, user can set environment in user preferences screen after logging in. Save Format User can access the generated files in one of the following modes
- Zip: Files will be zipped and downloaded from the server to the client. This is the default save format.
- Server Path: If the user has access to server, then this mode can be selected. A path in server has to be specified as Work Directory. Files will be copied to this path from where user can pick it up.
- Client Path: For ease of use for
users of older versions, the earlier mode has also
been retained. Here user has to provide path in his
machine as the Work Directory.
Note that this mode uses ActiveX Scripting; hence settings have to be set accordingly. This option is available only in Internet Explorer.
Work Directory It is the path of the folder where the Workbench generated files will be saved. User can specify default directory where all his work should be saved. This field is applicable only if Save format is either Server Path or Client Path,- If the Save Format is Server Path, a path in the server has to be specified.
- If the Save Format is Client Path, a path in the client machine has to be specified.
- If value is specified as CURRENT_DIRECTORY, generated files will be saved to location path specified at the design screen level.
Excel Format This field defines the default extension of the excel files generated from the tool. The supported formats are .XLS and .XLSX.
XML Formatting Any XML file which is generated by Workbench will be formatted. LDAP Authentication This option can be selected if the user has to be authenticated against a LDAP.
Password need not to be specified in this case.
LDAP properties has to be specified in the odt.properties file for availing this feature.
Sample LDAP PropertiesLDAPSSLEn = N LDAP_DOMAIN=MODELBANK.COM LDAP_SERVER_URL=ldap://10.184.xx.xx.389
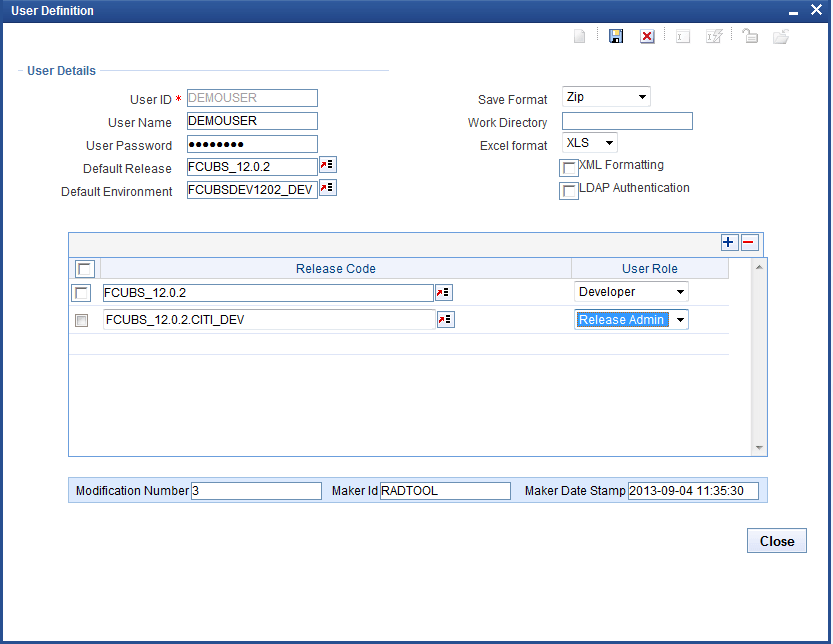
- Create a new User using RADTOOL user.After adding one user as Release Administrator, using same user we can create as many users as required.
Note:
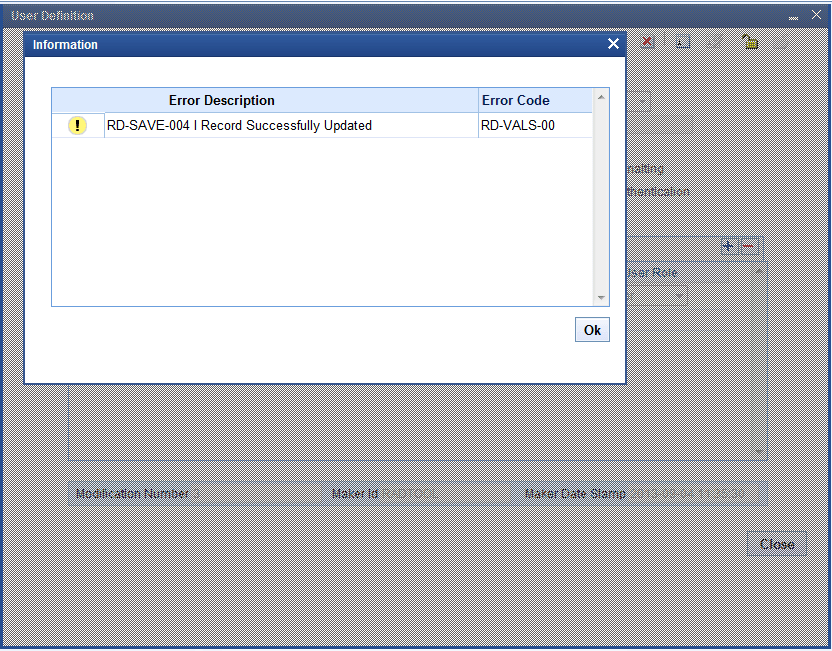
Use RADTOOL user to create only one user with role as Release Administrator. - The user must save the user details once a user is created.
- User can modify by launching detailed user creation screen. Click the Enter Query button.
- Enter the user id and click the Execute Query
button.All user details are displayed. Except User Id, all other fields can be modified.
- User Releases
This topic provides information on User Releases. - Release Administrator
This topic provides information on Release Administrator. - Developer
This topic provides information on Developer. - TCM User
This topic provides information on TCM User. - Vercon
This topic provides information on Vercon.
Parent topic: User


