1.6 Some Common Icons and their Usage
This topic gives an overview on some common icons and their usage across all modules.
This topic provides information on some icons, which represent functions that are common across all modules of Oracle FLEXCUBE Investor Servicing.
Add and Delete Rows
The Add row and Delete row icons are used when you have to enter or fill up rows of data in a screen.
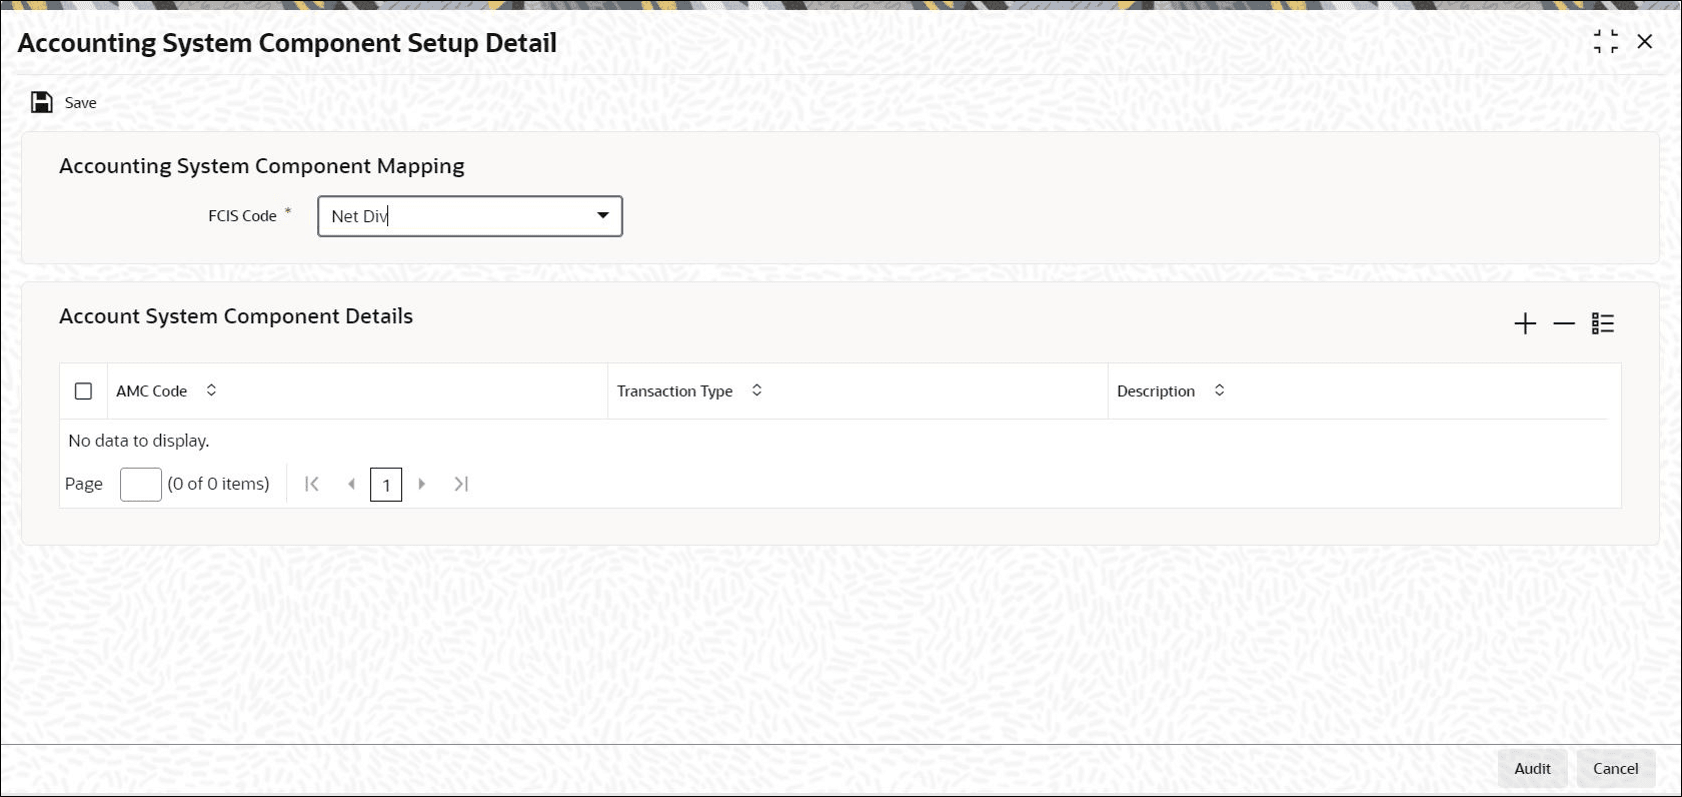
For instance, consider Accounting System Component Setup Detail screen, which is invoked by typing UTDACSYC in the Application Browser.
Figure 1-14 Example for Add and Delete row

You have to add various account system component details. Click + icon and specify the necessary details. You can add few more details by clicking + icon again.
Suppose you realize that you have allotted the wrong currency and you do not want to save the data in the first row. Click - icon. The data will not be saved in the row and you can fill it with the correct data.
The Save and Exit Icons
You may want to save the data after you have entered data in a screen. Click Ok button.
If you do not want to save the data in a screen, click the Cancel button.
To exit from a screen, click Exit or Cancel button which takes you to the Application Browser.
Fetch values from List of Values (LOV)
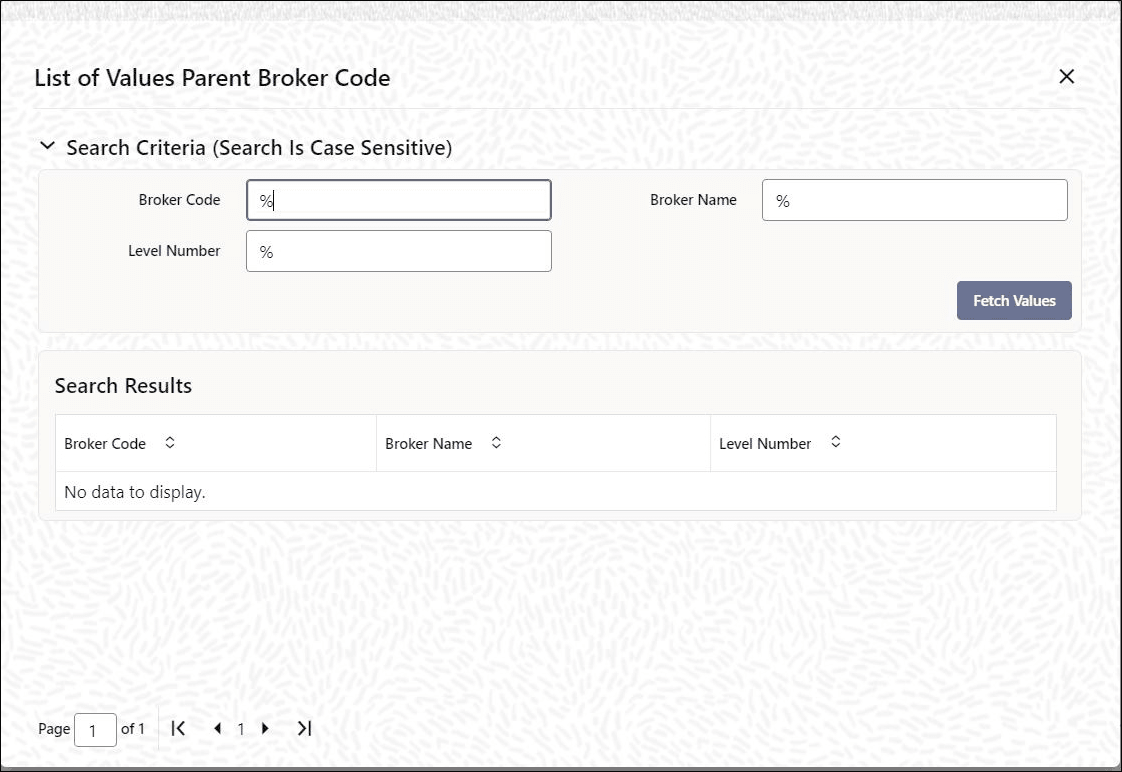
You can fetch data from an option list or list of values (LOV – ), if the LOV value is keyed in and tabbed out in its input field.
- If more than one value exists for the value keyed in the input field of LOV
- If no value exists for the value keyed in the input field of LOV
Figure 1-15 Example for LOV

- If the value that you have keyed in the input field has only one matching value in the LOV, then system will not open the LOV on tabbing out and all the return fields for that LOV will be automatically updated.
- If more than one record is available, then the system displays the first 10 pages of the records. Click Next, Previous, Last and First Page to view the next set of records, previous set of records, last set of records, and first set of records, respectively.
- If the total number of pages is less than 10, then the page count is displayed as Current Page of Exact Total Page Count . Else, the page count is displayed as Current Page of 10.
- For both extensible and non-extensible screens, you can also maintain a query; in addition to existing LOV, for a particular column.
Note:
You can use wild card character (%) to search records in List of Values. If Minimum Search Character Length is enabled for a List of Values field, then you need to enter the minimum number of search characters along with wild card character to get valid results.
If Exact Fetch is enabled for the field, then you must enter the exact text to get the value in the field.
Refer Open Development Tools User Guide for details on options to set Minimum Search Character Length or Exact Fetch for fields.
- OK – if less than or equal to 10 records are fetched.
- Please reframe your Search criteria – if more than 10 records are fetched.
- No Records found – if no records are found matching the search criteria.
- Error message – if the query fails
Note:
The LOV reduction field is case sensitive.Supported Date Formats
- M/d/yyyy
- M/d/yy
- MM/dd/yy
- MM/dd/yyyy
- yy/MM/dd
- yyyy-MM-dd
- dd-MMM-yy
- dd-MMM-yyyy
Supported Amount Formats
The following amount formats are supported in FCIS:
- .,(Dot Comma)
- ,.(Comma Dot)
- , (Comma Space)
Minimize and Maximize Main Screens
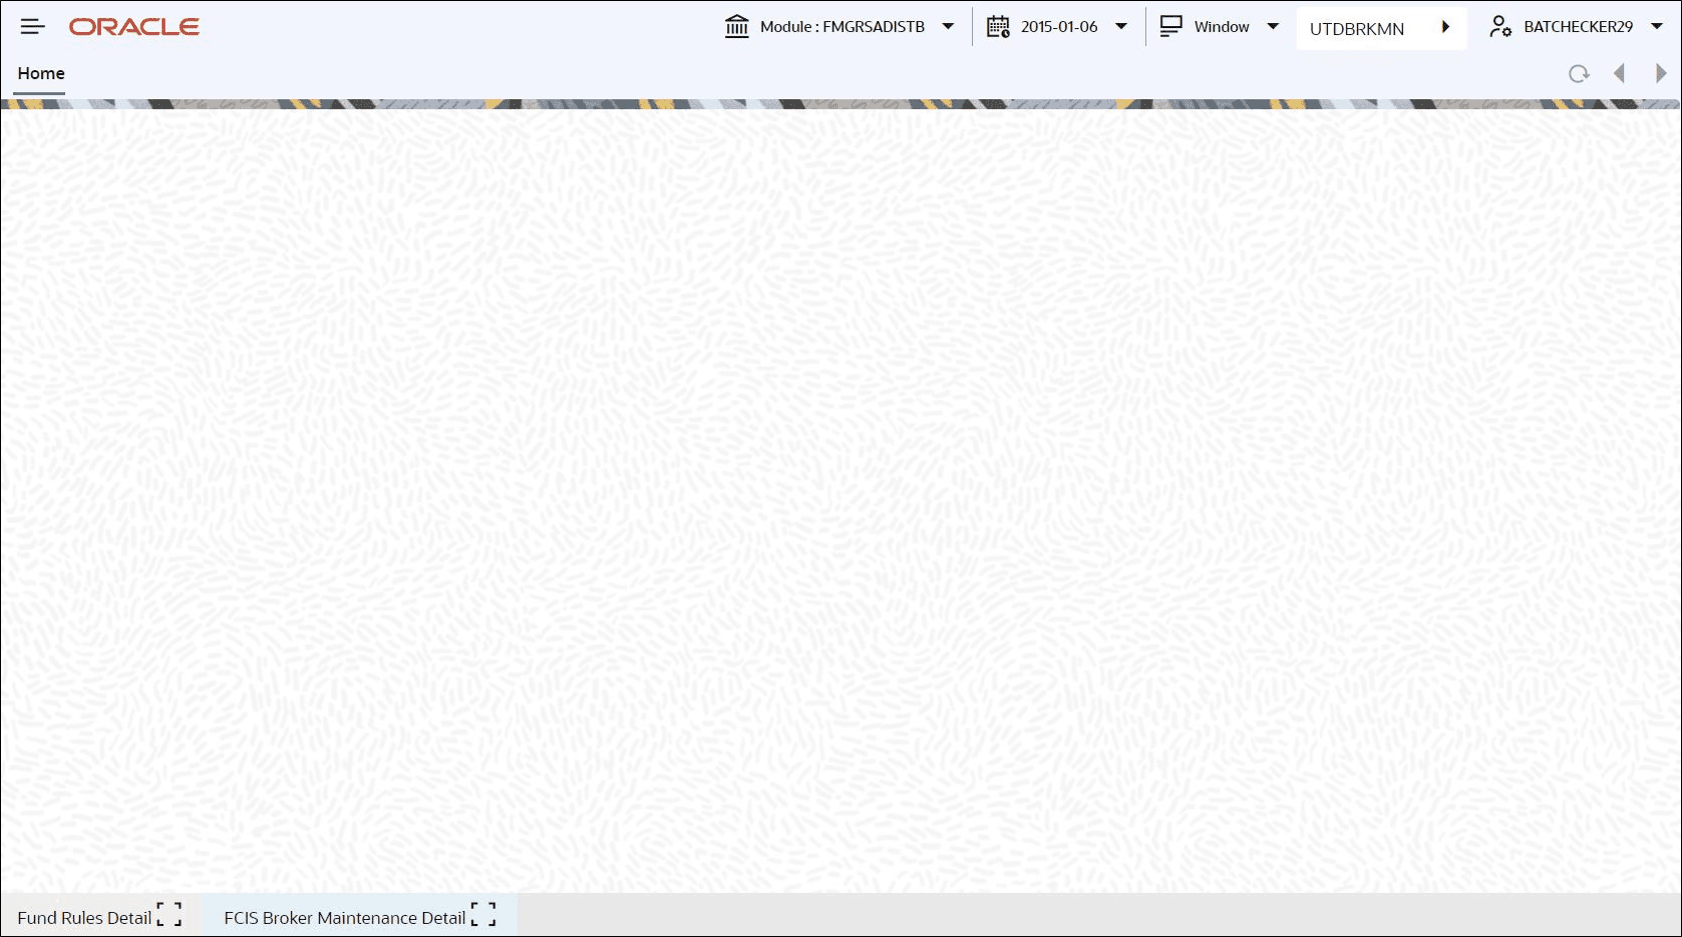
You can minimize main screens by clicking minimize button. The minimized screens reside in the provided taskbar. These minimized screens can be maximized either from the taskbar or from the windows menu option.
Figure 1-16 Example for Minimize Main Screen

Parent topic: Getting Started