This topic describes the systematic instructions to configure the service consumers.
The Service Consumer is an Oracle product that invokes Oracle Banking Routing Hub API. Oracle Banking Routing Hub analyses, evaluates the destination product processor, and transforms the data into a format of the same. It comprises the source and destination integration details.
Specify User ID and Password, and login to Home screen.
- On Home screen, clickCore Maintenance. Under Core Maintenance, click Routing Hub.
- Under Routing Hub, click Service Consumers.
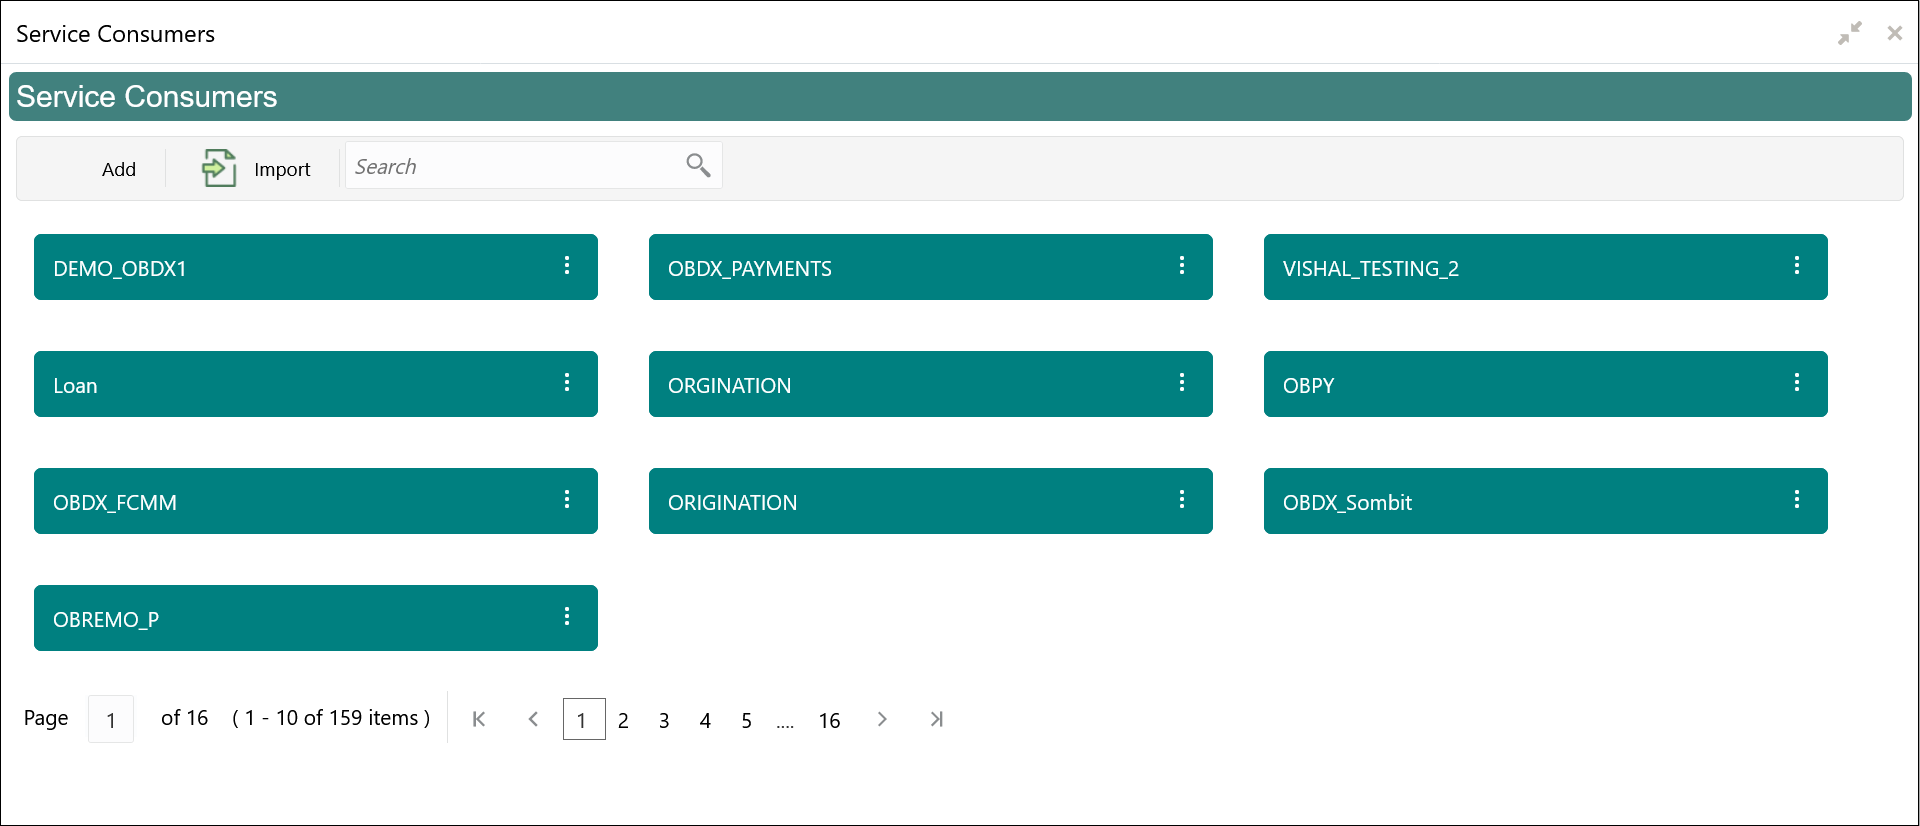
The
Service Consumers screen displays.
Add Service Consumer
The user can create new Service Consumer manually.
- Click Add.
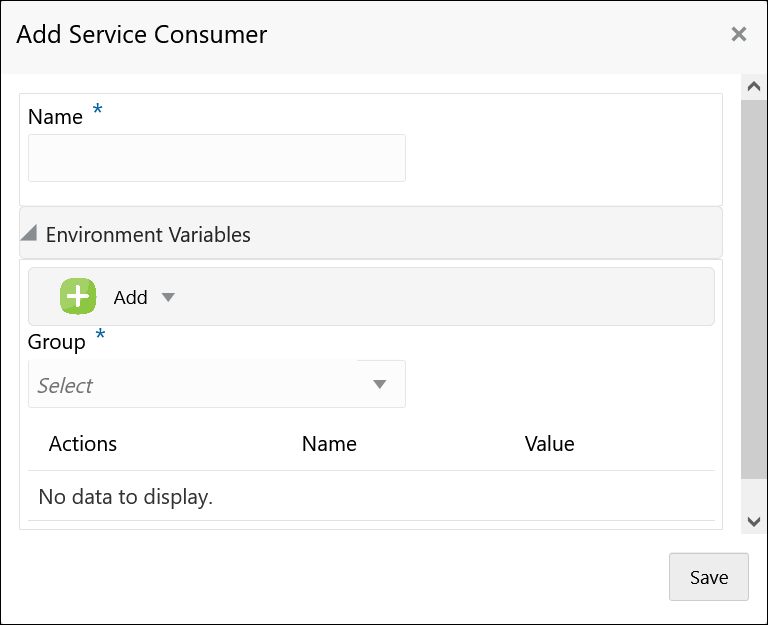
The
Add Service Consumer screen displays.
- Specify the fields on Add Service Consumer screen.
Note:
The fields, which are marked with an asterisk, are mandatory.
For more information on fields, refer to the field description table.
Environment Variables
The user must define the group of variables which can be accessed throughout the specific consumer’s configuration. The syntax for accessing environment variables is below: $env.Environment_Group_Name.Environment_Variable_Name
For example, $env.COMMON.BRANCH_CODE
- To add Environment Variables, follow the below steps.
- Click Add on the Add Service Consumers screen, and select Group from drop-down list to add the group.
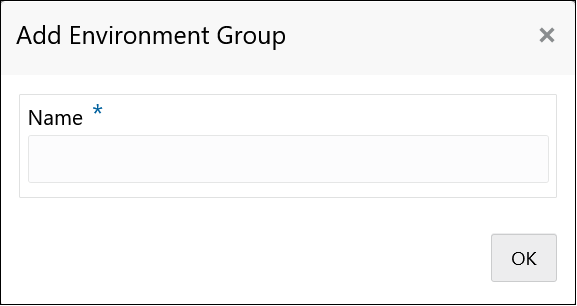
The
Add Environment Group screen displays.
- Specify the fields on Add Environment Group screen and click OK.
Note:
The fields, which are marked with an asterisk, are mandatory.
For more information on fields, refer to the field description table.
- Click Add on Add Service Consumer screen and select Variable from drop-down list to add the variable.
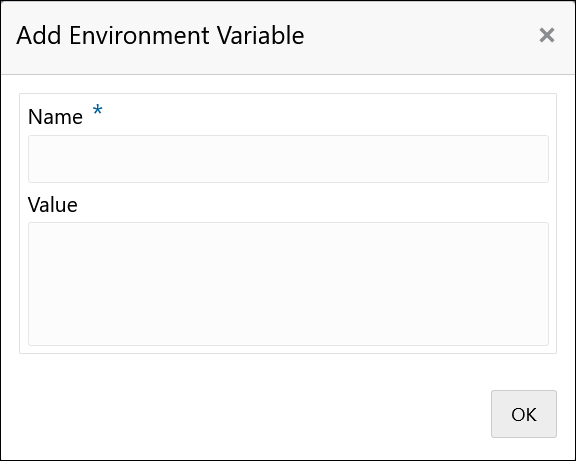
The
Add Environment Variable screen displays.
- Specify the fields on Add Environment Variable screen and click OK.
Note:
The fields which are marked with asterisk are mandatory.
For more information on fields, refer to the field description table below.
- Click Save to save the details.
The
Confirmation screen displays.
- Click Confirm to save the record.
Import Service Consumer
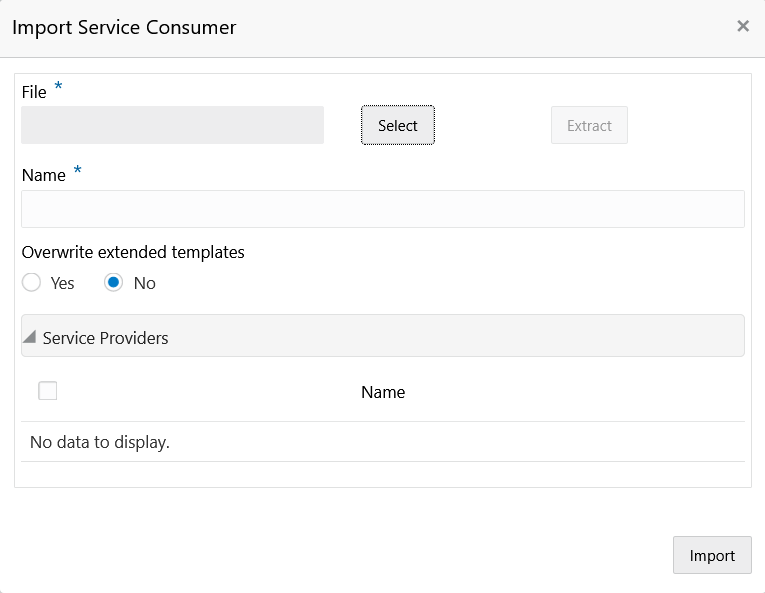
The user can create a service consumer by importing the JSON file and manually selecting the service providers or select all providers that needs to be imported. The user can also import zip file in order to import all the configuration JSON files together.
- Click Import.
The
Import Service Consumer screen displays.
- Specify the fields on Import Service Consumer screen.
Note:
The fields, which are marked with an asterisk, are mandatory.
For more information on fields, refer to the field description table.
- Click Import to import the selected service consumer file.
The
Confirmation screen displays.
- Click Confirm to import the file.
Note:
Below data needs to be changed after importing provider configuration file:
- Implementation Host and Port
- Implementation Authentication Password
View Service Consumer
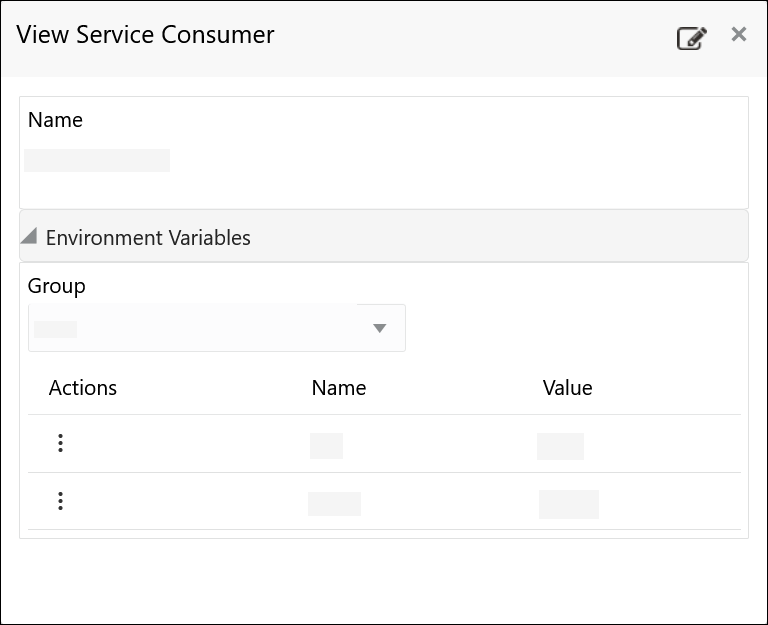
The user can view consumer details and can also switch to edit form by clicking on edit icon.
- On the Service Consumer tile, click Operation Menu (3 dot icon), and select View from the dropdown list.
The
View Service Consumer screen displays.
- Click Edit button to edit the Service Consumer.
Edit Service Consumer
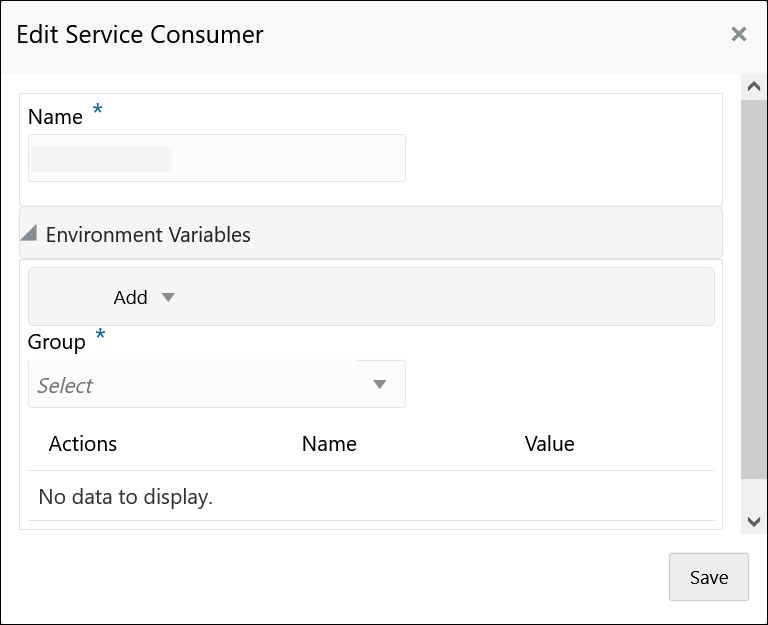
The user can modify the consumer details.
- On the Service Consumer tile, click Operation Menu (3 dot icon), and select Edit from the dropdown list.
The
Edit Service Consumer screen displays.
- Click Save to save the modified consumer details.
The
Confirmation screen displays.
- Click Confirm.
Delete Service Consumer
The user can delete the Service Consumer.
- On the Service Consumer tile, click Operation Menu (3 dot icon), and select Delete from the dropdown list.
The
Confirmation screen displays.
- Click Confirm to delete the service consumer.
JSON Export
The user can export the consumer configuration as JSON file.
- On Service Consumer tile, click Operation Menu (3 dot icon).
- On Export option, select JSON from the list.
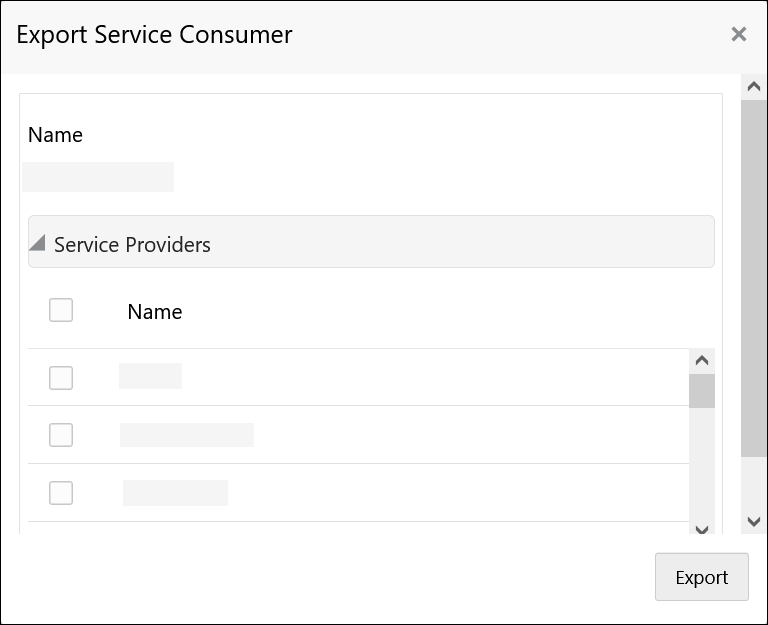
The
Export Service Consumer screen displays.
Note:
- The user has an option to select the service providers from the list which needs to be exported or can click on select all for all service providers.
- The JSON Export feature exports below data:
- Selected service consumer
- All consumer services
- Selected service providers with services
- All implementations of selected service providers with services (without Host, Port and Authentication Password)
- All transformations
- All routes
- Select the required service providers and click Export.
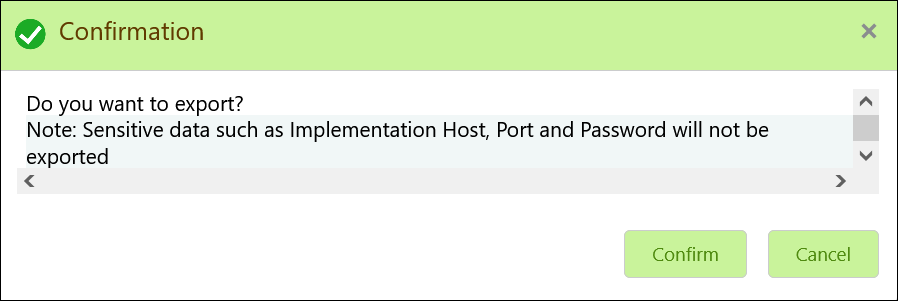
The
Confirmation screen displays.
- Click Confirm to export the service consumer in JSON file.
SQL Export
The user can export the consumer configuration as SQL file.
- On Service Consumer tile, click Operation Menu (3 dot icon).
- On Export option, select SQL from the list.
The
Confirmation screen displays.
Note:
The SQL Export feature exports entire configuration without Host, Port, and Authentication Password details.
- Click Confirm to export the consumer configuration as SQL file.
Configuration
- On Service Consumer tile, click Operation Menu (3 dot icon), and click Configuration.
The
Configuration screen displays.
Note:
Refer to
Configuration topic for the screen and field description.
Request Audit
- On Service Consumer tile, click Operation Menu (3 dot icon), and click Request Audit.
The
Request Audit screen displays.
Note:
Refer to
Request Audit topic for the screen and field description.
