1.8 Approval

This topic describes the systematic instruction to enable the approver to review the activity done across all the stages and provides final signoff to approve the customer onboarding.

The approver also has the option to validate of the captured details are as per Bank’s policy or not and if there are any steps required to mitigate the risk.

  1. Click Acquire and Edit in the Free Tasks screen of the previous stage Recommendation stage.
    The Approval screen displays.

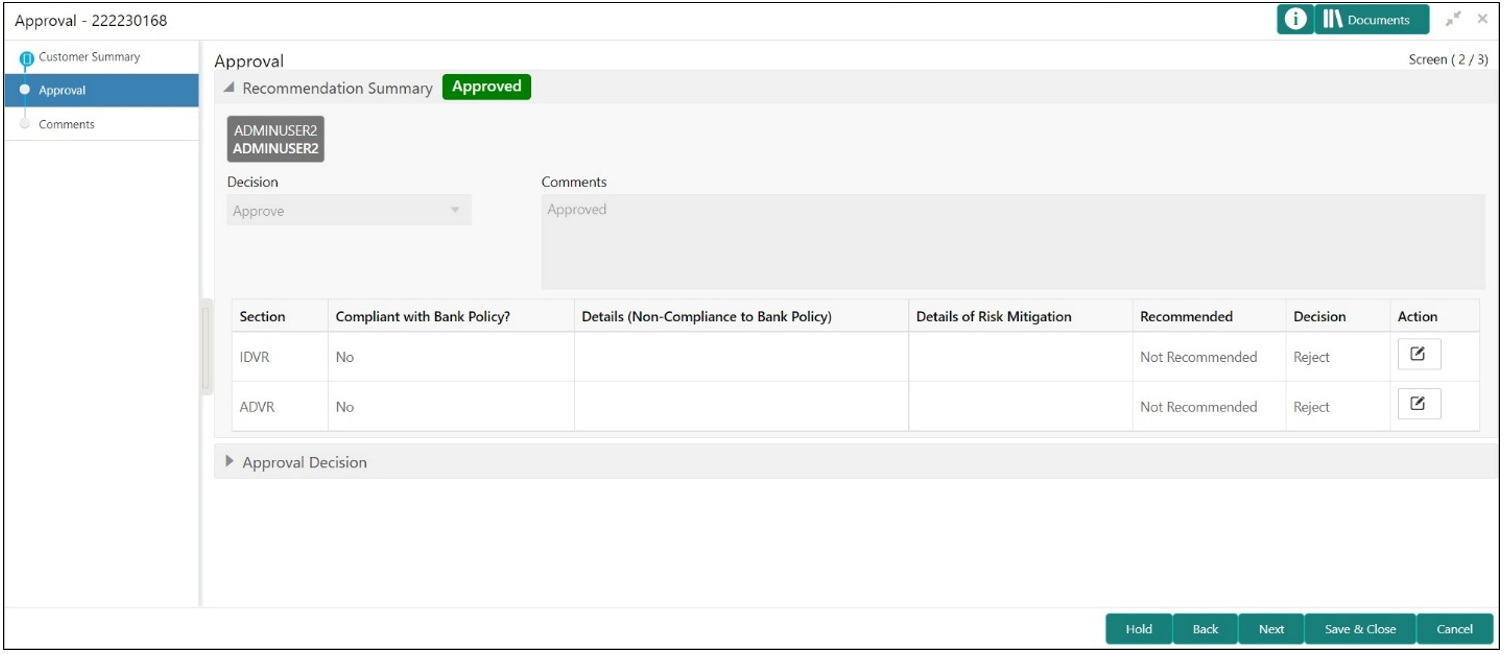
    Figure 1-42 Corporate Customer – Approval


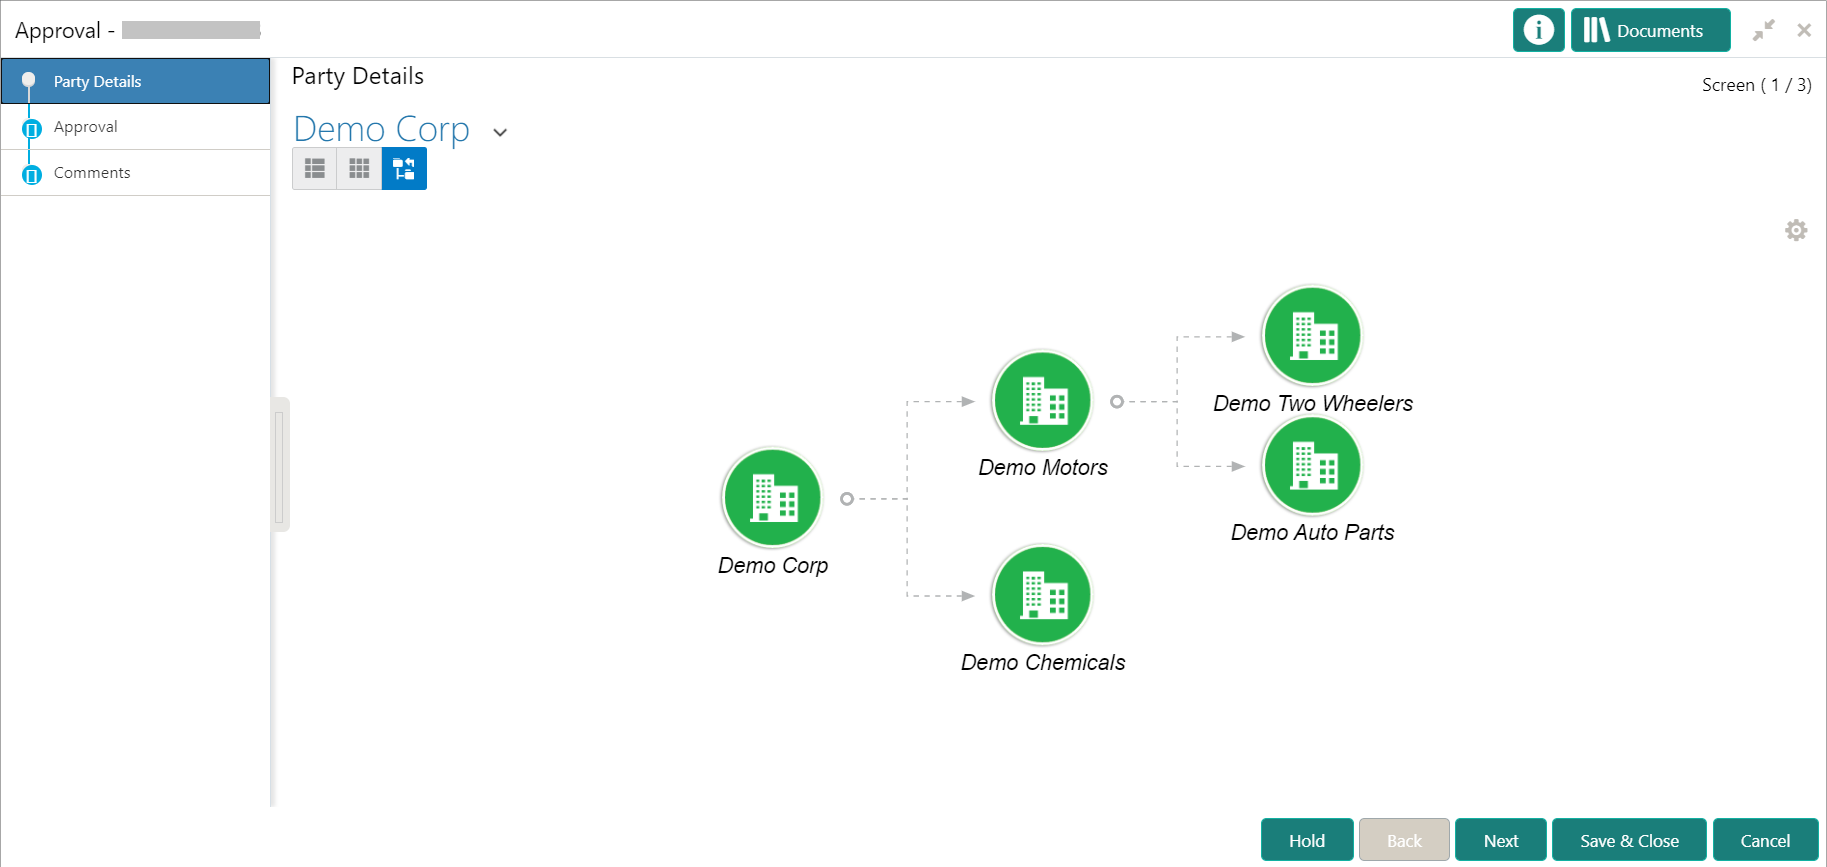
  2. Right-click on the Customer icon in tree view and select the View Option or Click Party ID hyperlink to view the details captured in List or table view.
  3. Click Next, once the details are reviewed.
    The Approval Comments screen displays.
  4. View the Recommendation Summary as Approved or Rejected based on the Recommendation Decision provided in Recommendation stage.

    Note:

    If more than one Recommendation user is configured, Recommendation summary will be determined are as follows:

    Table 1-20 Recommendation Summary

    Number of Users Individual Decision Recommendation Summary
    2 User (User 1 & User 2)

    User 1 – Approved

    User 2 – Approved

    Approved
    2 User (User 1 & User 2)

    User 1 – Approved

    User 2 – Rejected

    Rejected
    3 Users (User 1 & User 2 & User 3)

    User 1 – Approved

    User 2 – Rejected

    User 3 – Approved

    Rejected
  5. Click and Expand the Recommendation Summary to view the Recommendation Decision and Comments from respective users from Recommendation stage.
    The Recommendation Summary screen displays.
  6. Click Action to see Recommendation details and KYC details for the respective KYC types.
  7. Click and Expand Approval Decision to provide Approval Decision and Comments for Party Onboarding.
    The Approval Decision screen displays.
  8. Click Next to Comments data segments.
    The Approval – Comments screen displays.
  9. Specify the Overall Comments for the Approval stage and click Post.
  10. Click Submit to complete the Onboarding process.