Performing User Group and User-User Group Mapping Reconciliation

Performing reconciliation activity creates accounts in OIM, and if a user exists, the OIM account is mapped to the user. If a user doesn’t exist, create the user profile in OIM, where the user login is the same as the user account. This maps the user to the OIM account created during reconciliation.

Note:

If you use OFSAA Native Authentication (SMS), then the password policy for OIM and OFSAA should be the same.

If OFSAA is deployed on WebLogic, then add the following tag in the security-configuration tag in the <domain_home>/config/config.xml file to enable REST API authorization by OFSAA:

<enforce-valid-basic-auth-credentials>false</enforce-valid-basic-auth-credentials>

The following is the procedure to perform user group reconciliation, and user-user group mapping reconciliation:
  1. Login to OIM SYSADMIN Console.
  2. Click Access Policies in Policies from the left menu to view the Manage Access Polices window.
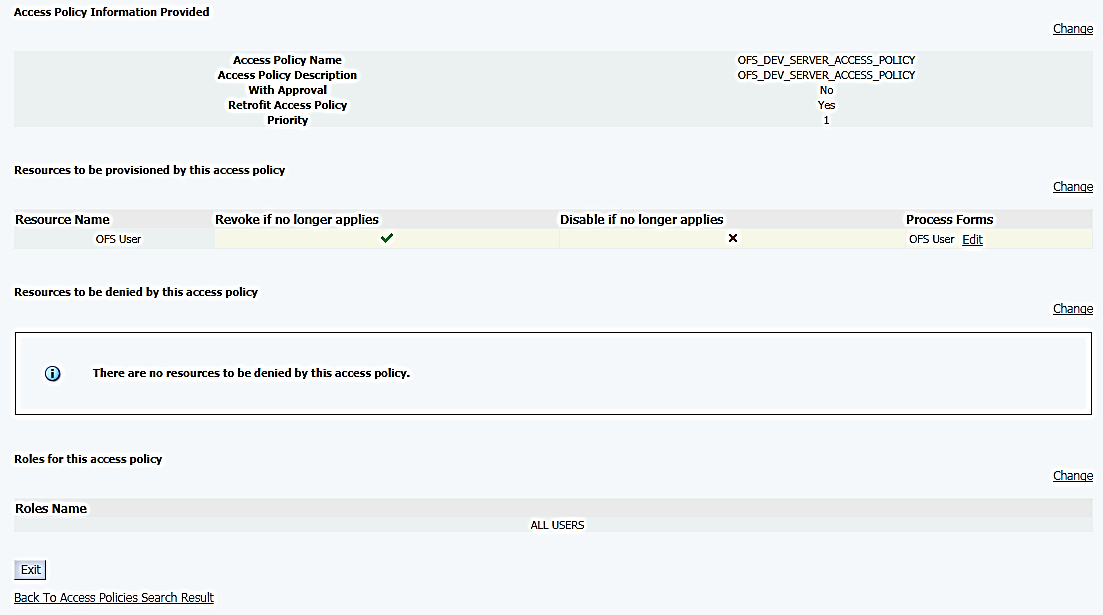
  3. Search for server access policy in the window and click the server access policy name to view the Access Policy Information window.

    Figure 12-24 Access Policy Information window


    This image displays the Access Policy Information window.

  4. By default, All Users role is mapped to the server access policy. To create and map Roles to provision specific users, see https://docs.oracle.com/cd/E40329_01/user.1112/e27151/role_mangmnt.htm#OMUSG3006.
  5. Click System Management to view the window and click the Scheduler tab to view the Scheduler window.
  6. Enter OFS* in Search Scheduled Jobs and click the Forward Arrow icon to view the OFSAA group jobs.
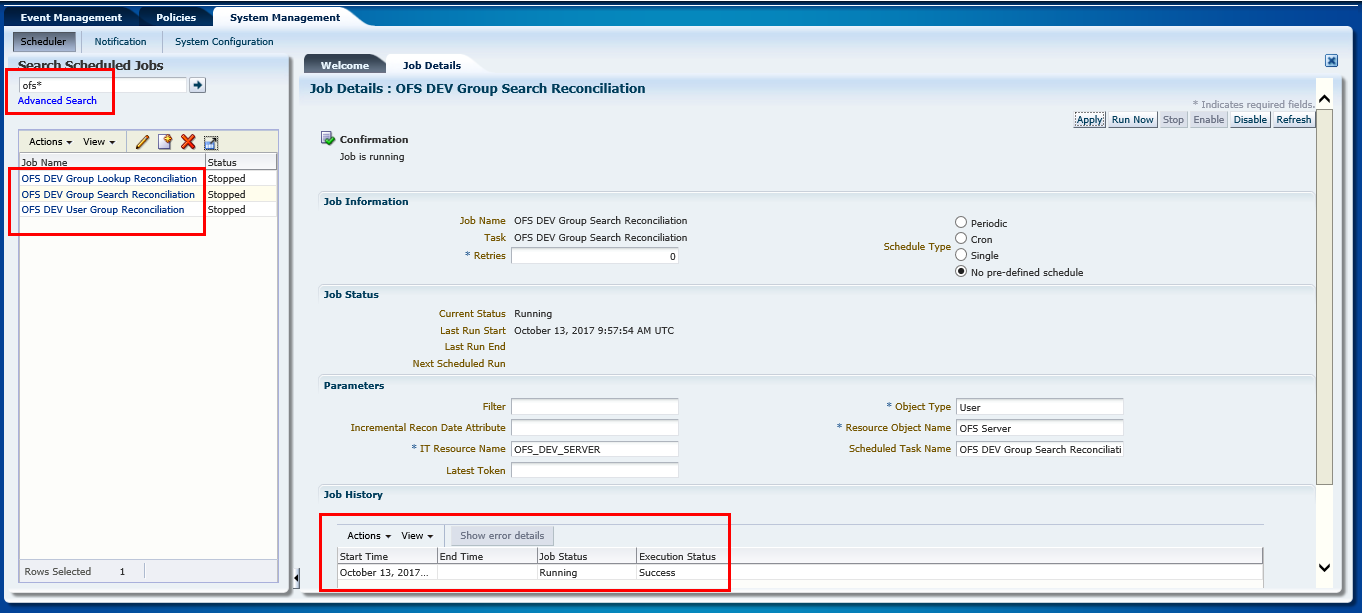
  7. Click OFS {OFSAA_ID} Group Search Reconciliation to view the OFS {OFSAA_ID} Group Search Reconciliation window.

    Figure 12-25 OFS {OFSAA_ID} Group Search Reconciliation window


    This image displays the OFS {OFSAA_ID} Group Search Reconciliation window.

  8. Select from Schedule Type, the frequency at which you want to run the job. Select one from the following options:
    1. Periodic - Select this option if you want to run the job at a specific time and on a recurring basis. Enter an integer value in the Run every field in the Job Periodic Settings section and select one of the following values:
      • mins
      • hrs
      • days
    2. Cron - Select this option if you want to run the job at a particular interval and on a recurring basis. For example, you can create a job that runs at 8:00 A.M. every Monday through Friday, or at 1:30 A.M. every last Friday of the month. Specify the recurrence of the job in the Cron Settings section. Select any of the following values in the Recurring Interval field:
      • Daily
      • Weekly
      • Monthly on given dates
      • Monthly on given weekdays
      • Yearly

      After selecting a value, you can enter an integer value in the Days between runs field.

    3. Single - Select this option if you want to run the job only once at a specific start date and time.
    4. No pre-defined schedule – Select this option if you do not want to create a schedule that triggers the job automatically. To trigger the job, click Save and Run Now.
  9. Run OFS {OFSAA_ID} Group Search Reconciliation and check for successful execution of the run.
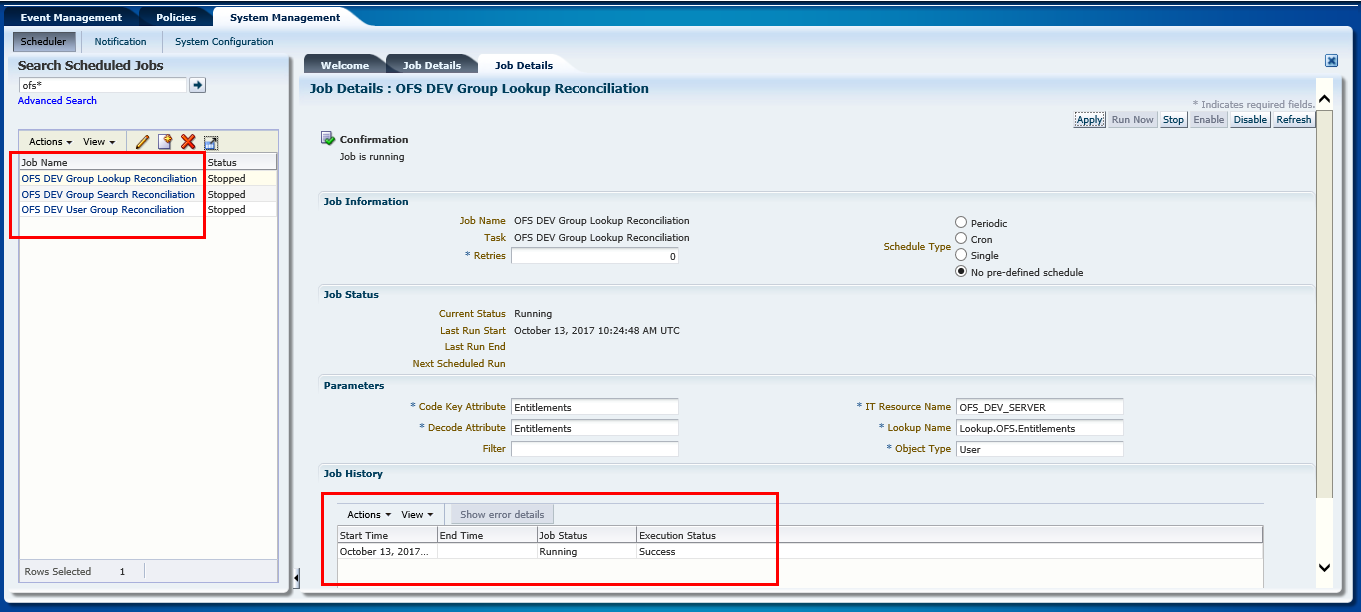
  10. Click OFS {OFSAA_ID} Lookup Search Reconciliation to view the OFS {OFSAA_ID} Lookup Search Reconciliation window.

    Figure 12-26 OFS {OFSAA_ID} Group Search Reconciliation window


    This image displays the OFS {OFSAA_ID} Group Search Reconciliation window.

  11. Select from Schedule Type, the frequency at which you want to run the job. For description, see Schedule Type.
  12. Run OFS {OFSAA_ID} Lookup Search Reconciliation and check for successful execution of the run.
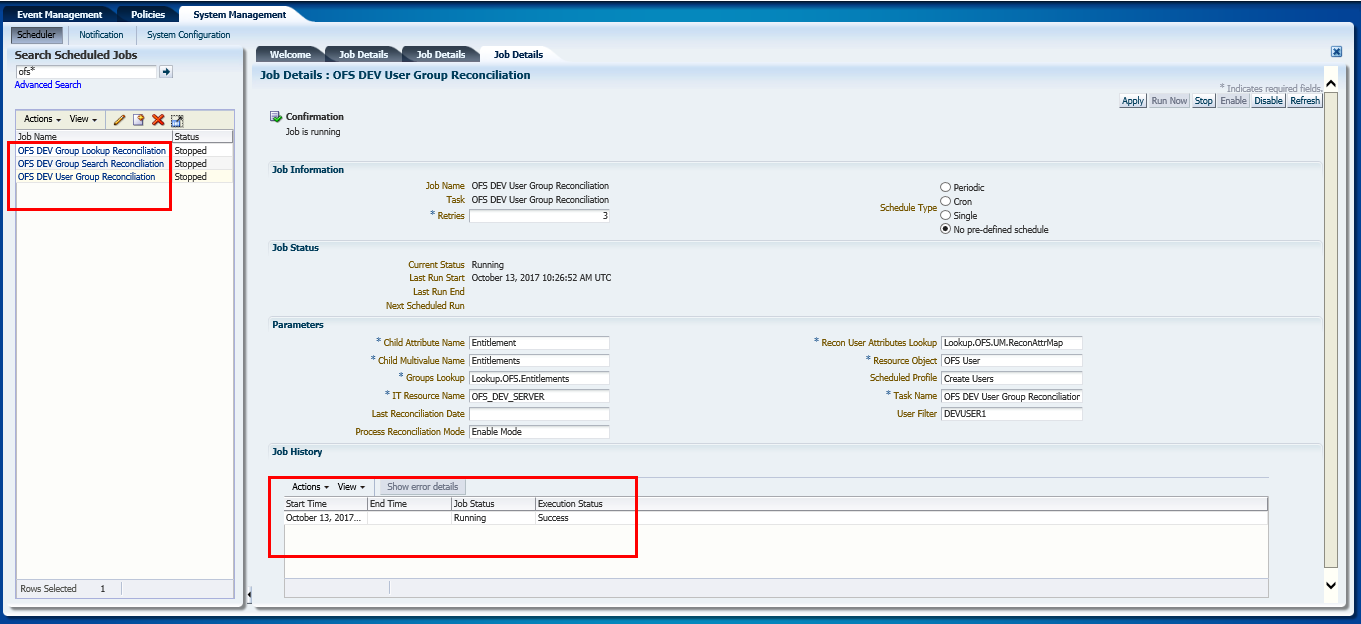
  13. Click OFS {OFSAA_ID} User Group Reconciliation to view the OFS {OFSAA_ID} User Group Reconciliation window. Reconcile existing user-group mapping from OFSAA to OIM based on the User Filter field on this window.

    Figure 12-27 OFS {OFSAA_ID} Group Search Reconciliation window


    This image displays the OFS {OFSAA_ID} Group Search Reconciliation window.

  14. Select from Schedule Type, the frequency at which you want to run the job. For description, see Schedule Type.
  15. Enter the login user name in User Filter to apply the user group reconciliation to. To add more than one user name, separate by using commas (,). Leave the field empty to apply to all users.
  16. Run OFS {OFSAA_ID} User Group Reconciliation and check for successful execution of the run.