- Process Modelling Framework Orchestration Guide
- Calling another Pipeline from Your Parent Pipeline
- How to Configure Sub Pipeline
How to Configure Sub Pipeline
The following steps enables you to configure a Sub Pipeline:
- From the Process Flow tab, click the Sub Pipeline icon from the Activity toolbar and click the drawing canvas where you want to place it.
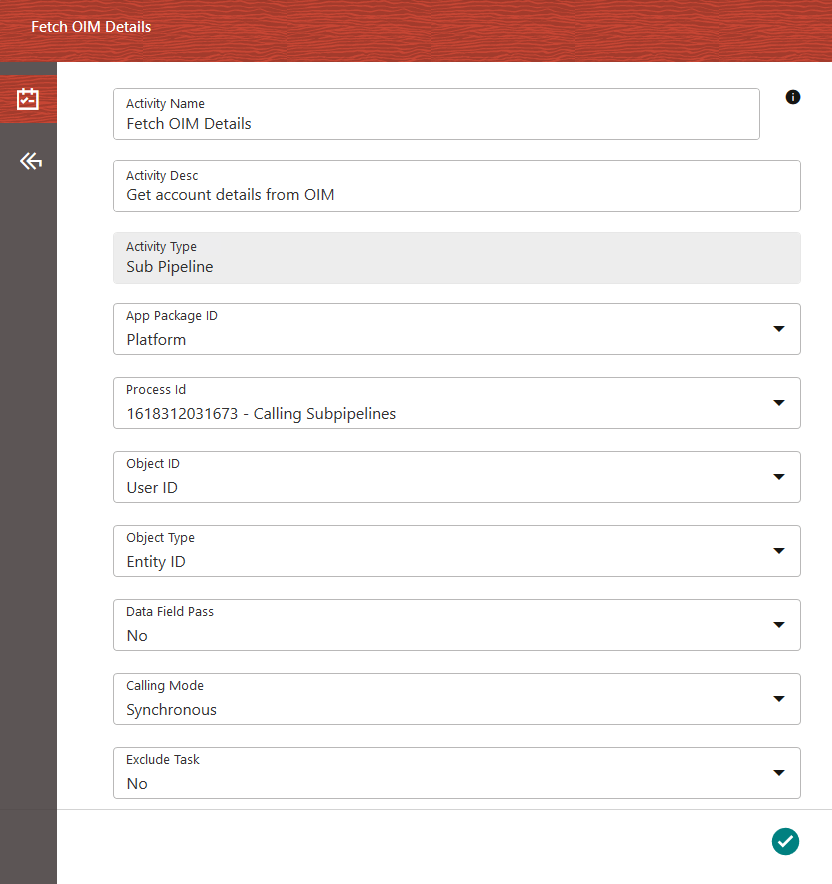
- Double-click the Sub Pipeline icon on the canvas. The Sub Process Details
window is displayed.
Figure 12-2 Sub Process Details window

- Enter the details as given in the table:
Table 12-1 Sub Process Details Description
Field Name Description App Package ID Select the Application Package from which you want to call a process, from the drop-down list. The package IDs that are seeded from the backend are displayed in the list. Process ID Select the Process that you want to call within your workflow, from the drop-down list. The list displays all processes defined for the selected Application Package. Object ID Select the Object ID from the drop-down list. Object ID is the entity ID used to identify if a workflow needs to be started from the beginning of the current stage. Object ID drop-down list is populated from the Data Fields. Object Type Select the object type from the drop-down list. Object Type is used to identify a workflow that is passed by the application. Data field pass Select Yes to pass the parameters passed to the parent workflow to be passed to the selected sub pipeline. Calling Mode - Synchronous – Select this option if you want the sub pipeline to complete before the flow moves to the next activity.
- Asynchronous – Select this option if you do not want to wait for the sub pipeline to complete. Besides, the parent workflow proceeds to the next activity.
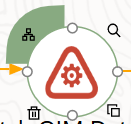
- Mouse-over the Sub Pipeline icon to display the submenu.
Figure 12-3 Mouse-over Sub Pipeline Icon to display the Submenu

- Click the Filter icon to display the Filter details.For more information on selecting Filters, see Filter Details.