4.9.1.1 Create Data Stratification Tier
This section provides the details on creating the data Stratification.
To create data Stratification rule, follow these steps:
- Navigate to Stratification Tiers page.
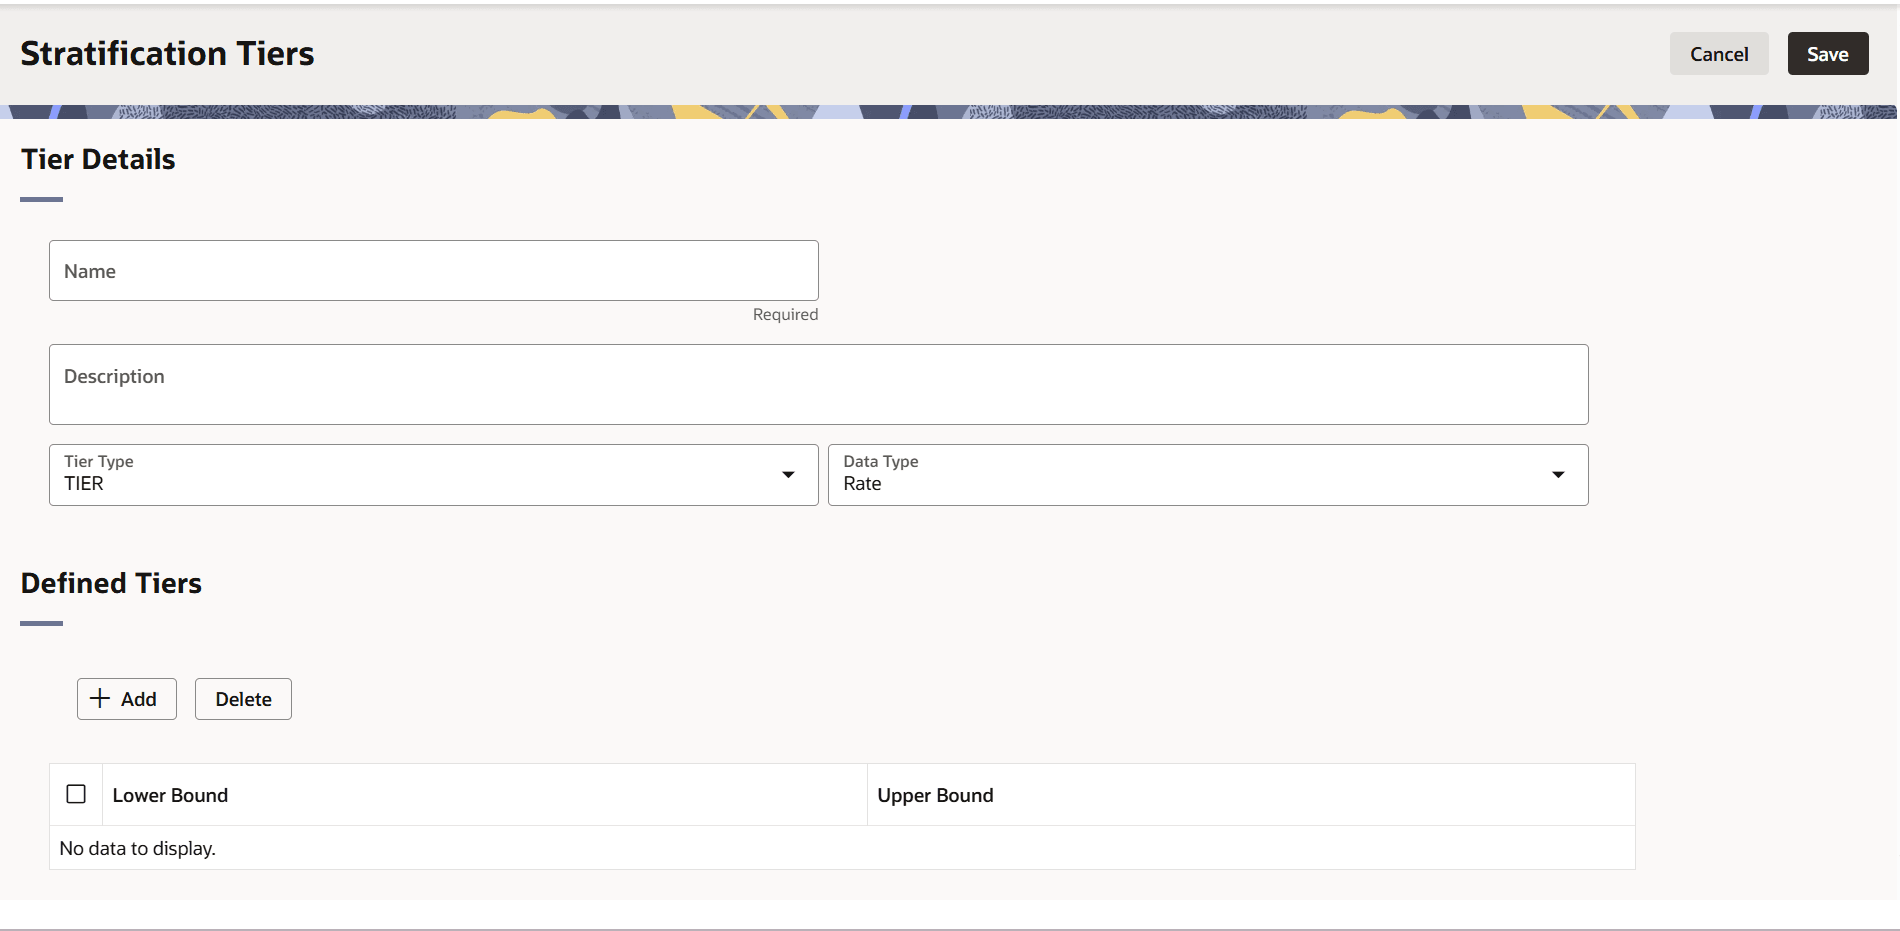
Figure 4-65 Data Stratification Tier

- Provide a unique Name and Description for the Stratification Tier.
- Select the Tier Type as Tier or Discrete.
- Tier: This can be defined as a range of lower and upper values.
Example (for amount):
Tier# Lower Bound Value Upper Bound Value 1 1 5,000 2 5,001 25,000 3 25,001 100,000 Note:
Tier will have a lower and upper value. Following validations are applied on UI:
- Set the lower- and upper-bound amounts for the tiers.
- The lower-bound value must be less than or equal to the upper-bound value.
- The lower-bound value must be greater than the upper-bound value of previous range.
- Values must not overlap
- Discrete: This is defined a discrete list of values and generally used for text or code fields example, yes/no flag.
Note:
The Discrete option populates the pool with discrete values for an attribute if there is no logical or mathematical way to group instruments with different values, and the attribute is significant for processing purposes. Select Discrete option for an attribute ensures that only instruments with matching values are grouped in a pool. The Discrete option may be the correct choice for important code fields. Be careful when using the discrete action on the amount, date, or rate fields. These types of fields tend to have many discrete values. - Tier: This can be defined as a range of lower and upper values.
- Select the column Data Type (Amount, Rate, Date, or Integer) that this definition will apply to. This selection will limit the columns where this Tier rule will be available for selection in the Stratification Definition Rule.
- Define each tier with lower and upper bounds and add as a defined range. Click Add to add the tier. Additionally, use Delete to delete the individual tier definitions if required.
- After all Tier ranges are defined, select Save to save the assumptions and exit the Tier screen.
The tier definitions created in this step are mapped to the individual columns in the Stratification Definition rule on the Stratification tab.