5.1.6 Object Migration
The Custom Archives objects can be Exported / Imported from one setup to another setup using the Object Migration framework. The Object Type Custom Archives is available in Object Migration Export window.
For more information, see the Object Migration section.
To export the Custom Archive objects, follow these step:
- Click Add in the Object Export Summary page to view the
Migration Definition page.
Figure 5-4 Object Export Summary page

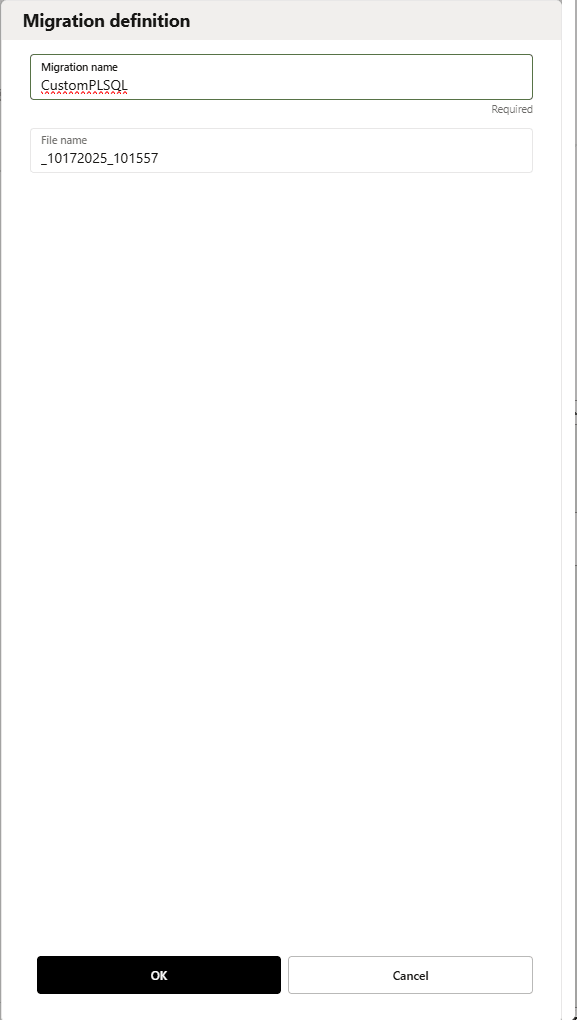
- Enter the following details, in the Migration Definition page.
Figure 5-5 Migration Definition Page

- Migration Name: Enter the code of the export of objects to be migrated definition. This is a unique identifier.
- File Name: The system auto-creates the file name of the
objects that can be used to export the definition in the following
format:
- For Business Objects: Migration Name_BO_Time
Stamp_Tenant_Release Version (time stamp format: MMDDYYY HHMMSS)
Example: EXP_DQRULE_BO_07312025_162240_zqvzly-prd_25_09_01.DMP
- For Identity Objects: Migration Name_IDM_Time
Stamp_Tenant_Release Version (time stamp format: MMDDYYY HHMMSS)
Example: EXP_DQRULE_IDM_07312025_162240_zqvzly-prd_25_09_01.DMP
- For Business Objects: Migration Name_BO_Time
Stamp_Tenant_Release Version (time stamp format: MMDDYYY HHMMSS)
- Click Ok to save the details and view the Object Selection Page.
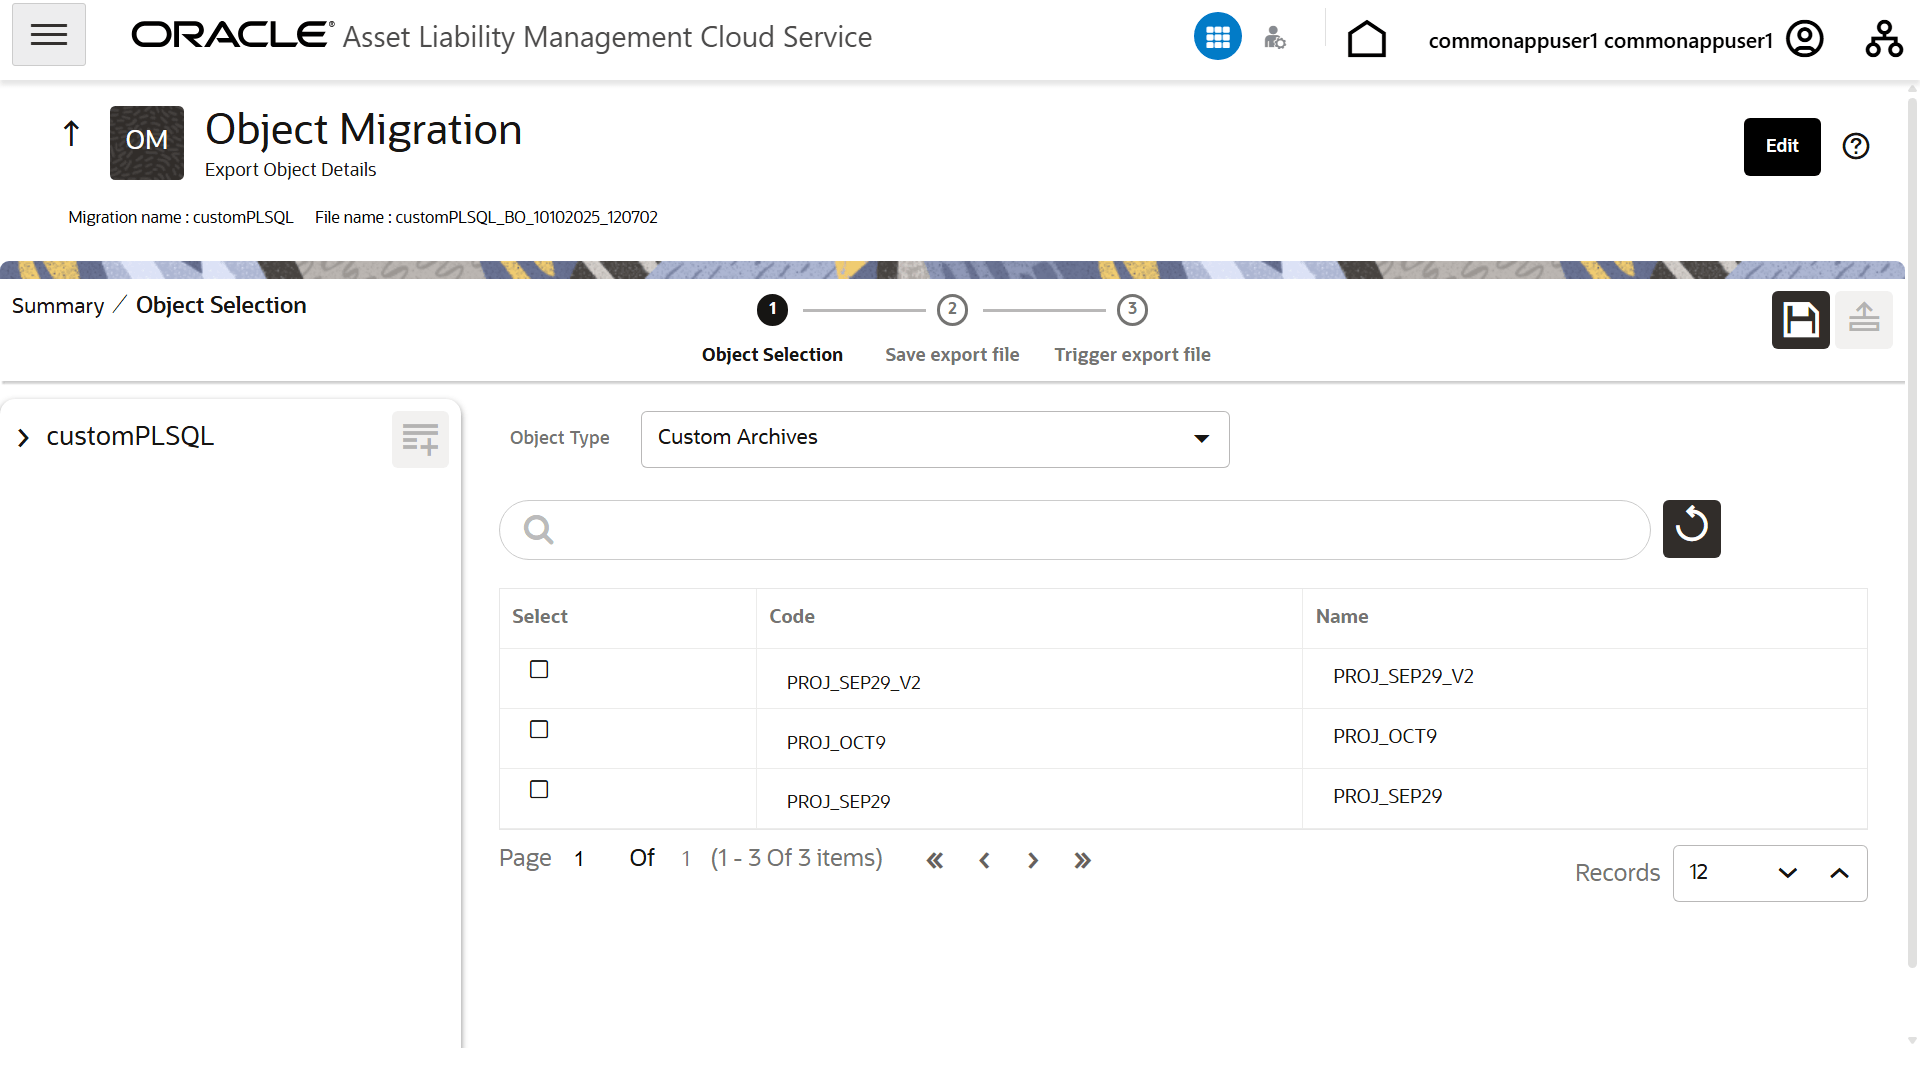
- Click Add Member icon to include Migration objects to the definition.
- Select the Object Type as Custom Archive from the Object Types
drop-down list.
Figure 5-6 Add Object

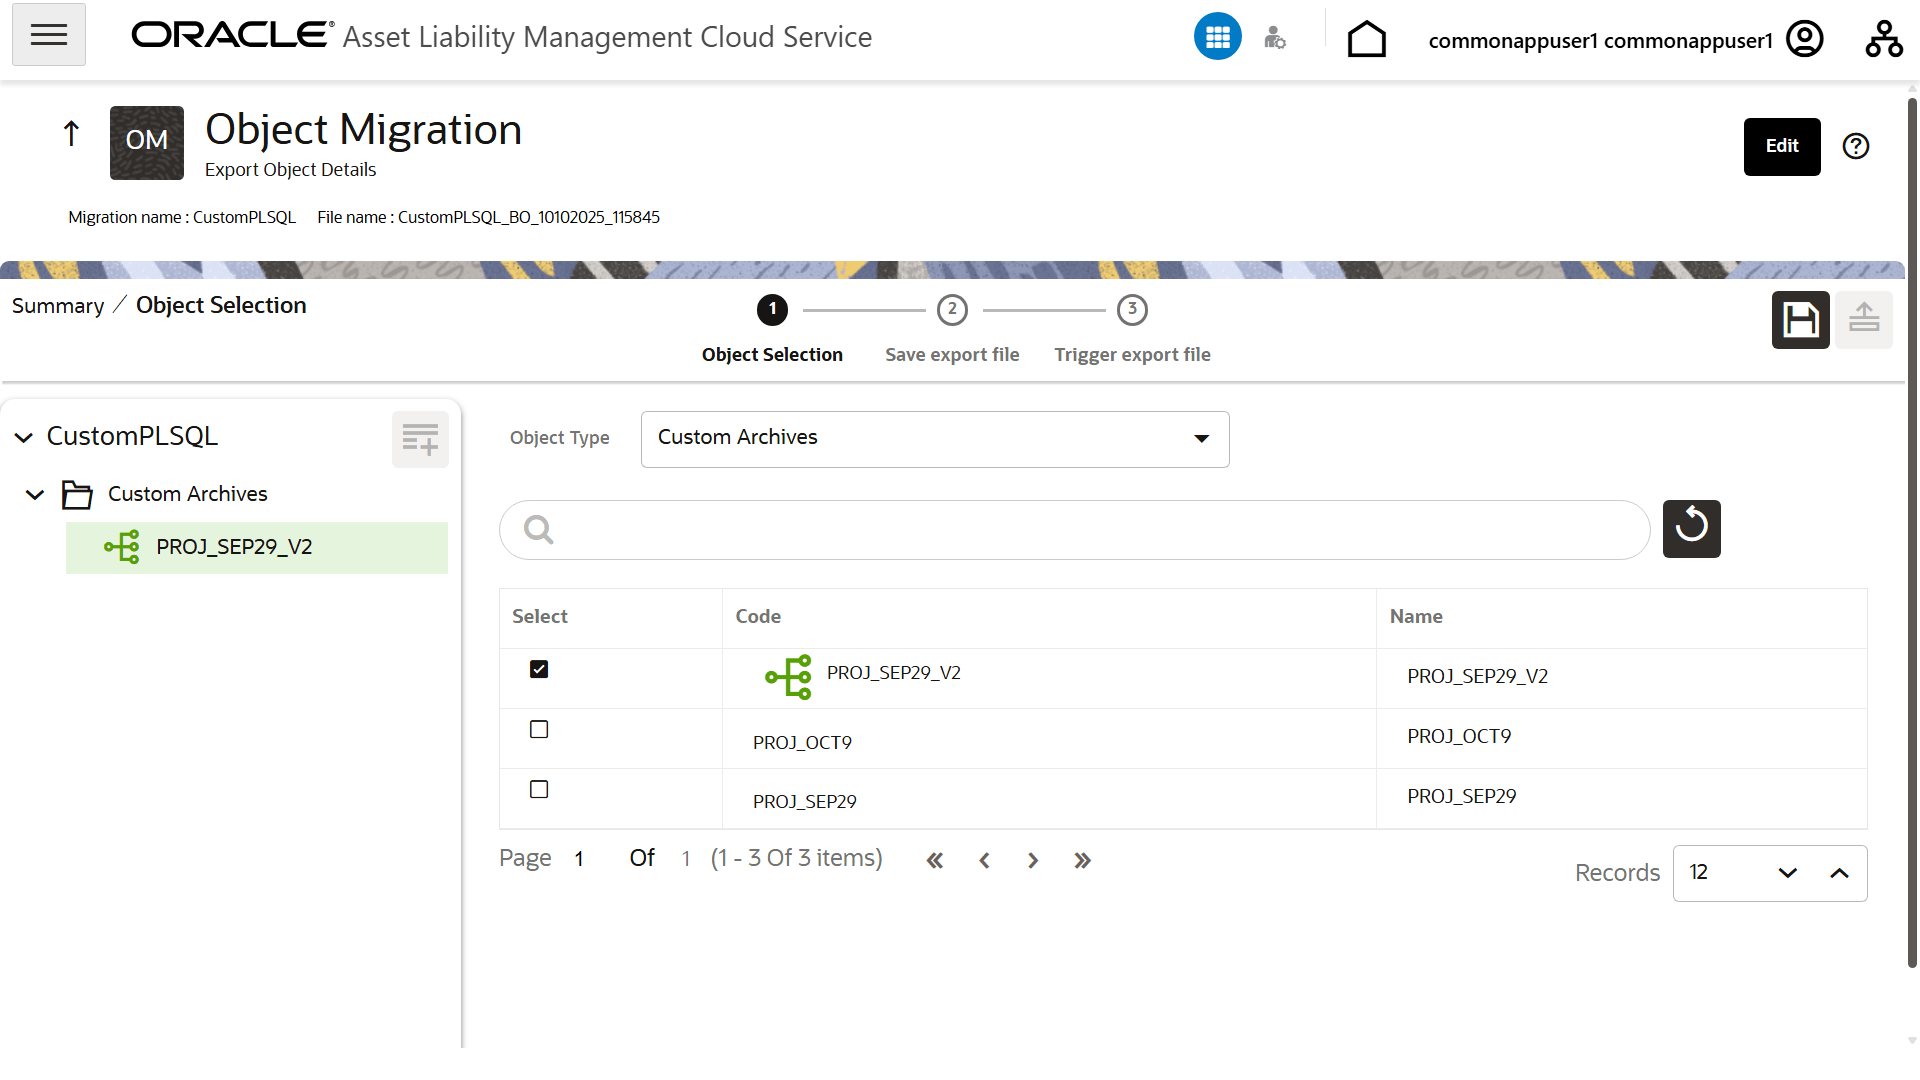
- Select the objects to be added to the Migrate Definition and click
Save, to create a new migration object. To select all objects, click the
check box adjacent to Code. The selected objects appear under Selected Objects on
the right.
Figure 5-7 Create a new migration object
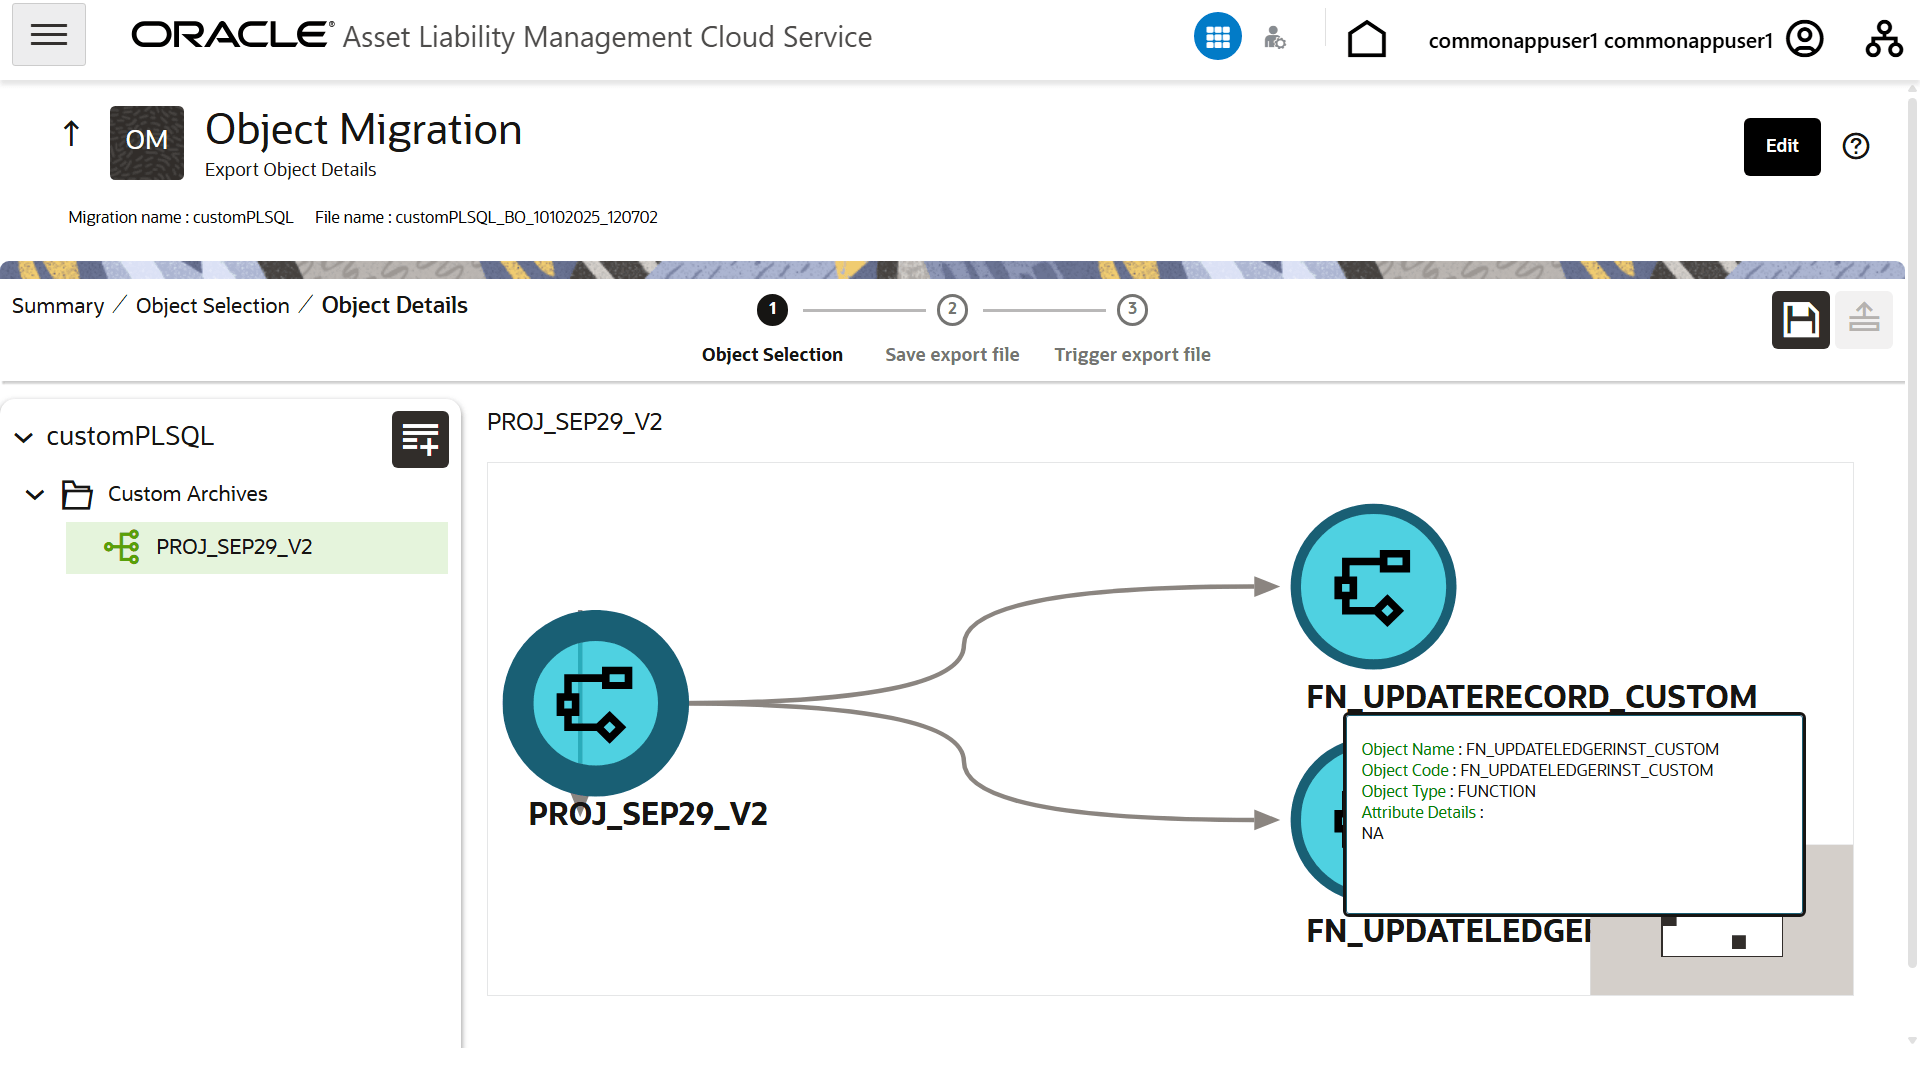
 Click Show Details to view the details.
Figure 5-8 View Details

A confirmation message is displayed, when the definition is saved successfully. The new migration definition is listed in the Object Export Summary Page and the status is set to Saved.
- You can also click Export, to export the object.
You can use the Export dump generated to import in a target environment. For more information on Import, see the Object Migration.