4.4.9.8 Save with Authorization
The Save with Authorization feature in Forms Designer (Sort Fields Selection Window) allows you to authorize the uploaded data. Authorization serves as a checkpoint for the validation of uploaded data.
Figure 4-44 Data Entry Save Authorization Window
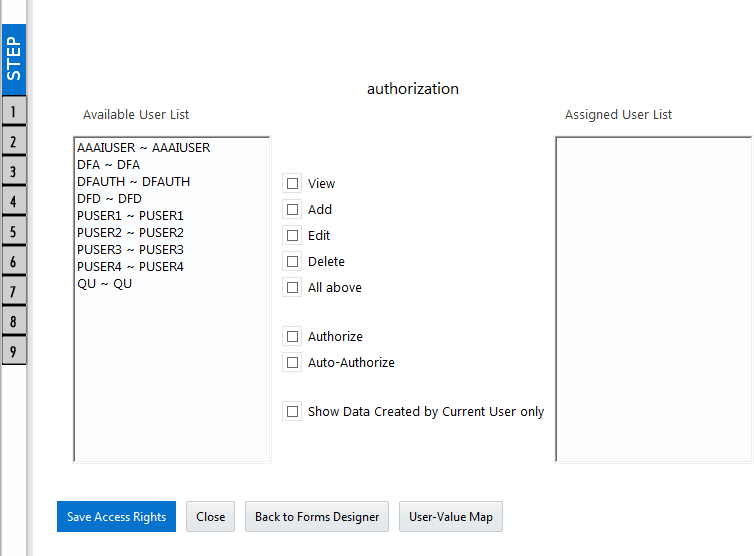
To authorize the uploaded data, you need to create a Form in DEFQ with the Save with Authorization check box selected.
- Before any DEFQ Form is created to authorize the data, the underlying table in the Data Model needs to have the below columns added to its table structure. You need to perform a Data Model Upload to have the new structures reflected in the application.
Columns required:
V_MAKER_ID VARCHAR2(20), V_CHECKER_ID VARCHAR2(20), D_MAKER_DATE DATE, D_CHECKER_DATE DATE, F_AUTHFLAG VARCHAR2(1), V_MAKER_REMARKS VARCHAR2(1000), V_CHECKER_REMARKS VARCHAR2(1000)
- Navigate to Create a New Form in the Forms Designer Section and complete the design steps up to Step
6. From the DEFQ Field Properties Window explained in step 7, select the appropriate values as listed below for Store Field As depending on the columns selected:
V_MAKER_ID - MakerID V_CHECKER_ID - CheckerID D_MAKER_DATE - Maker Date D_CHECKER_DATE - Checker Date
F_AUTHFLAG - AuthFlag V_MAKER_REMARKS - Maker Remarks V_CHECKER_REMARKS - Checker Remarks
- Click Save with Authorization .
After the data is loaded into the table, you can log in as 'Authorizer' and navigate to the Data Entry window. Select the Form to open and authorize the records loaded.