2.4.3.2.1 Adding Transactions
To add a transaction to a CTR, follow these steps:
- On the CTR Details page, click the Transactions tab. The Transaction Details page is displayed.
- Click Add to search and add a new transaction to the
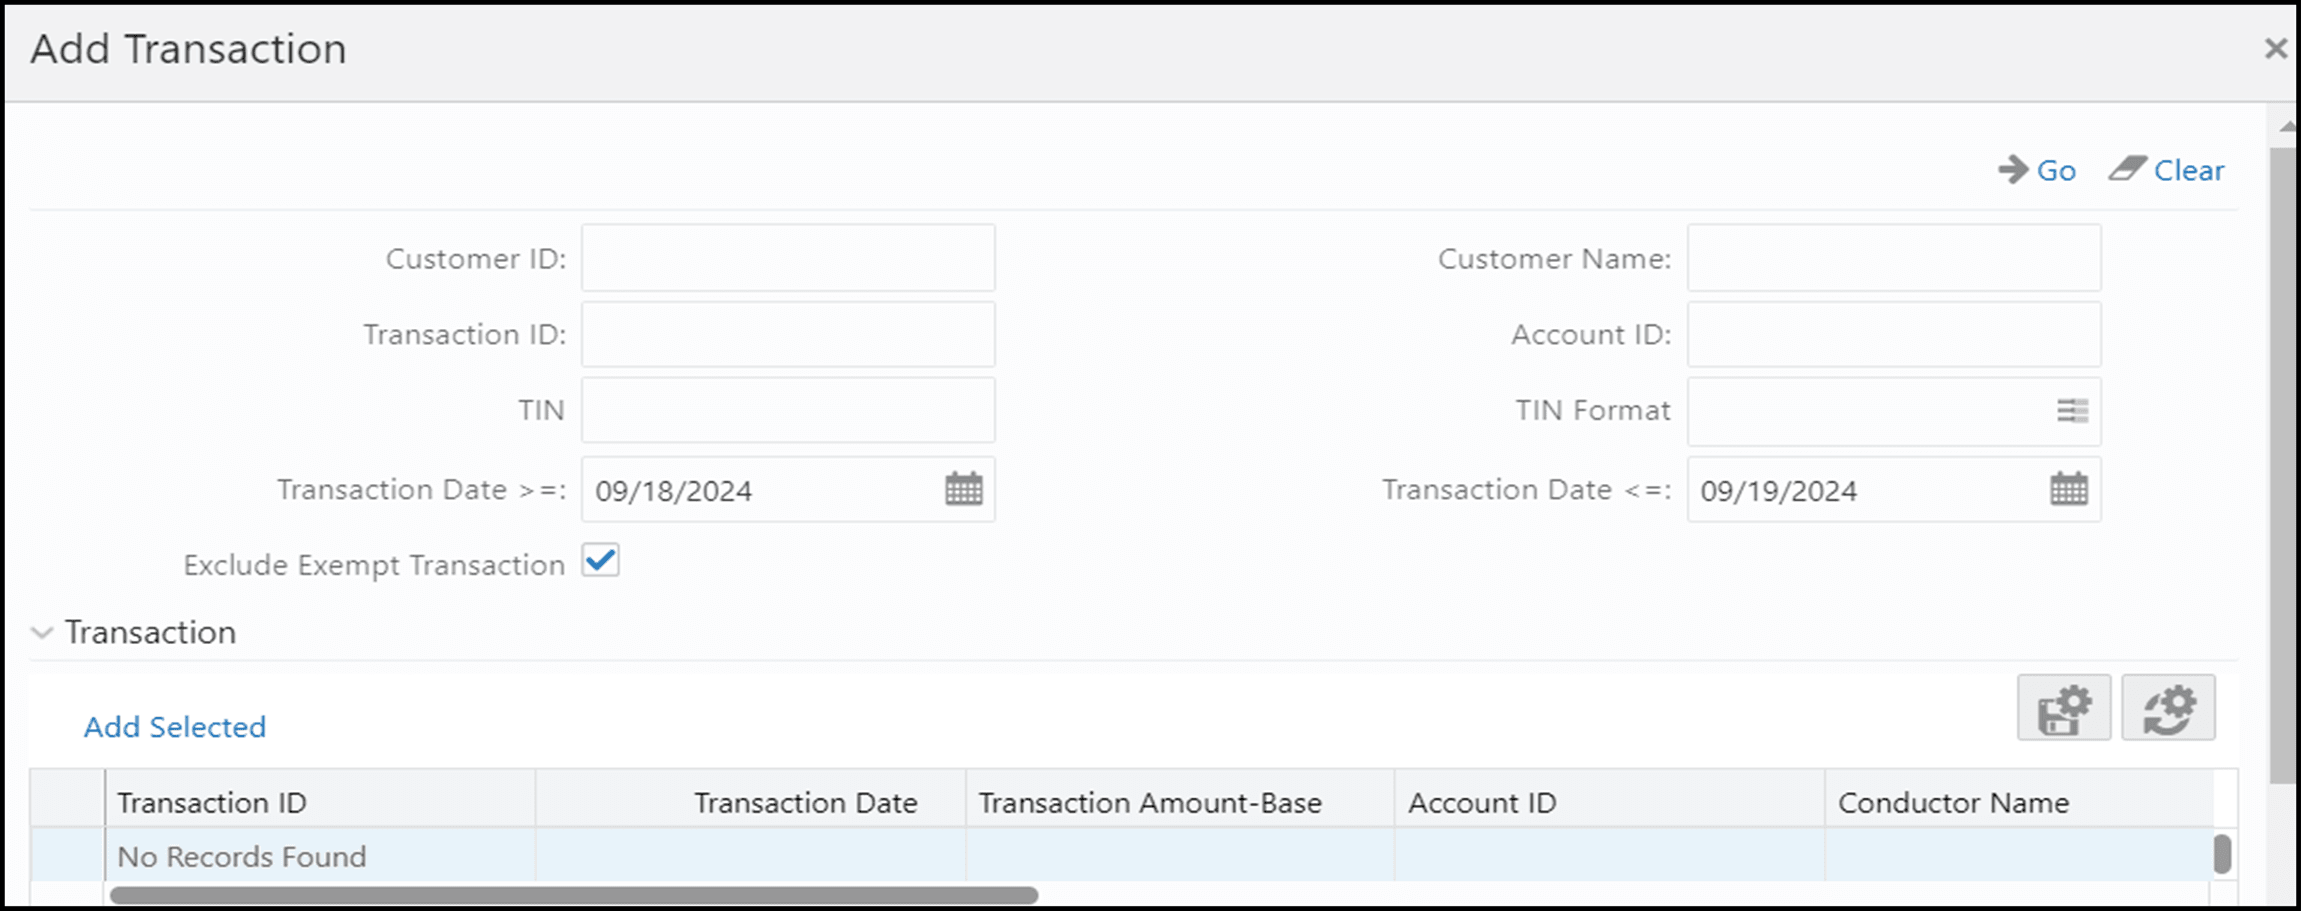
CTR. The Add Transaction window displays.
Figure 2-6 Add Transaction Window

- Enter the required fields as explained in the following table to search the
required transactions
Customer ID Enter the Customer ID to search for accounts associated with the entered customer (in the owning role) and its related transactions. Customer Name Enter the name of the Customer to search for accounts associated with the entered customer (in the owning role) and its related transactions. Transaction ID Enter the Transaction ID in this field to search for associated accounts and related customer identifier. You can enter multiple Transaction IDs separated by a comma. Account ID Enter the Account ID in this filed to search for transactions associated with the entered account identifier. TIN Enter TIN to search for transactions where the conductor TIN matches the entered value along with the format. CTR also searches for transactions with non-null account where the TIN of a customer with the owning role matches the entered value along with the format. TIN Format Select the required TIN format type from the drop-down list. Transaction Date >= Enter the transaction date using the calendar icon. CTR searches for transactions with the transaction date greater than or equal to the entered date. Transaction Date <= Enter the transaction date field using the calendar icon. CTR searches for transactions with the transaction date less than or equal to the entered date. Exclude Exempt Transaction This field is selected by default. Select this option to exclude the exempt transactions in the search results. - Click Go to search for transactions. The search results are displayed.
- Select the required transactions from the displayed search list, and click Add selected. A confirmation window displays.
- Click OK to confirm. The Transaction list is updated with the added transaction(s).