Create an Expression
The application enables the creation of expressions via the Expression Builder window. Only an Analyst and Admin user can create an expression.
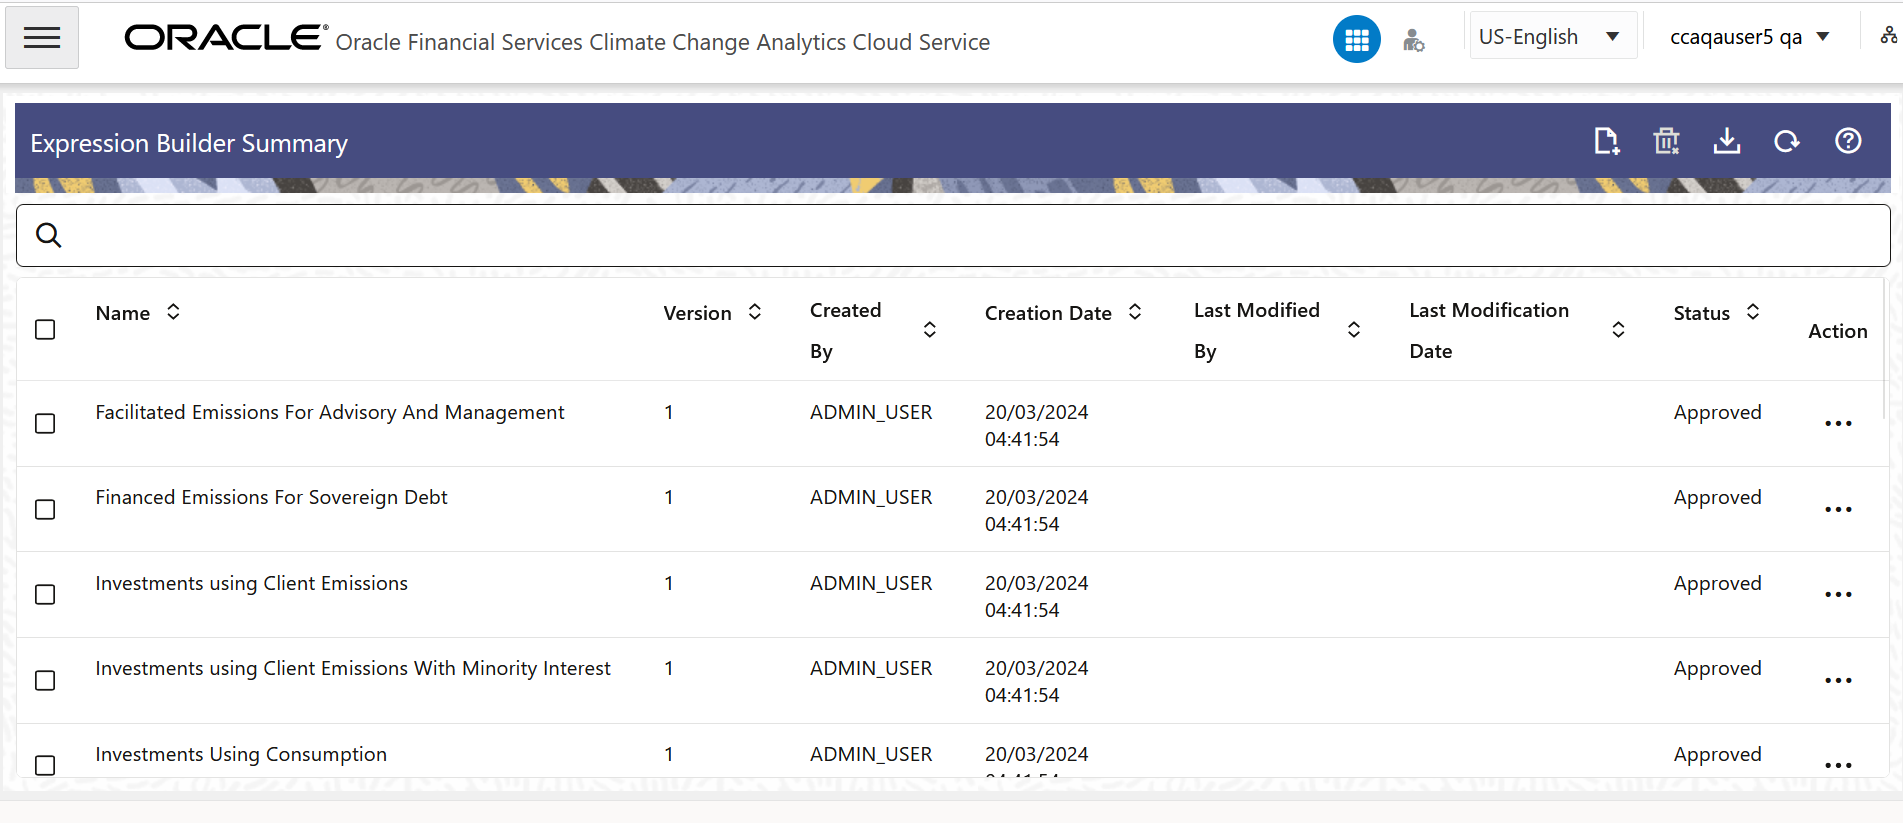
- On the Expression Builder Summary page, click the Add
icon to open the Expression Builder window.
Figure 8-2 The Expression Builder Summary Page

- Populate the BasicDetails tab as
tabulated:
Figure 8-3 The Basic Details Pane

Table 8-3 Basic Details pane
Field Description Name (Basic details pane) Enter a name for the Expression. This is a mandatory field.
Description (Basic details pane) Add a description for the Expression. This is a mandatory field.
Auto Approval Select this check box to auto-approve the definition. When this checkbox is selected, the definition is auto-approved when the definition is saved. This check box is enabled only for users who have Approver User rights.
- Populate the Expression Details pane as tabulated:
Figure 8-4 The Expression Details Pane

Table 8-4 Expression Details form
Field Description Dataset (Expression Details pane) Select a dataset from the drop-down list. When a dataset is selected, the View Dataset Conditions button is enabled and the list of dataset tables are displayed.- View Dataset Conditions - Click the View Dataset Conditions button to view the join conditions and where clauses in the Join Condition and Where Clause panes.
- Dataset Tables - In this list, expand the folder to add the tables to the Expression box. Click the Validate button to validate an expression.
When the stage and instrument tables are selected, they are automatically populated in the Expression box.
Validate After selecting the desired stage and instrument tables, click this button to validate the expression for errors. If the data in the Expression box is incorrect, after clicking the Validate button, a pop-up message appaers indicating that there are errors in the Expression. You must correct the Expression and validate it until no more error messages pop-up. You can only save the expression when there are no more errors.
- Click Save. The status changes to Draft and the expression is saved.
- Click Submit. The status changes to Pending for Authorization, and is submitted to the Approver.
- Additionally, click the Refresh button to refresh the page.
- You can also click the Back button to navigate to the Expression Builder Summary page.
The new Expression will appear in the list of Expressions on the Expression Builder Summary page with the status as Draft or Pending for Authorization.