3.2 Designing Custom Scenarios

Some FI’s customize or modify Oracle’s Out of the Box scenarios or use purpose built scenarios for their specific needs. OFSCA’s customs scenario authoring functionality allows you to include such scenarios in OFSCA’s simulator allowing you to get an accurate assessment of your entire transaction monitoring system.

Note:

Scenarios are assumed to follow an if-then-else logic for alerting similar to Oracle’s Out of the Box scenarios.
In this section, you will design custom scenarios in Oracle's Transaction Monitoring Solution for segments at your institution.

Note:

You may skip creating a custom scenario in the initial configuration by using the Skip button.
To design a new custom scenario during initial configuration, follow these steps:
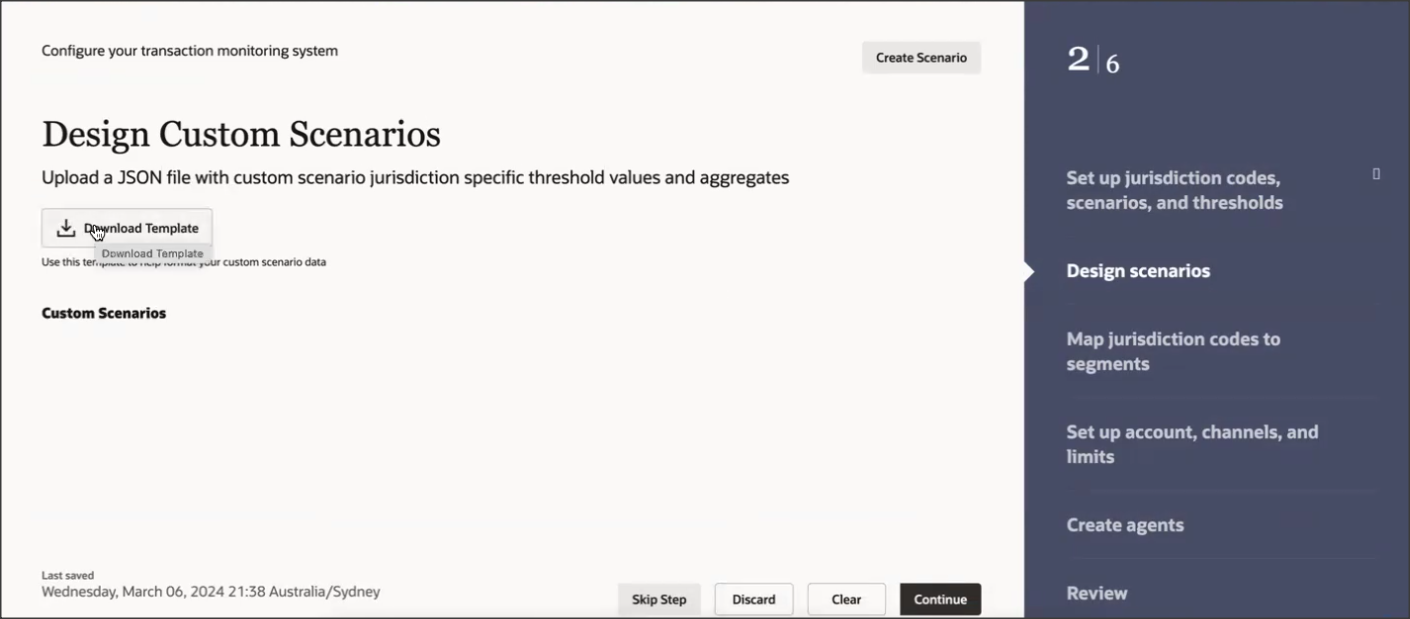
  1. Click Download Template. A JSON template is downloaded.
    Currently, a single JSON file can be used to configure a scenario for only one risk segment. If a scenario has to be configured for three risk segments, for example, BCAP_RR, BCAP_MR, BCAP_HR, three different JSON files are required with three different scenario names. For sample files, see Sample Template
  2. Enter the Scenario Name, relevant jurisdiction that the scenario monitors, Threshold name, Lookback period, Rule run frequency, and Account Types to be monitored in the JSON template.

    Note:

    You must use only those Jurisdiction values in the JSON template that are available in the CSV file that has been uploaded in the Setting up Jurisdiction Codes, Scenarios, and Thresholds section.
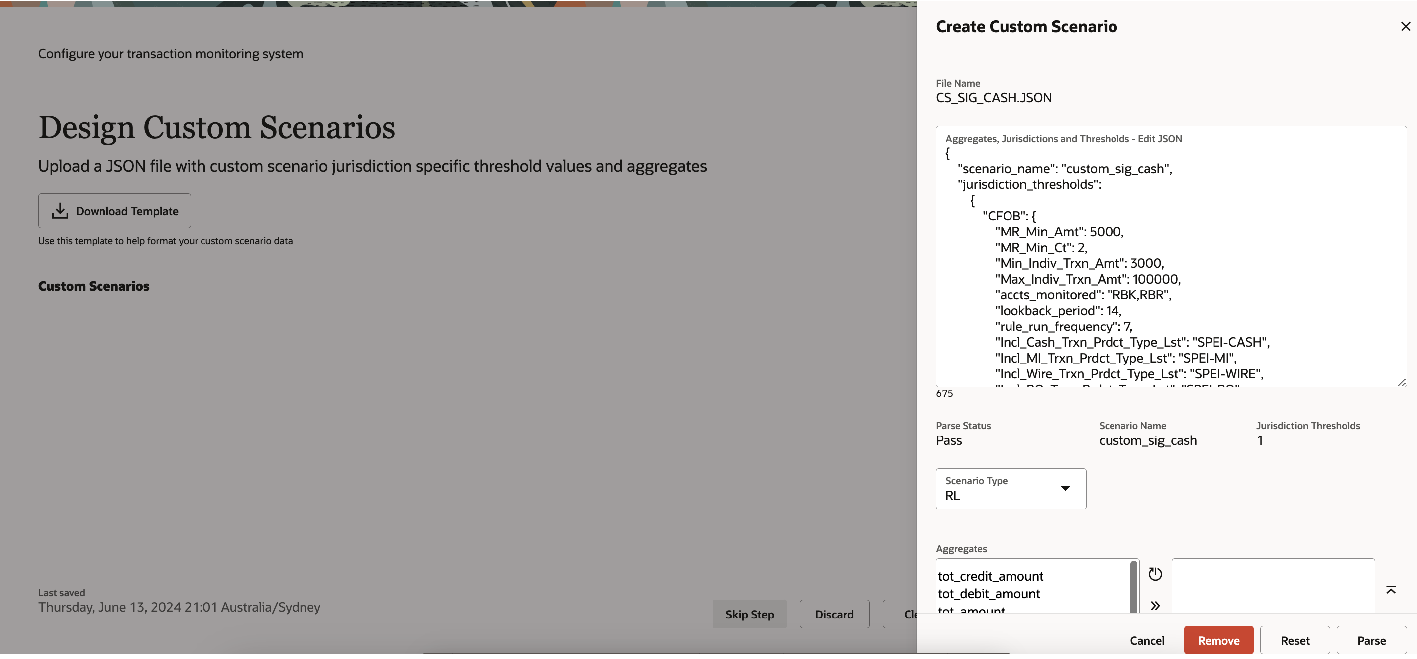
  3. Click Create Scenario. Drag and Drop the required JSON template. The selected JSON template details are displayed.

    Figure 3-5 Create Custom Scenario


  4. Select the scenario type RL or HT from the Scenario Type drop-down list. The list of aggregates for RL and HT are available in the Aggregates List section.
    • RL - RL stands for "Risk and Liability" experiments, which are used to evaluate the overall strength and performance of the system. Scenarios added using this option will be used to assess the system's performance and identify any potential risks or liabilities.
    • HT - HT stands for "Human Trafficking" experiments, which are used to evaluate the system's performance specifically against the Human Trafficking typology. Scenarios added using this option will be used to assess the system's effectiveness in detecting and addressing specific Human Trafficking risks.
  5. Based on your selection, a relevant list of aggregates is displayed. Select and move the required aggregates to the right-hand side box.
  6. Enter scenario conditions in the Custom Scenario Condition box using thresholds and aggregates.

    Note:

    When entering scenario conditions, only a single space must be used between each term in the expression. It is mandatory even when parentheses are used.
    • Correct: (Total_Trxn_Amt >= RR_Min_Total_Amt ) and (Total_Trxn_Ct >= RR_Min_Total_Ct )
    • Incorrect: (Total_Trxn_Amt>=RR_Min_Total_Amt) and (Total_Trxn_Ct>=RR_Min_Total_Ct)
  7. Click Parse to validate the condition. If the validation is successful, the parsing will be passed.
  8. Click Accept to add the newly created scenario. This scenario will be listed on the Custom Scenario page.
  9. If you want to modify a newly created scenario, click Edit and modify information based on your requirements.

    Note:

    Once you process the scenario, you cannot edit it.
  10. You can also create custom scenarios using the Oracle Ask menu.

    Figure 3-6 Create Scenario Using Oracle Ask Page


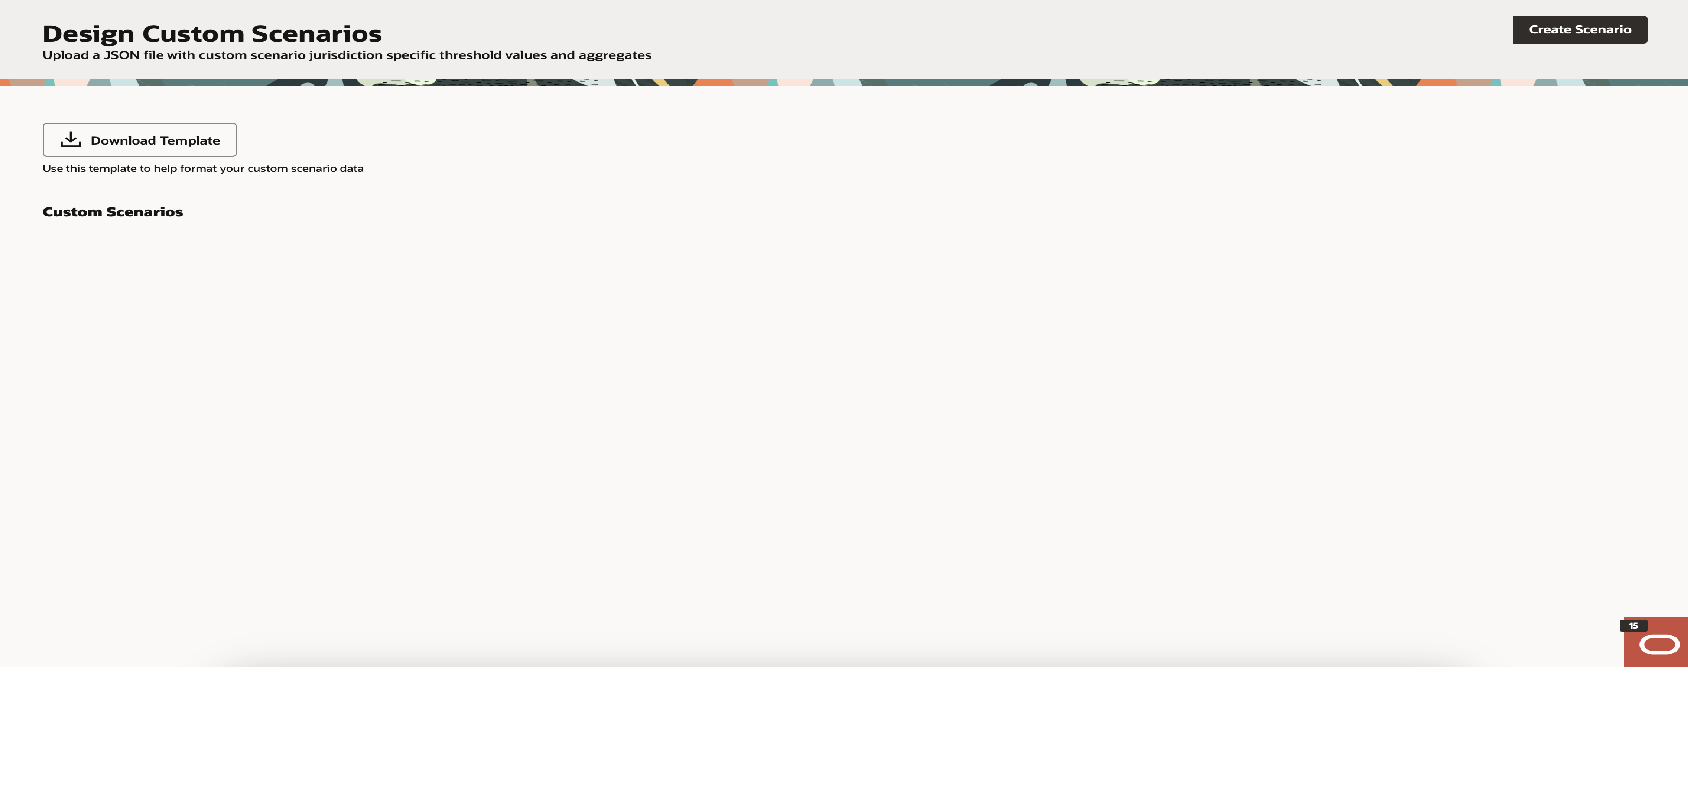
  11. On the Custom Scenario page, click Create Scenario. The Create Scenario dialog is displayed. Repeat Step-3 to Step-9.
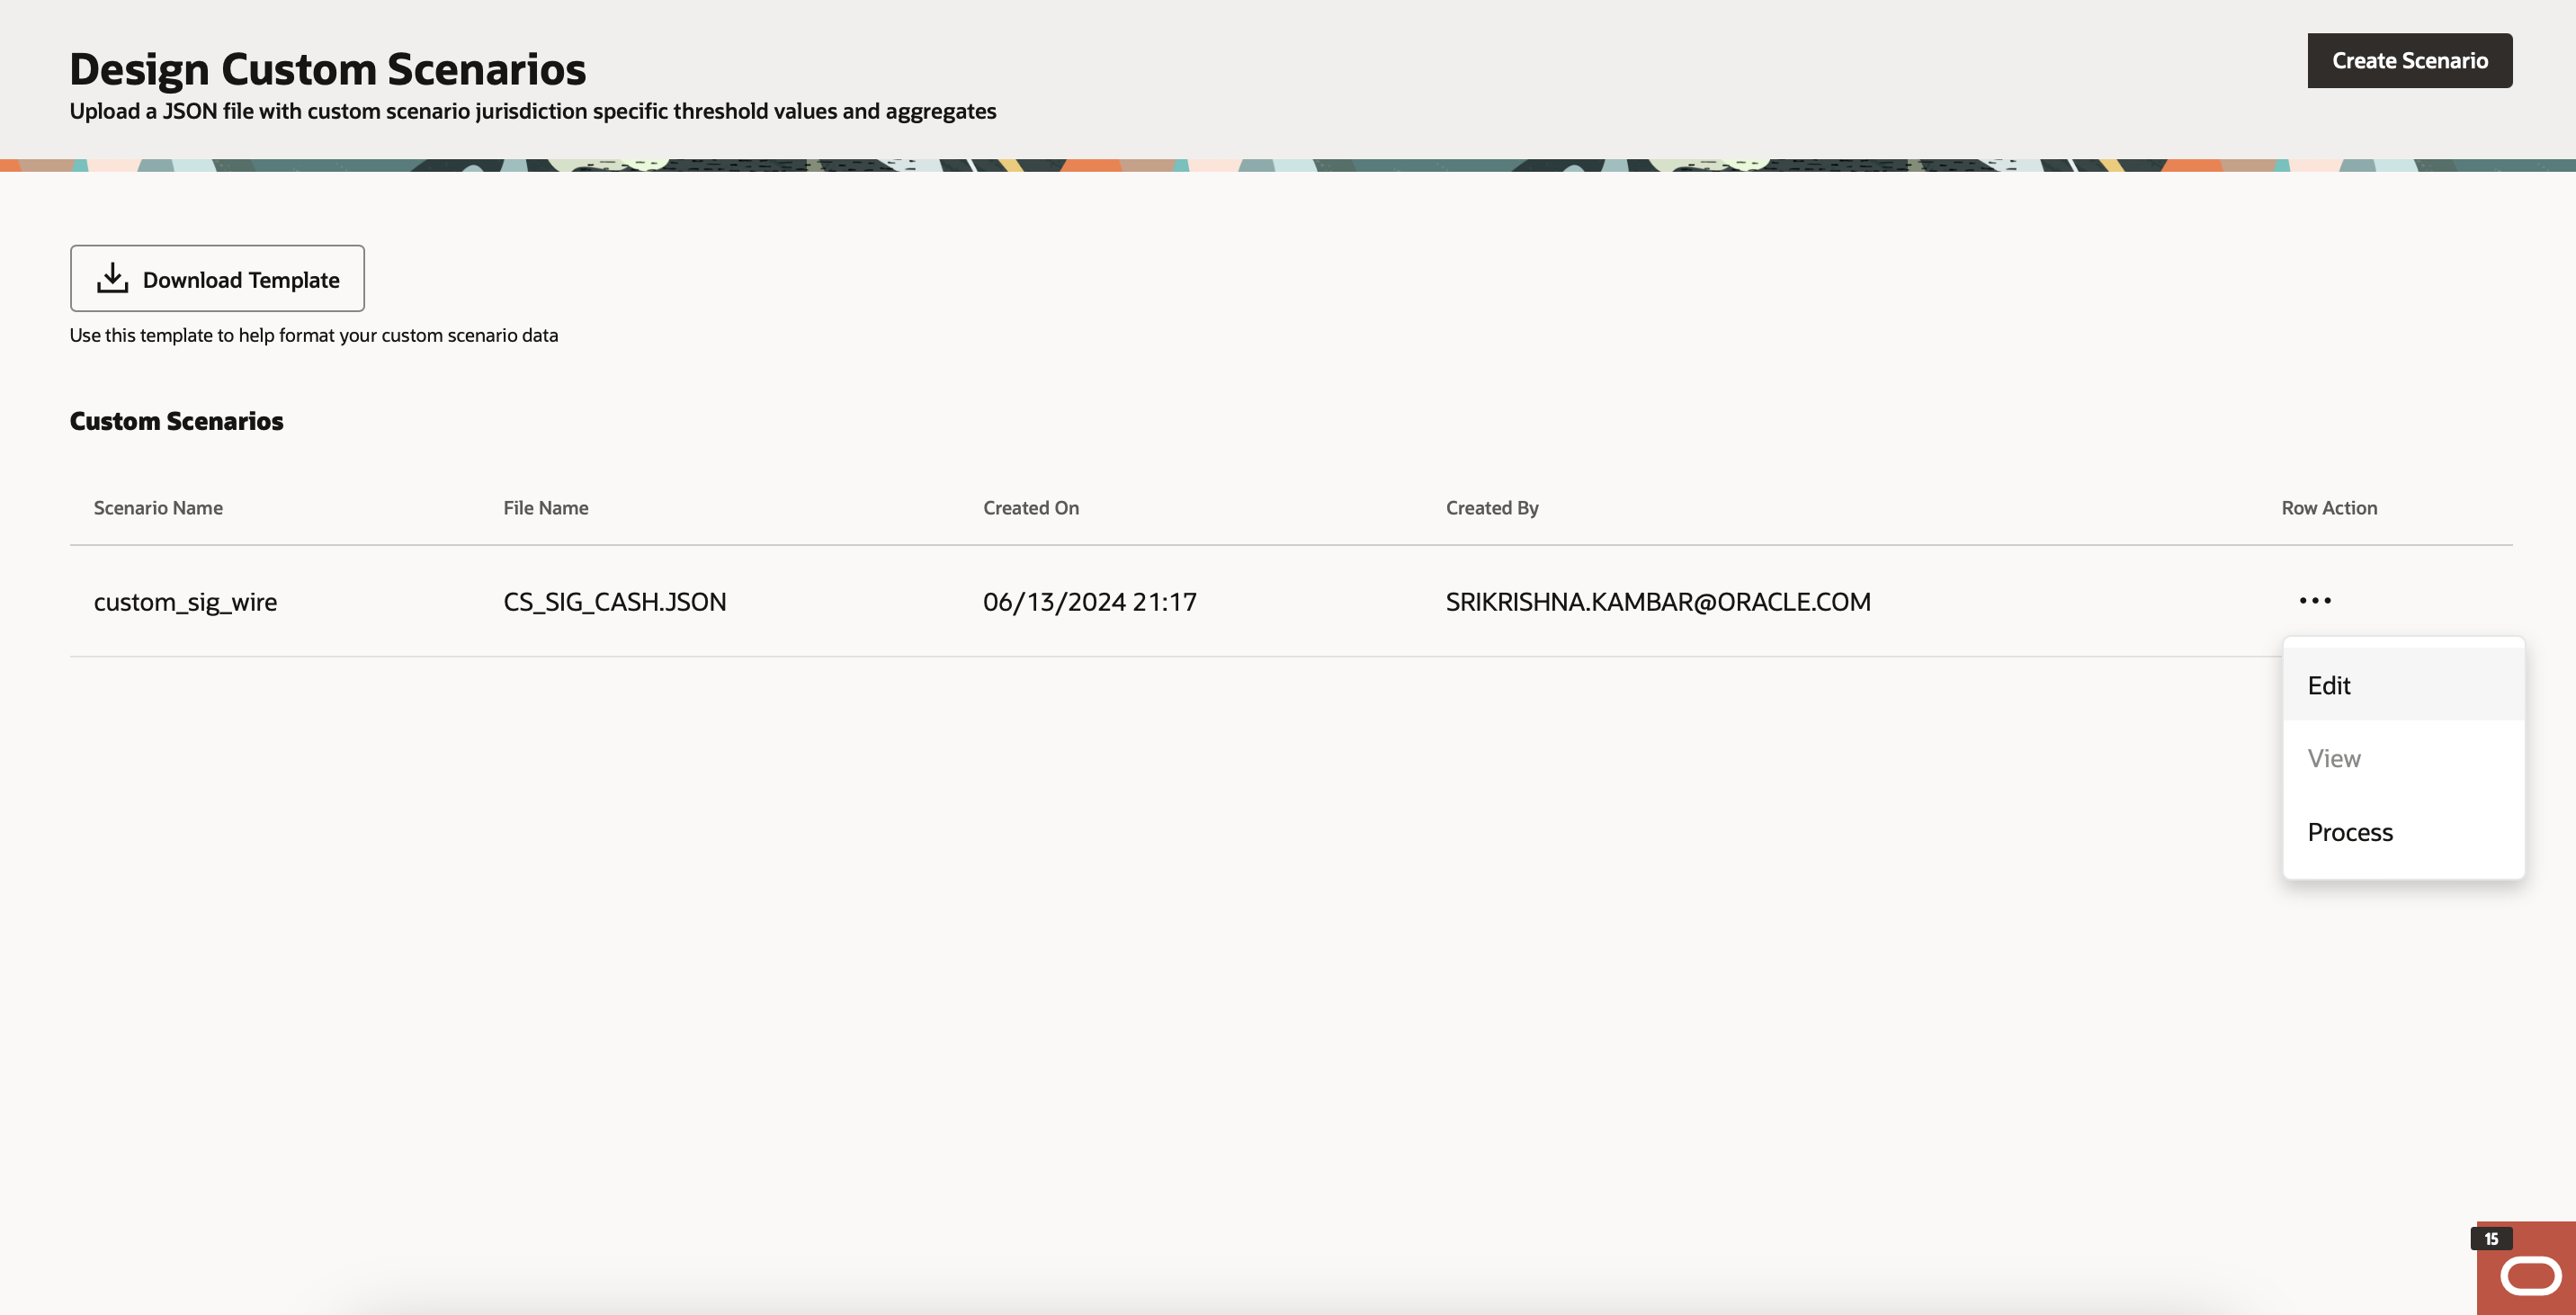
  12. Click … Option Icon and then click Process. A new custom scenario is created. You can also modify the scenario using the Edit option.

    Note:

    Once you process the scenario, you cannot edit it.
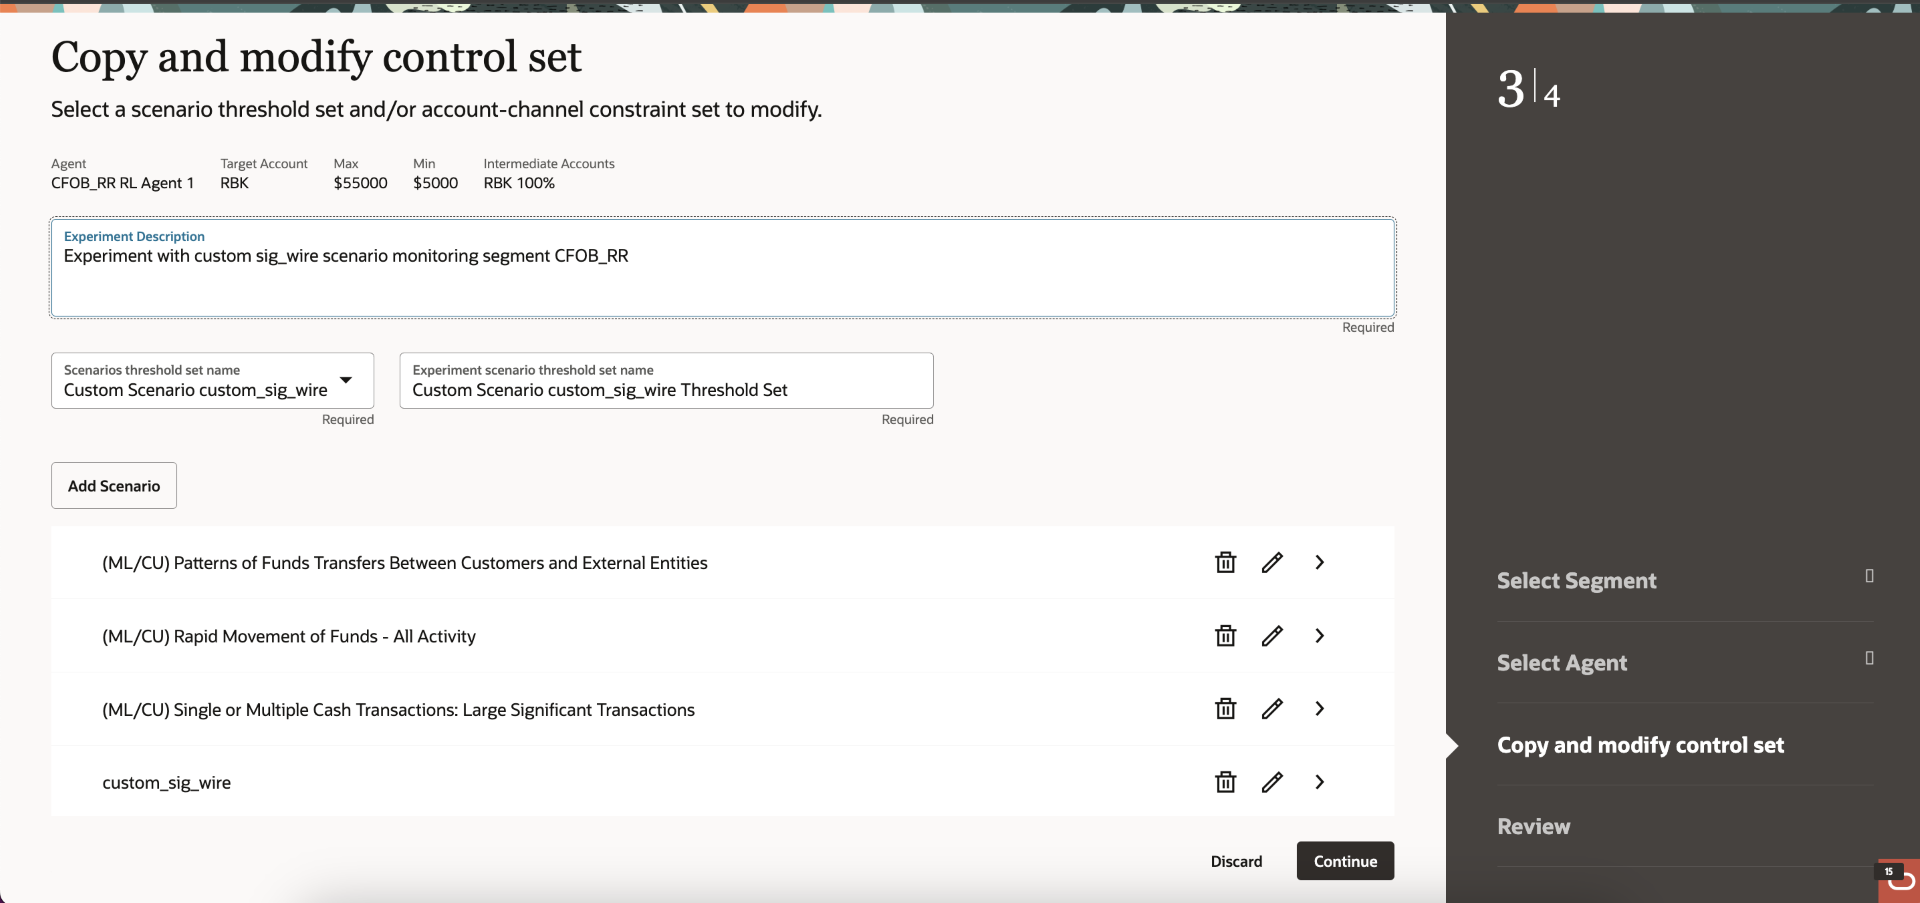
    The New Scenario will be available as part of a New Threshold Set with the current Production Controls, which can be used while creating experiments in that segment.
    You can perform the following activities using the Row Action.
    • Edit - The Edit option allows you to modify the existing information of a scenario. This option is used when you need to make changes or updates to the scenario's details.
    • View - The View option allows you to view the scenario without making any changes. This option is useful when you want to review the scenario or gather information from it.
    • Process - The Process option is used to create a custom scenario. This option enables you to define and set up a new scenario according to your specific requirements.