5.1.1 Creating ASC Workspace
On the Workspace Summary page, click Add Workspace. The Create Workspace window is displayed with the following process:
- Basic Details
- Workspace Schema
- Data Sourcing
- Metadata Sourcing
- Validate
- Summary
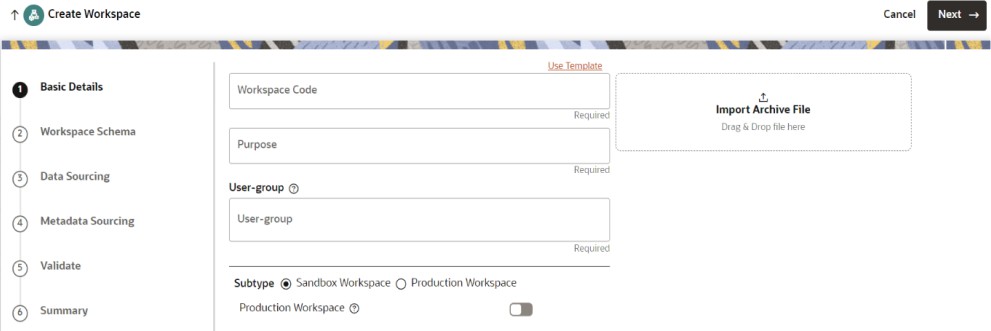
Basic Details
To create a basic details of the
workspace, follow these steps:
- Enter the Workspace Code and Purpose of the workspace.
- Select the User-group from the drop-down list.
- Select the subtype as Sandbox Workspace.
By default, the Production Workspace is disabled.
- Click Next.
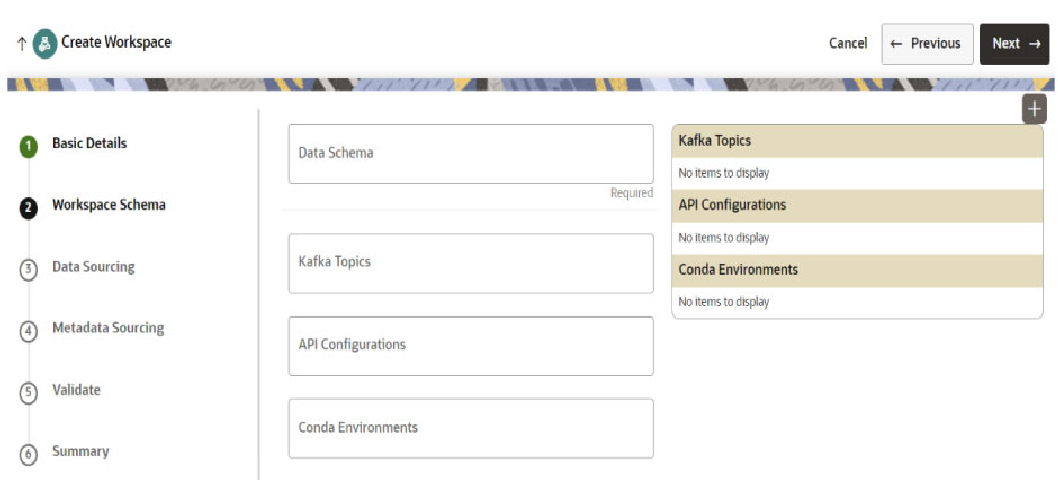
Workspace Schema
To create the workspace schema,
follow these steps:
- Select the Data Schema as ASC BD Schema.
Note:
Leave Kafka Topics and API Configuration fields as blank. - Select the following Conda Environments:
- default_8.1.2.8.0
- ml4aml_8.1.2.8.0
- Click Next.
Data Sourcing
ASC uses valid BD schema as a target. Hence, all data is assumed to be available in the schema.
Metadata Sourcing
Note:
ASC use case does not require the metadata sourcing.Validate Workspace
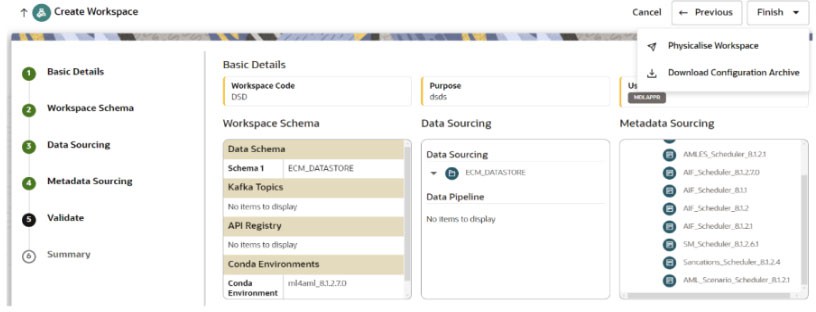
- Click Finish and then select Physicalise Workspace.
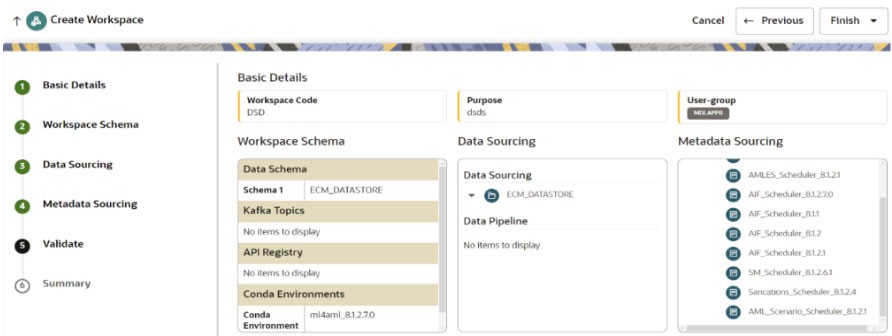
Summary
You can view summary of the created workspace.


