9.2.4 Workspace Creation Post-Configuration
Do the subsequent configuration in the CS application after the Workspace creation.
Mandatory Configuration for imported EDQ project
This is a one-time manual activity that must be done once the EDQ dxi project is transferred from production to the Simulation EDQ director.
Follow the subsequent steps:
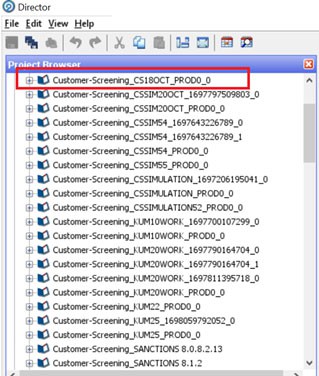
- Go to the EDQ project in the simulation EDQ director.
Figure 9-12 EDQ Director
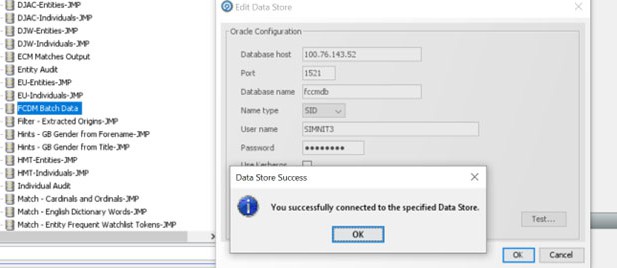
- Click Data Stores and click FCDM Batch Data. The Edit Data Store window is displayed.
- Give the simulation database details and click Test to connect to the specific Data Store.
- Click Ok.
Figure 9-13 Edit Data Store Window
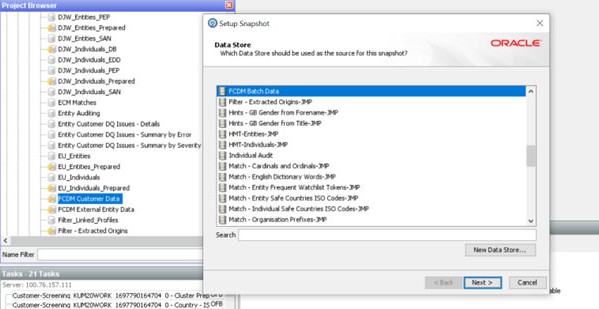
- Click Simulation EDQ project Staged Data and click on
FCDM Customer Data. The data Store window is
displayed.
Figure 9-14 Data Store Window
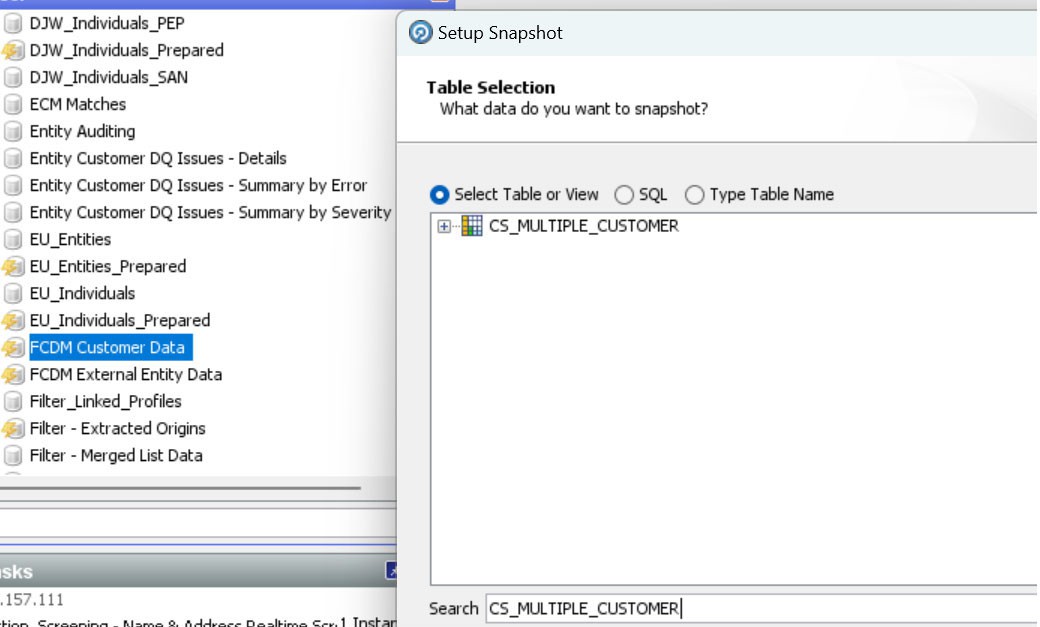
- Click Next. The Table Selection window is
displayed.
Figure 9-15 Table Selection Window
- Select the table or view and click Next. The Column Selection window is
displayed.
Figure 9-16 Column Selection
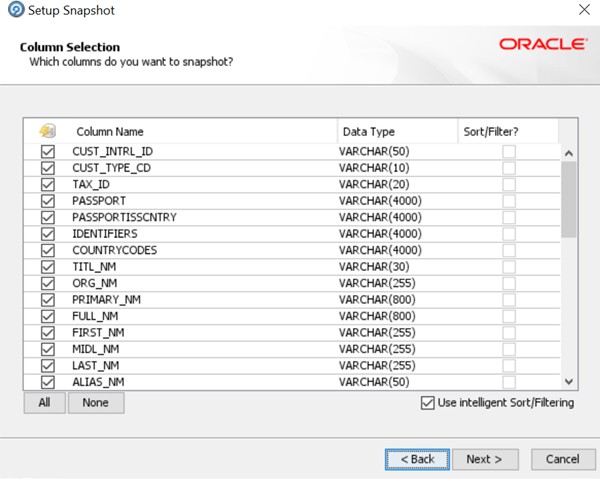
- Search for
cs_multiple_customerand selectcs_multiple_customer. - Click Next. The Snapshot Name window is displayed.
- Click Finish to save the updates.
Importing Workspace Metadata for ML4AML for the created Workspace
- Login to Compliance Studio installed UNIX Machine.
- Navigate to the following path:
/deployed/ml4aml/bin - Execute the following UNIX command once, against the schema used in the current
Sandbox workspace:
./importWorkspaceSQL.sh -w
                        <NEW_SCHEMA>_alias
Note:
<NEW SCHEMA>is the placeholder to be replaced with the actual value used to create the workspace.