6.4 Using Identity Console (IDCS)
To create users in Identity Console, perform the following steps:
- In the Identity Cloud Service Console, click
 from the Users tile, to add the Application Users.
- In the Add User page, enter the following information:
- The First Name and Last Name of the user.
- The user's Email Address and the User Name.
Add User Details
Note:
- Do not enter your email address as the Username and do not select the Use the email address as the username check box.
- Enter a maximum of 20 characters.
- Enter Alphanumeric Characters.
- Enter only Hyphen (-) and Underscore (_) Special Characters.
- Click Next.
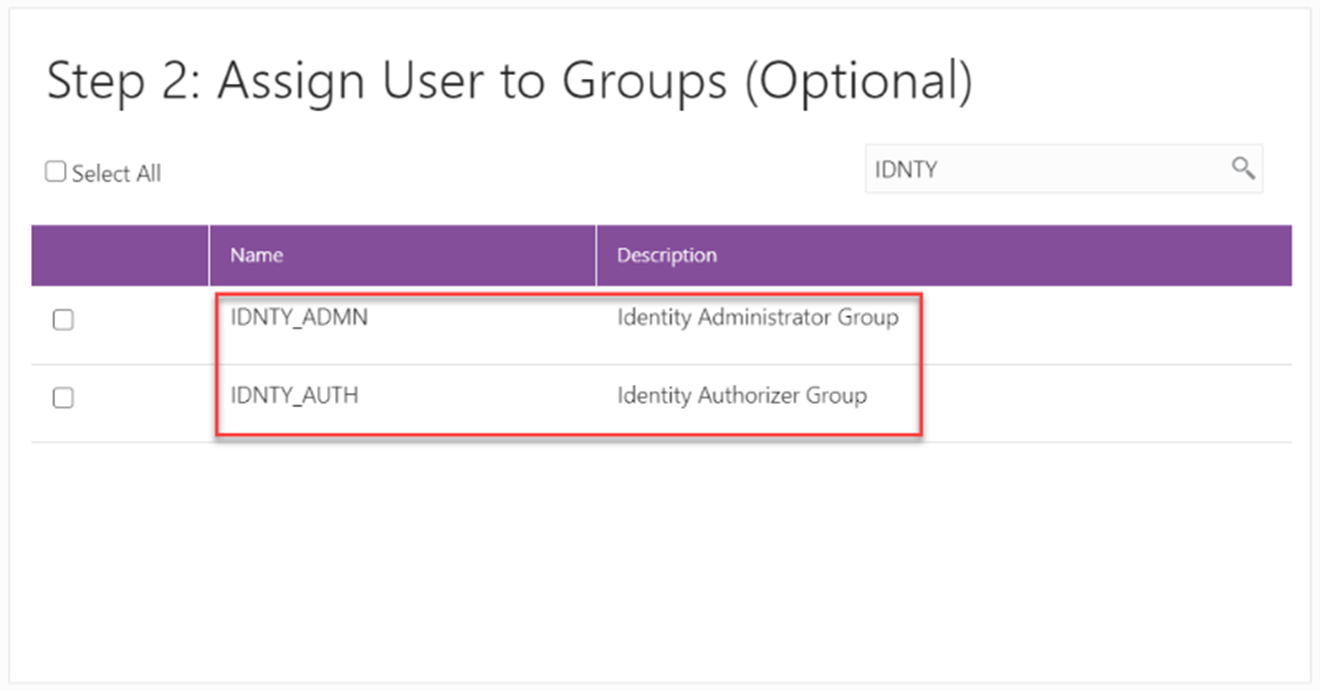
- In the Assign User to Groups (Optional) window, select the User
Groups according to your user-specific groups or access.
Note:
After a user signs in to DFCS, the User to User-Group Mapping created in the IDCS Console will onboard into the Master and Mapping Tables. Later, if you deselect (remove) a User from a Group in the Assign User to Groups Window after provisioning, ensure that you also unmap the User from the corresponding User- Group in the Admin Console. This is a mandatory step to complete the unmapping process. - To create an Identity Administrator or Authorizer User, assign the users
to the following:
- IDNTY_ADMIN: You can use this option to create an Administrator User.
- IDNTY_AUTH: You can use this option to create an Authorizer User.
Figure 6-1 Assign User to Groups Window

- Click Finish.
After the successful creation of the user, the added users receive an email to activate their account. The user must activate the account to use the service.
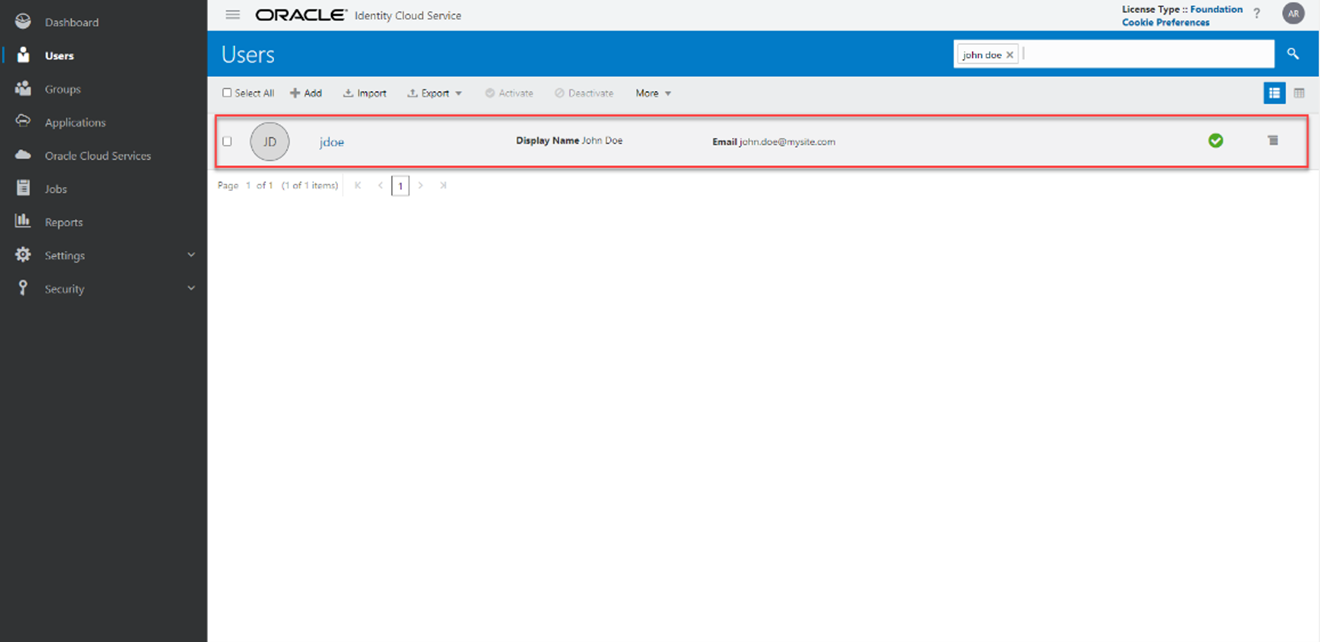
- From the Users window, you can access the newly created user and
edit the user details.
Figure 6-2 Users Window

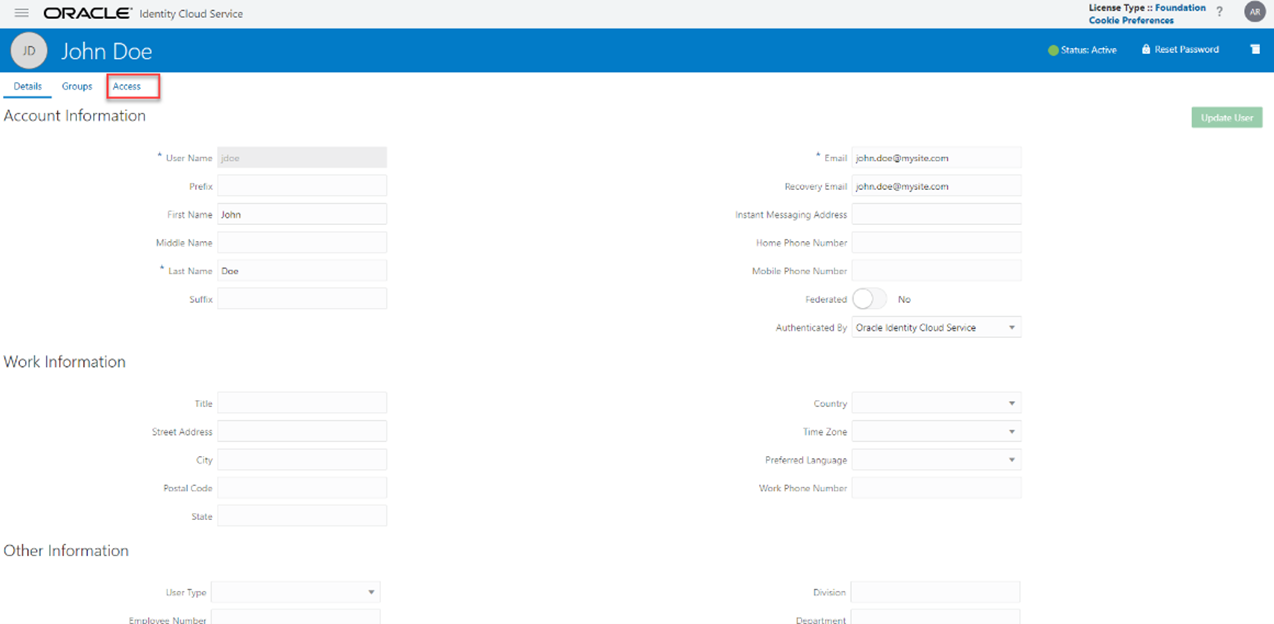
- Select the User that you want to edit the details. In the User
Details Window, select the Access tab.
Figure 6-3 User Details Window

- Click Assign.
- In the Assign Application Window, select the appropriate
Application Instance to grant access to your user as mentioned below.
For example:
- DFCS xxxxx-prd (For Production)
- DFCS xxxxx-nprd1 or nprd2 (For Non-Production)
Note:
Based on this mapping the users will be able to access the appropriate instance. - Click OK. For more information, see Create User Accounts.