Create and Activate New Cloud Account

If you are a new Oracle Cloud Applications User, you will receive a Welcome to Oracle Cloud email that asks you to activate your Cloud Account. Follow the instructions in the email to create and activate your new Cloud Account.

You will then receive a follow-up email with the information you need to sign in and start using your Cloud Applications.

As an Administrator, to create and activate your new Cloud Account, perform the following steps:
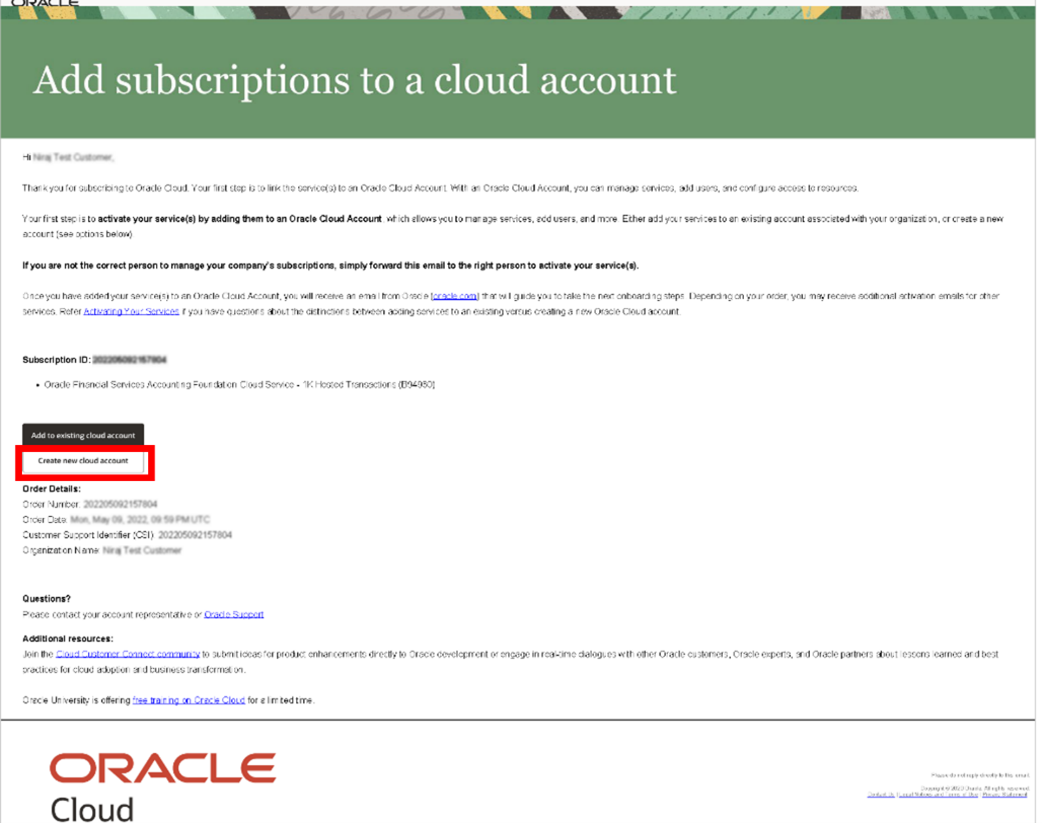
  1. Click Create New Cloud Account in the email.

    Figure 2-2 Illustration of Welcome to Oracle Cloud - Setup your Account email


    Illustration of Welcome to Oracle Cloud - Setup your Account email

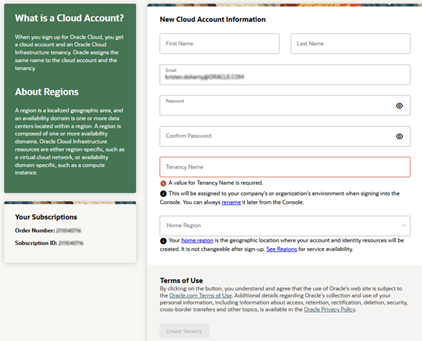
  2. Complete the New Cloud Account Information Form to sign up.

    Figure 2-3 New Cloud Account Information Page


    New Cloud Account Information Page

  3. Enter the following details:
    • First Name and the Last Name.
    • Email: Provide the same email address which you had given to receive the Welcome email. Instructions to log into your new Oracle Cloud Account will be sent to this email address.
    • Password to access the New Cloud Account.

      Re-enter the Password for confirmation. Make a note of the credentials. The same is required to log in after receiving the Activation email.

    • Tenancy Name: New Tenancy name to be associated with the Cloud Account.
    • Home Region: Select your Home Region, where the Identity Resources and Account are located. Check the service availability before selecting the Home Region.
      • First Name and the Last Name.
      • Email: Provide the same email address which you had given to receive the Welcome email. Instructions to log into your new Oracle Cloud Account will be sent to this email address.
      • Password to access the New Cloud Account.

        Re-enter the Password for confirmation. Make a note of the credentials. The same is required to log in after receiving the Activation email.

      • Tenancy Name: New Tenancy name to be associated with the Cloud Account.
      • Home Region: Select your Home Region, where the Identity Resources and Account are located. Check the service availability before selecting the Home Region.
  4. Click Create Tenancy.
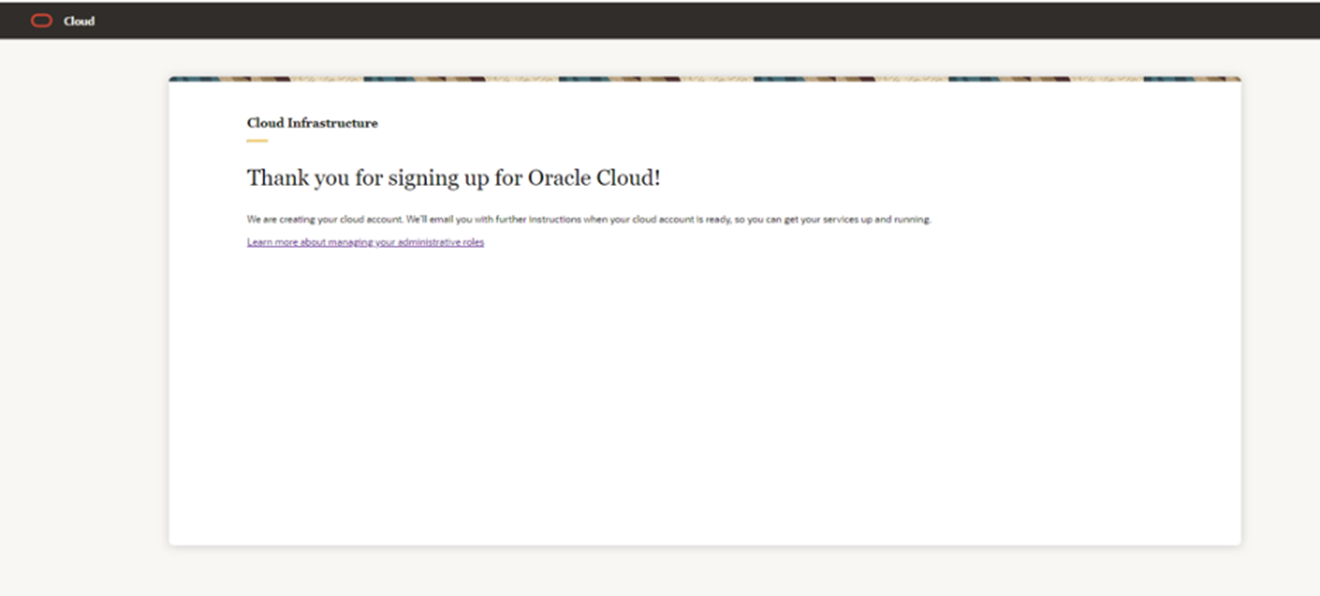
  5. The New Cloud Creation Confirmation screen is displayed.

    Figure 2-4 New Cloud Creation Confirmation Screen


    New Cloud Creation Confirmation Screen

    After successful activation, you’ll receive a Setup Complete email.