Groups Summary Page
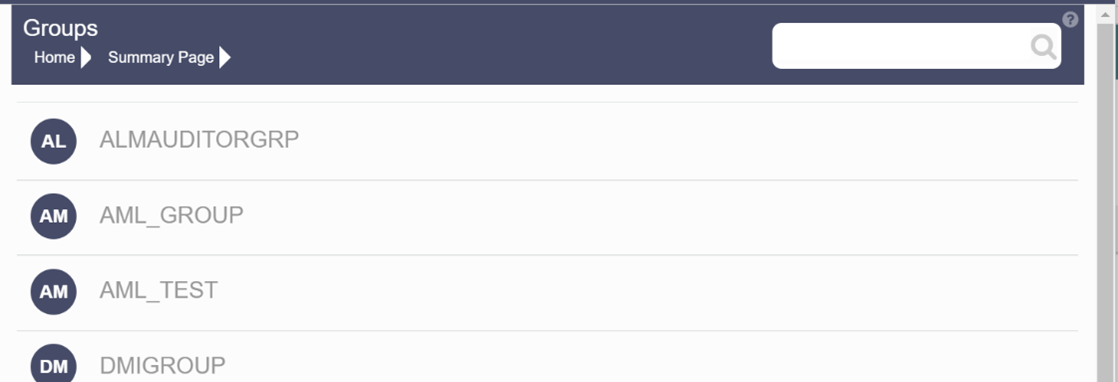
The Groups Summary page shows the list of available groups. You can view the details of a group and map the group to one or more user Roles.
To access Groups Summary page, complete the following steps:
- Click Identity Management tab in the Admin Console page.
- Click the Groups tile (
 ).
).
The Groups Summary page is displayed.
Figure 2-11 Groups Summary Page

- Select a specific Group Name in the Groups Summary page and then click Details to view the associated Group ID, Group Name and Group Description. For more information refer to Group Details.
- Select a Group name and click Mapped Roles to view the list of Roles
that are mapped to the particular Group. For more information about mapped groups,
refer to Mapped and Unmapped
Roles.
You can also Unmap a group from a specific Role. For more information, refer to Mapped and Unmapped Roles.
To search for a specific user group, type the first few letters of the user group name that you want to search in the search box and click Search. The search results display the names that consist of your search string in the list of available users.
At the bottom of the page, you can enter the number of entries that are available on a single page in the Records box. You can increase or decrease the number of entries that are displayed using the up and down arrows. To navigate between pages in the View bar, use the following buttons:
- Use the First page
 button to view the entries in the first page.
- Use the Previous page
 button to view the entries in the previous page.
- Use the Next page
 button to view the entries in the next page.
- Use the Last page
 button to view the entries in the last page.
You can also navigate to the desired page. To do this, enter the page number in the View bar control and press Enter.