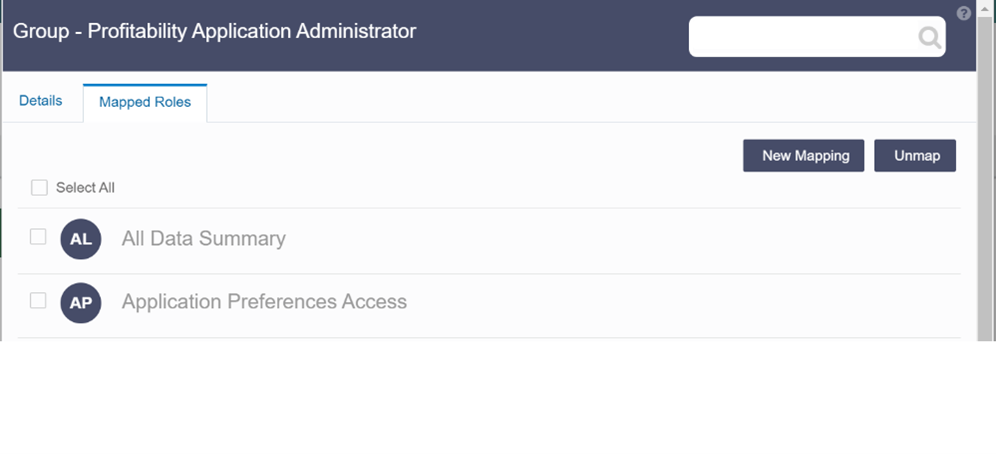
Mapped Roles
Complete the following steps, to map an user to a User Group.
- Select the User name in the Groups Summary page.
- Select Mapped Roles.
The list of Roles mapped to the specific user is displayed.
Figure 2-13 Mapped Roles

- Click New Mapping.
After you click New Mapping, the list of user Roles you can map the group to appears in the Available Roles page.
- Select the check box corresponding to a User Role or click Select All to select all the available User Roles.
- Click Map.
A confirmation message is displayed after successful mapping. The mapping will be completed after authorization.
If you are an authorizer and want to authorize a mapping, follow these steps:
- In Mapped Roles, select the user Role name.
- Click Authorize to authorize the user-user group
mapping.
Click Reject to cancel the authorization request.