7 Administration
The Header displays icons, buttons, and text for generic information and access to the OFSAA application’s features. The following user-interface elements are displayed.
Figure 7-1 Administration menu
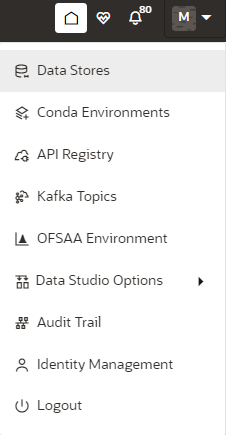
- User Name: Displays the first letter of the logged-in user name. Hover over to view the complete name of the user. Click on this icon to select from the following options in the drop-down list:
- Data Stores: Click to navigate to Data Store Summary page. You can add and manage data stores from this page.
- Conda Environments: Click to navigate to Environment Summary page. You can configure and manage conda environments from this page.
- API Registry: Click to navigate to API Summary page. You can configure and manage APIs from this page.
- Kafka Topics: Click to navigate to Kafka Topics page. You can configure and manage kafka topics and clusters from this page.
- OFSAA Environment: Click to navigate to OFSAA Environment page. You can register OFSAA environments (Simulation and Production) from this page.
- Data Studio Options: Contains an underlying
Notebook Server which has the following configurable options:
- Interpreters
- Tasks
- Permissions
- Credentials
- Templates
Clicking on the option will navigate you to the specific page. For more details, see Data Studio Options section.
- Admin: Navigates to IDCS page.
- Audit Trail: Click to navigate to Audit Trail page The details such as start and stop of UI and Service, add or delete of datasource, API Registry, Kafka topics, Conda Environments and so on are displayed. You can view the sequence of actions performed in table view or timeline view (graphical representation) by clicking on Audit Table View, and Audit Timeline View options respectively. You can search the model by entering the name in the search box.
- Identity Management: Click to navigate to
IDCS page. You can manage users, groups, roles, and functions from this page.
Figure 7-2 Identity Management Summary page
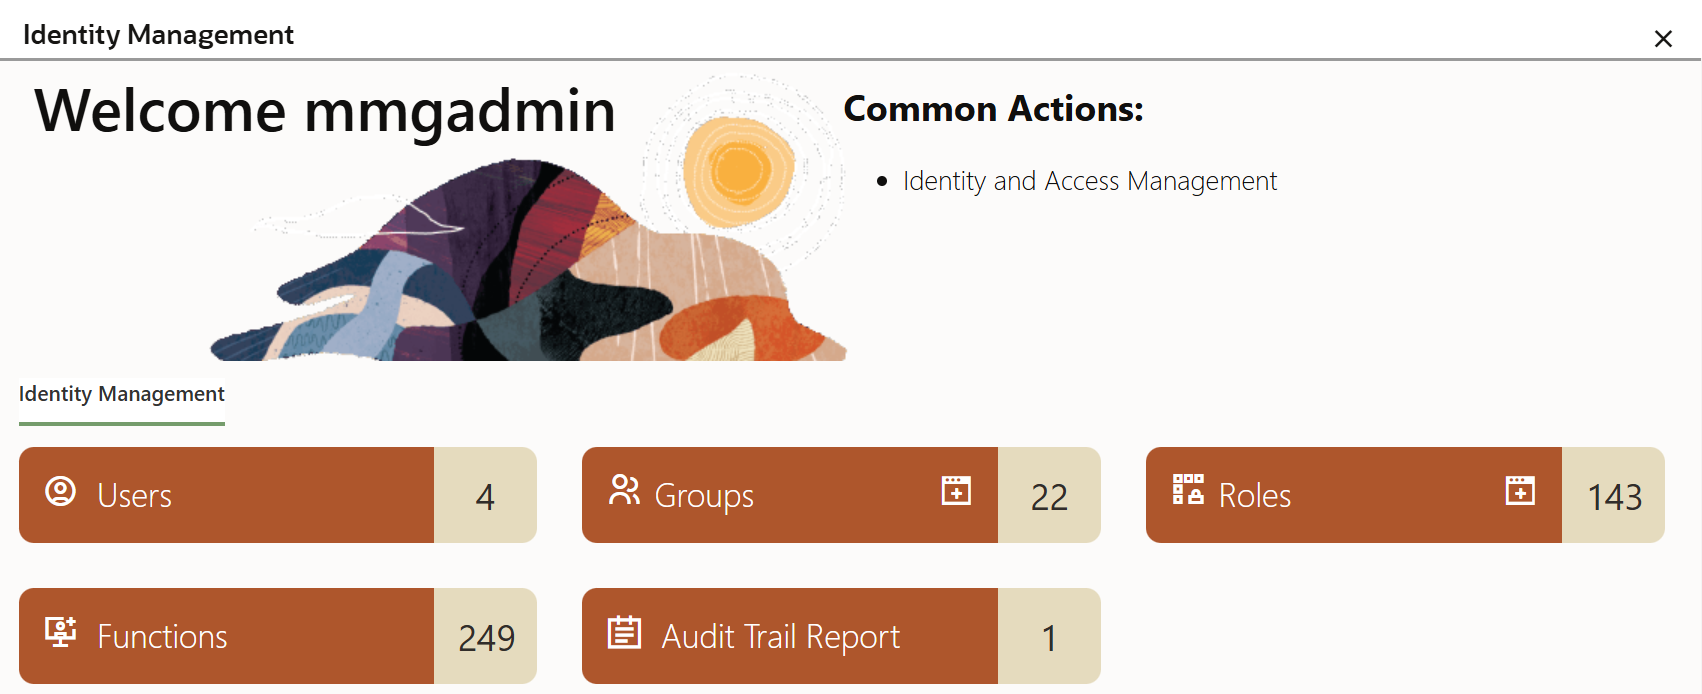
Figure 7-3 Identity Management Users
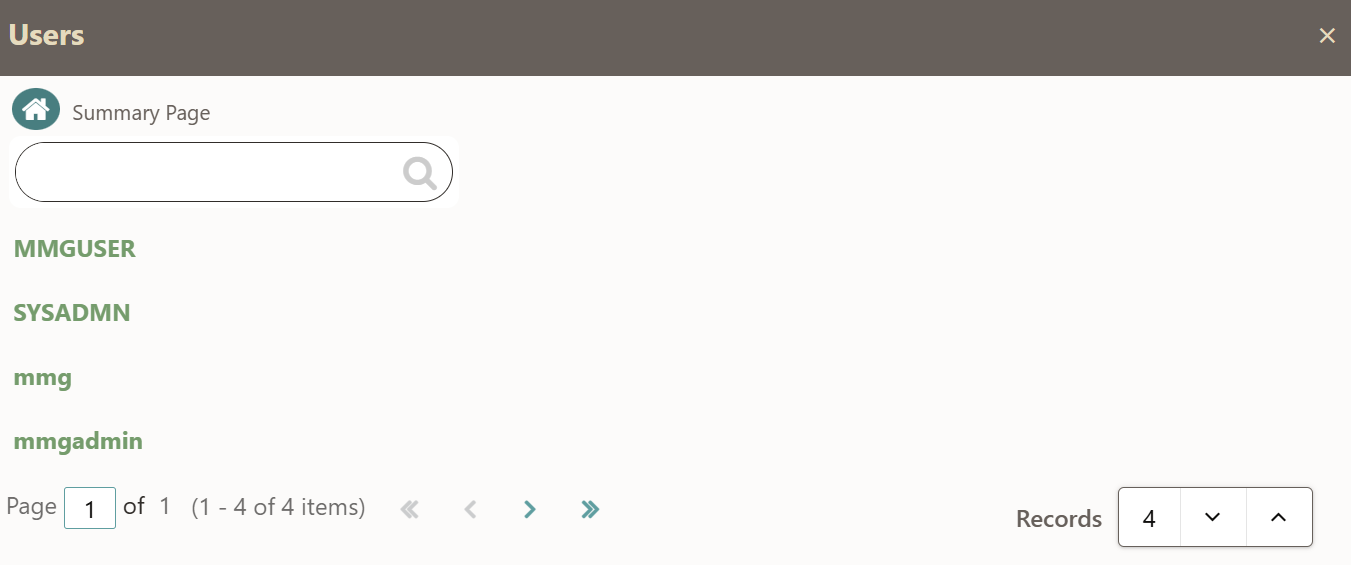
The users who are mapped to the application are listed here.
Figure 7-4 Identity Management Groups
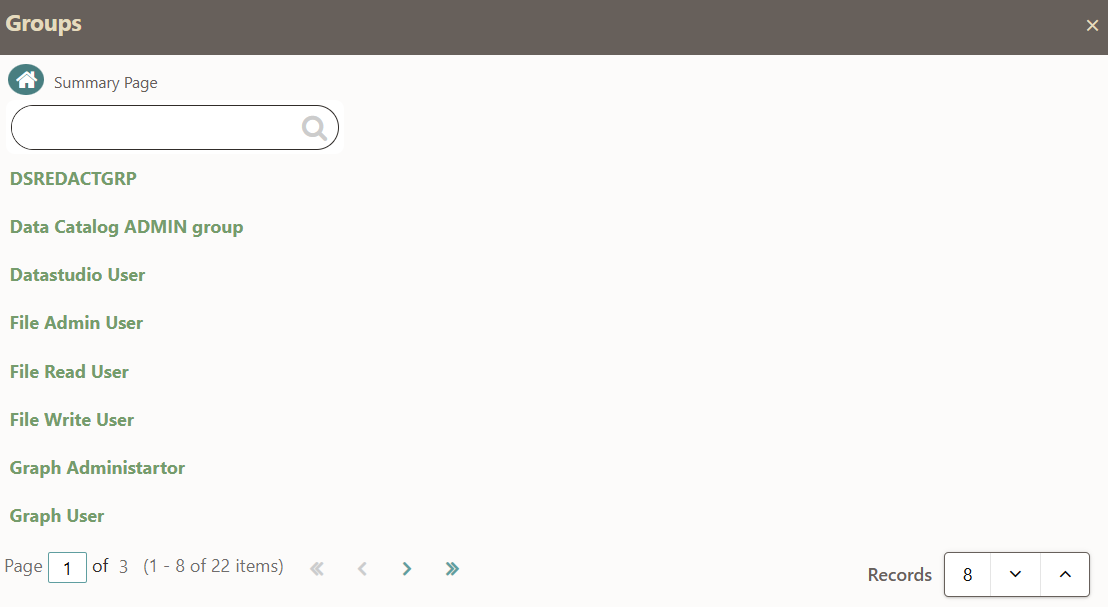
Figure 7-5 Group Details
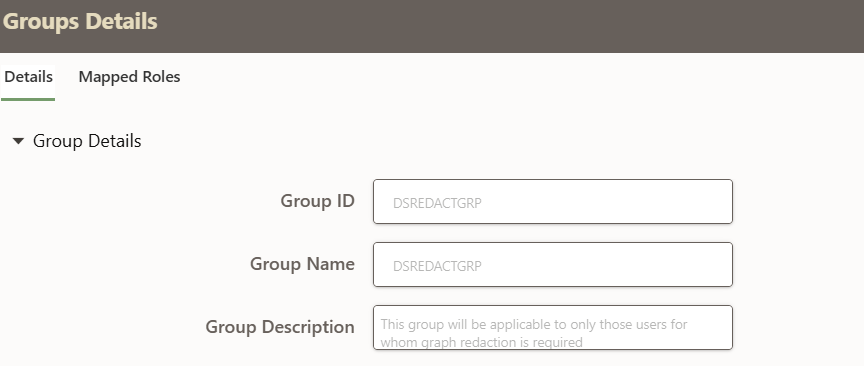
The MMG Admin users has groups. The above image displays the groups assigned to a particular user.
Figure 7-6 Identity Management Roles
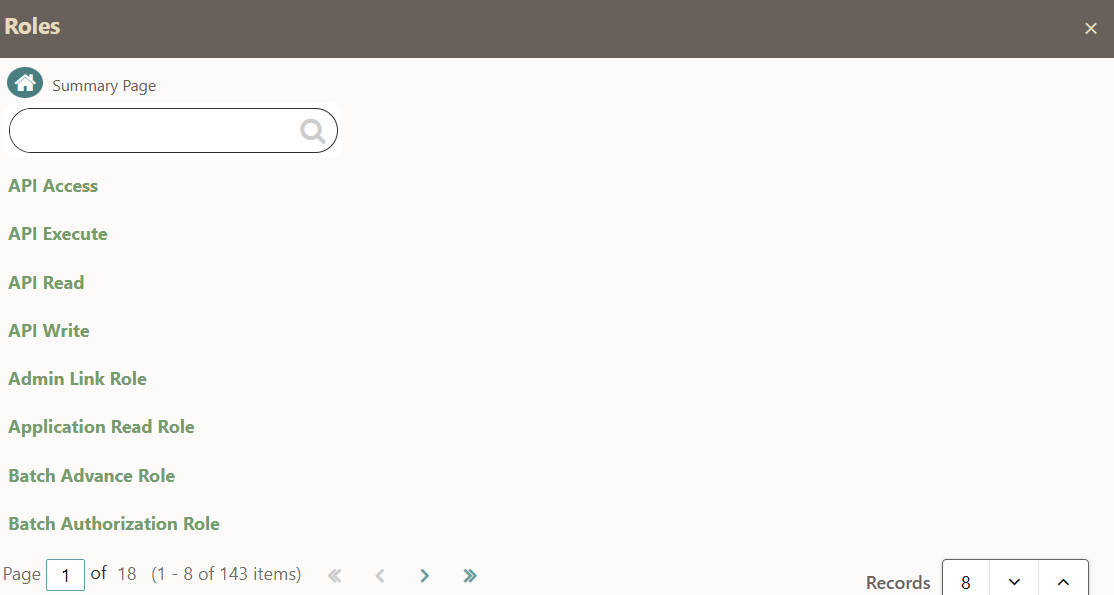
Figure 7-7 New Mapping and Unmap
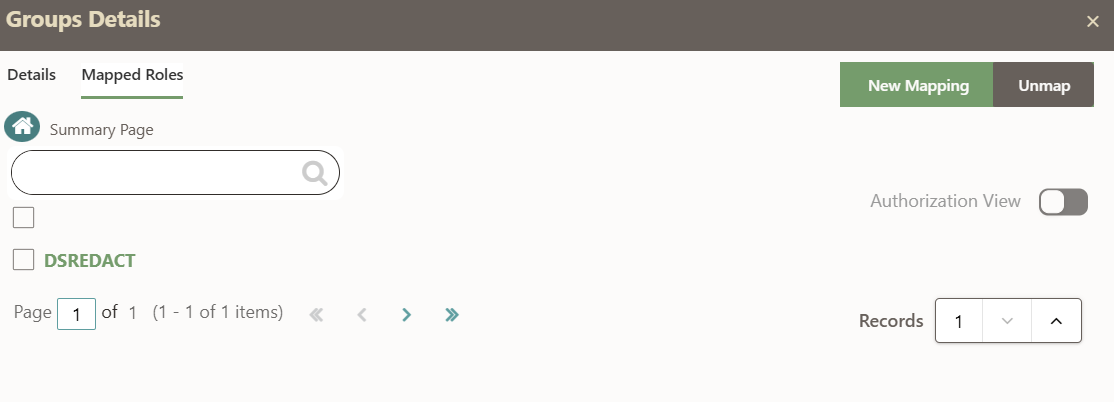 All the groups have specific roles mapped to it.
- New Mapping: The user can click on New Mapping for a new additional role.
- Unmapping: The user can remove any role by clicking unmapping.
Note:
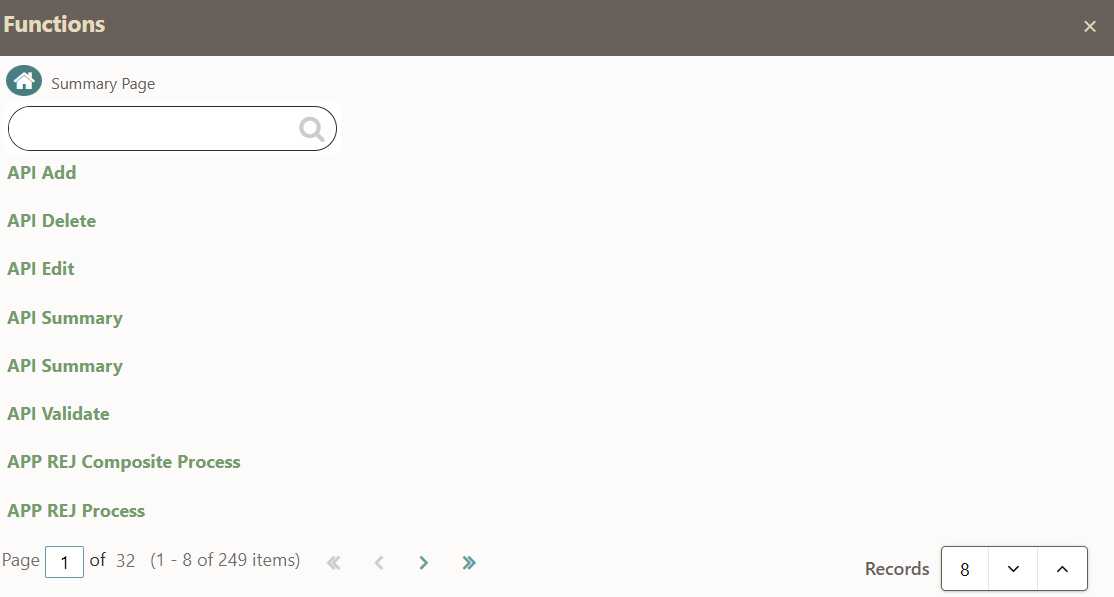
However, if an individual has mapped in with a particular user credential, they can unmapp only other groups, and not the user group they have logged in with.Figure 7-8 Identity Management Functions
Authorization View screen in Admin
Figure 7-9 Authorization View screen in Admin
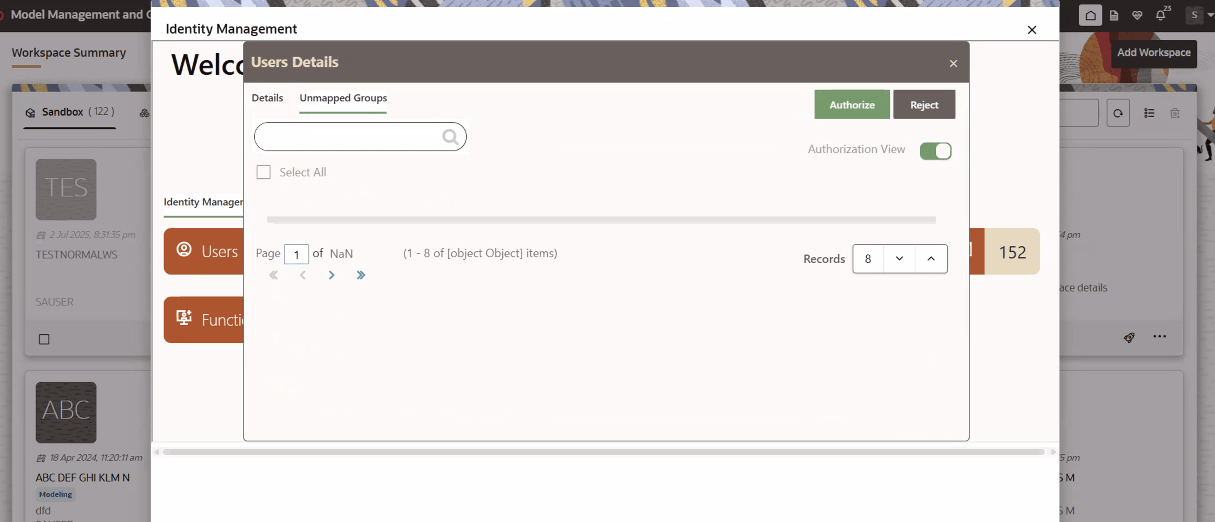 Authorization: When you need to map a new role, you request for a new role or User Group mapping. From the authorization view you can click on the Authorize button to authorize the that role/ group by approving the request. You also have the option of clicking the Reject button to reject the request.
Figure 7-10 Audit Trail Report
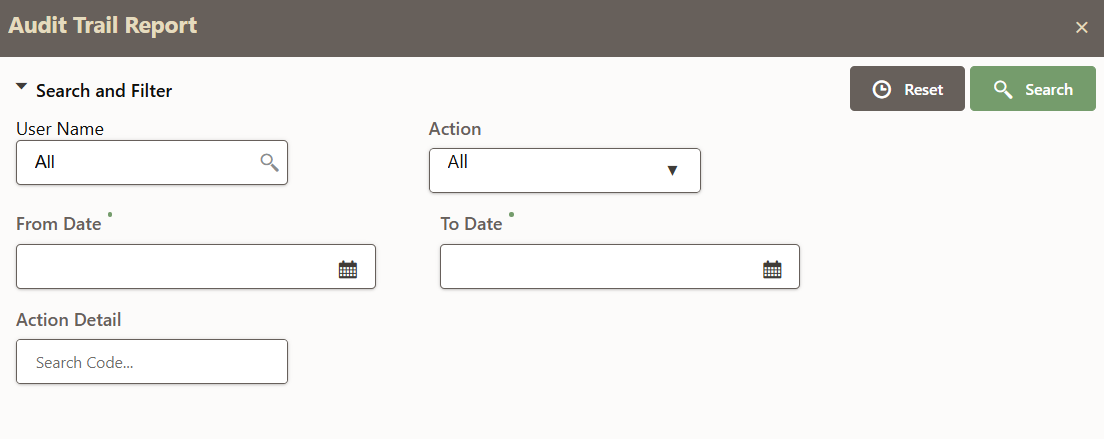 The Audit Trail Report reflects the activities the user performs during a particular period.
- Reset: You can click the Reset button to reset the data in the Audit Trail Report.
- Search: You can click the Search button to track a particular activity.
- Logout: Click to log out of the application.