Access the Dataset Summary
The Dataset Summary page gives access to the various Dataset functions such as
create, view, and delete.
To access the Dataset Summary page, follow these steps:
- Click Launch Workspacenext to corresponding Workspace to Launch Workspace to display the Dashboard window with application configuration and model creation menu.
- In the LHS menu, click Dataset to display the
Dataset Summary window.This window displays the dataset records in a table.
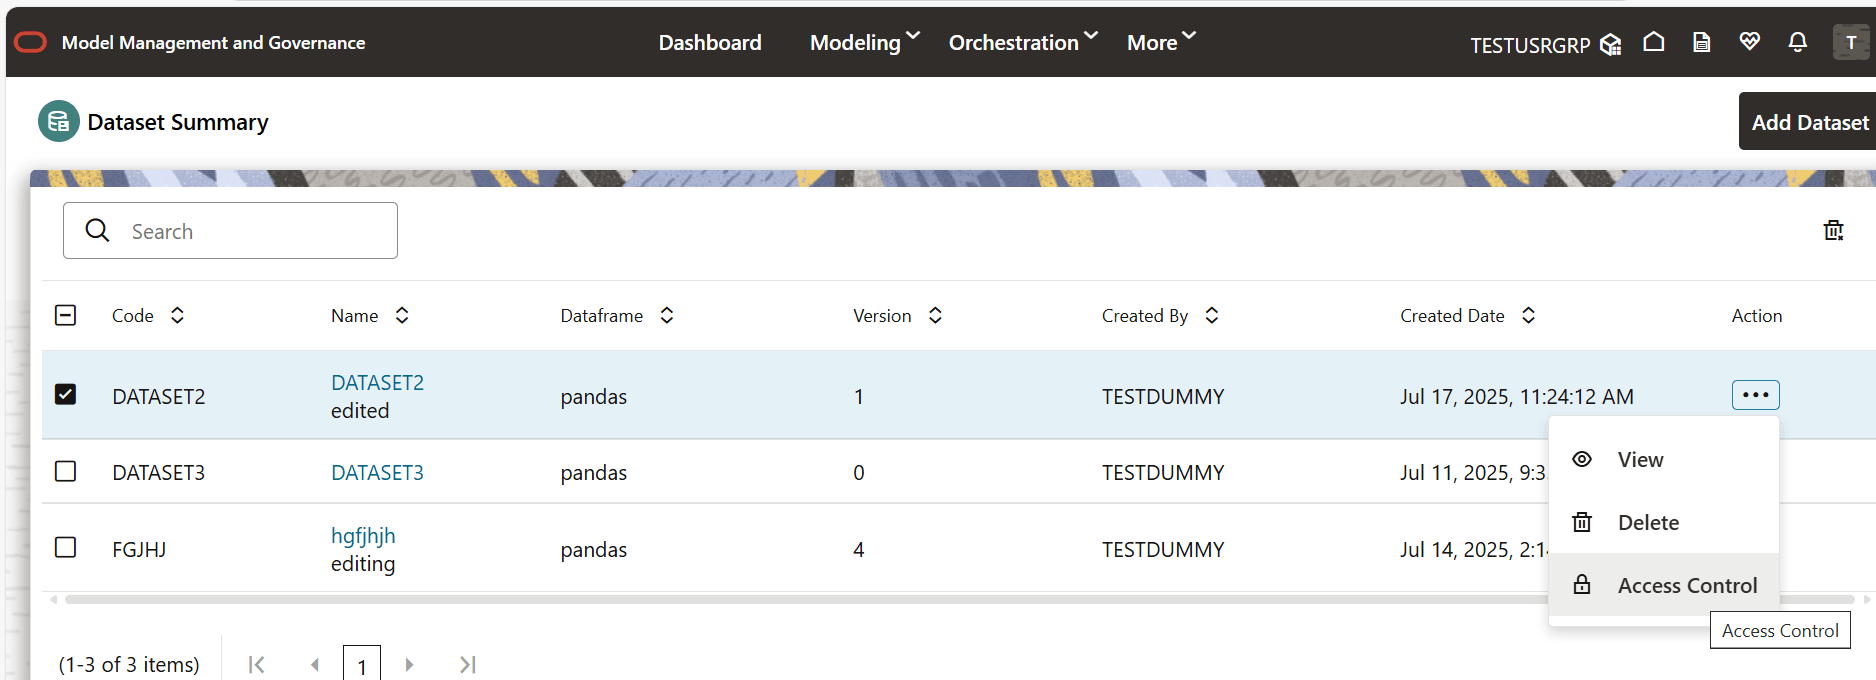
Figure 11-1 Dataset Summary page
 The following table provides the descriptions for the fields and icons on the Dataset Summary page.
Table 11-1 Fields and icons on the Dataset Summary page
Field or Icon Description Search The field to search for Dataset.
Enter specific terms in the field for which you want to search, and press Enter on the keyboard to display the results.
Code The code of the dataset. Name The name of the dataset. Description The description for the Workspace Version Version of dataset Created Date The date on which the Dataset was created. Owner The owner of the dataset. Add Dataset Click Add Dataset to create a new Dataset. Delete Click Delete to delete multiple Datasets. Action Click the three dots to perform View/Delete/ Access Control functions on selected dataset. Figure 11-2 Access Control Menu option under Action
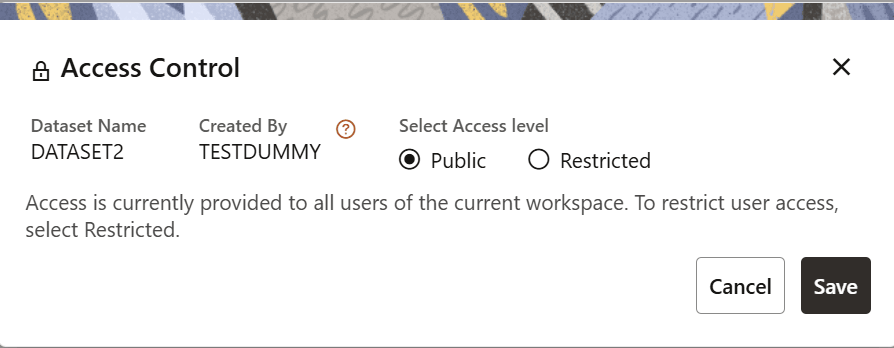
 Access Control Pop has two Access Level Radio button: Restricted Mode and Public Mode.
Figure 11-3 Restricted Mode
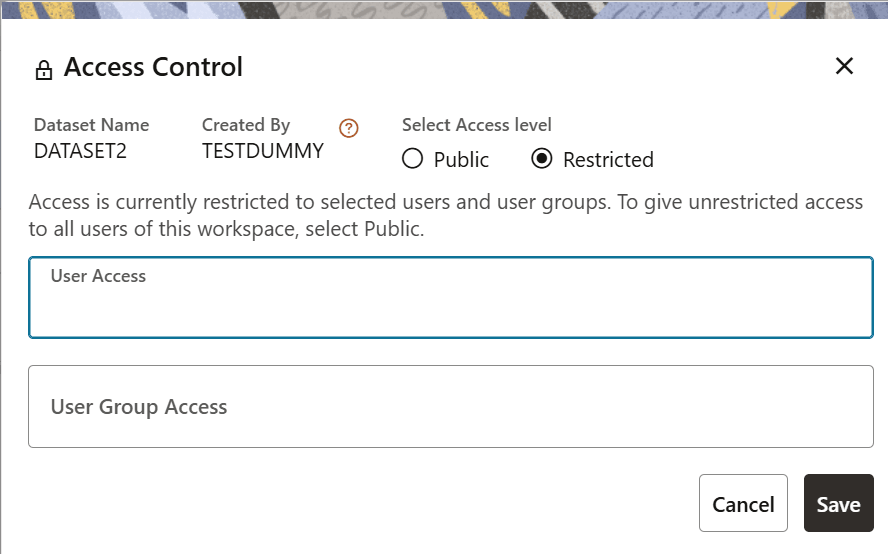
Figure 11-4 Public Mode
 The Access Control pop-up have the below details:
- Dataset Name
- Created By
- Info
- Select Access level with two radio button options: Public and Restricted
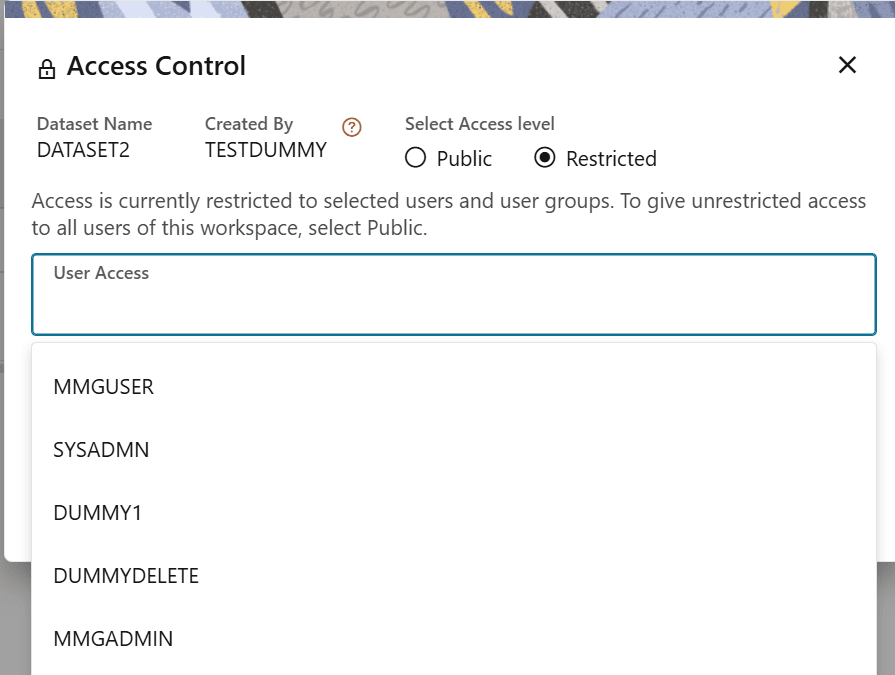
- User Access and User Group Access should list all the users present in the Identity Management
- Cancel button
- Save button
Figure 11-5 Access Control User Dropdown
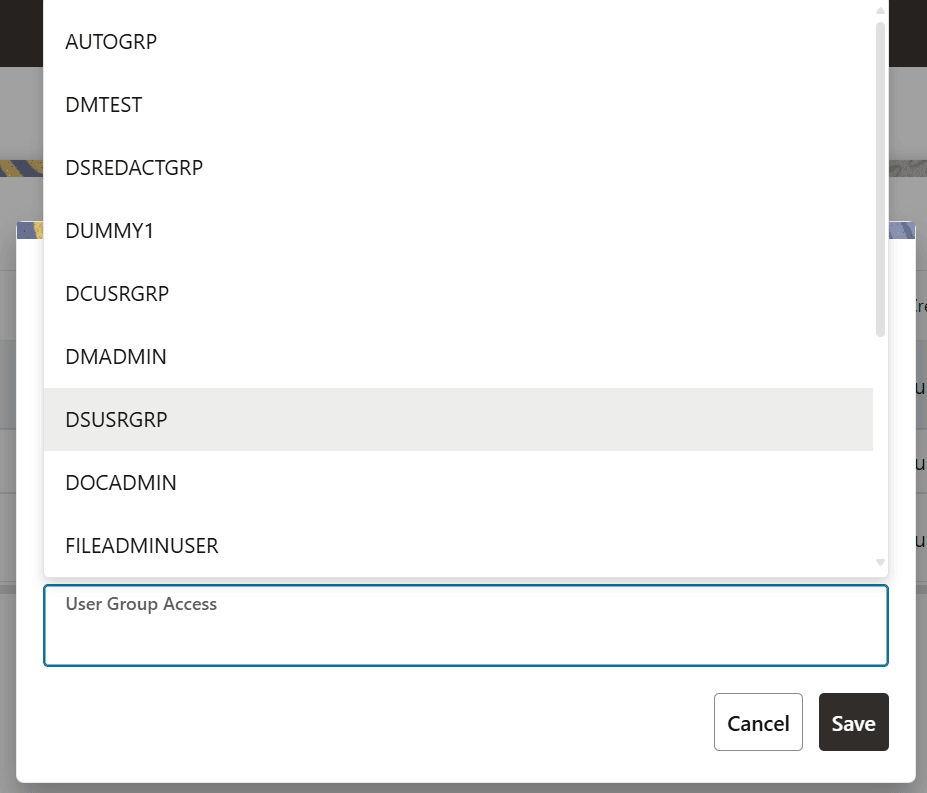
 The Access Control User Groups dropdown fetches all the User Groups present in the Identity Management.
Figure 11-6 Access Control User Groups dropdown
