2 Adyen AMS1 Setup

Inspect the Box
Verify that the box containing the terminal hasn't been opened and that the security seal is intact. The security seal is a label stuck across the lid of the box. If the security seal is not intact, do not unpack or use the terminal. Contact your Oracle MICROS representative for assistance.
Note:
The security seal on your box may differ from the image shown below.
Unpack and Inspect the Terminal
-
Unpack the box and verify the serial number on the terminal is the same as the serial number on the box.
-
Inspect the terminal for tampering. Check for missing seals or screws, additional wires or labels, holes in the device, and anything inserted in or attached to any part of the terminal.
Getting Started
Connect your terminal to the internet so that it can communicate with the oracle payments platform.
Connect to Wi-Fi
-
Select your language on the Welcome screen, and then select the arrow button.
-
On the Setup Wi-Fi screen, select the + sign.
-
Enable the WLAN toggle switch.
-
Select a Wi-Fi network from the list, or select the + sign and add the name (SSID) of the Wi-Fi network.
-
Enter the Wi-Fi password, and then select OK.
The terminal automatically sets the network as the default and connects to it. The Wi-Fi icon appears at the top of the display.
After Boarding the Terminal
To change Wi-Fi usage after boarding the terminal:
-
Select Settings > Network, and then enter your passcode.
-
Select Wi-Fi.
You can now turn Wi-Fi on or off using the WLAN toggle switch, and/or add another network as described above.
Turn the Power On/Off
Note:
If you turn on the payment terminal for the first time or after it is off for a long time, it may make a maintenance call to synchronize the configuration and update the software. This can take 10 to 20 minutes.When connected to a power supply, the battery charges. An icon at the top of the display indicates the battery charge level.
Turn on the terminal: Press and hold the power button until the display turns on. If necessary, connect the terminal to a power supply to charge the battery.
Turn off the terminal: Press and hold the power button until a dialog box appears, then confirm you want to turn off the terminal.
Maintain Battery Performance
Storing payment terminals for longer periods of time can reduce the capacity of the battery or damage it permanently.
To prevent battery degradation:
- Check the storage conditions
- Store the terminals in a cool, dry place.
- Keep the terminals away from direct sunlight or heat sources.
- Avoid overcharging. Do not store terminals with battery levels over 70 percent.
- Avoid discharging. Do not store terminals with battery levels below 40 percent.
- Inspect the batteries regularly
- Every six months, check for battery leakage or swelling.
- Recharge batteries to the optimal level.
Using the USB-C Charging Cable
The AMS1 payment terminal is supplied with a USB-C charging cable and a region-specific power plug. This cable is compliant with the USB industry and UL standards.
Always use the charging cable and the region-specific power plug provided.
To prevent damage to the USB-C charging cable and the USB-C socket on the payment terminal, follow these guidelines:
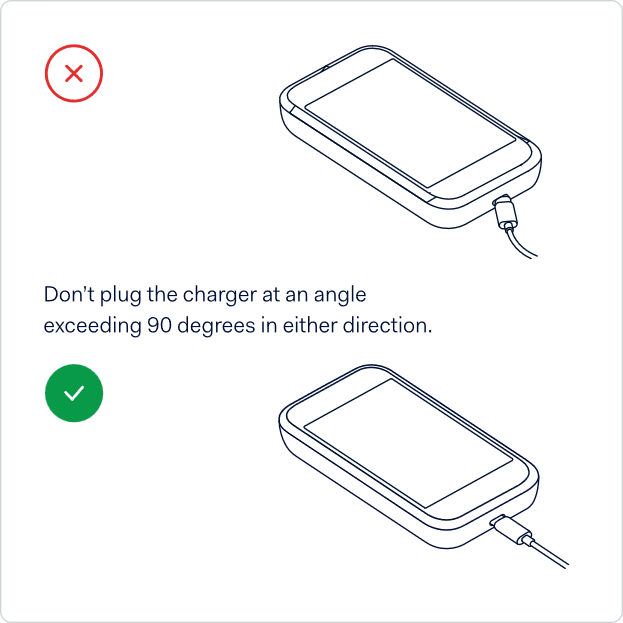
- Insert and remove the USB-C charging cable by holding the end that connects to the terminal or the power plug.
- Do not insert or remove the USB-C charging cable in an upward, downward, left, or right direction.
- Do not bend or fold the USB-C charging cable.
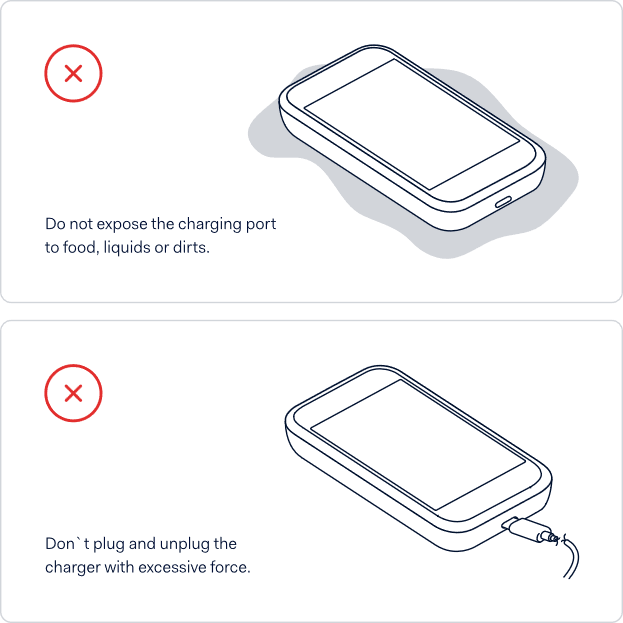
- Do not use excessive force to insert or remove the USB-C charging cable.
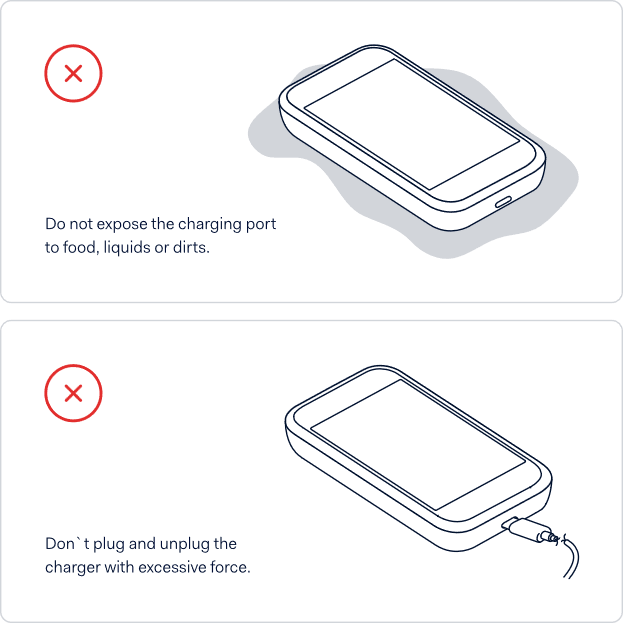
- Always inspect the USB-C charging cable and the USB-C socket on the terminal for foreign objects.
- If the terminal operates in areas of high humidity, dust, or food residue, consider getting a charging station.


AMS1 Menus
Table 2-1 AMS1 Menus
| Menu/Button | Description | Passcode |
|---|---|---|
|
Settings  |
|
|
|
Transactions  |
|
|