2 Castles S1F4 Pro Mobile Order and Payment Terminal
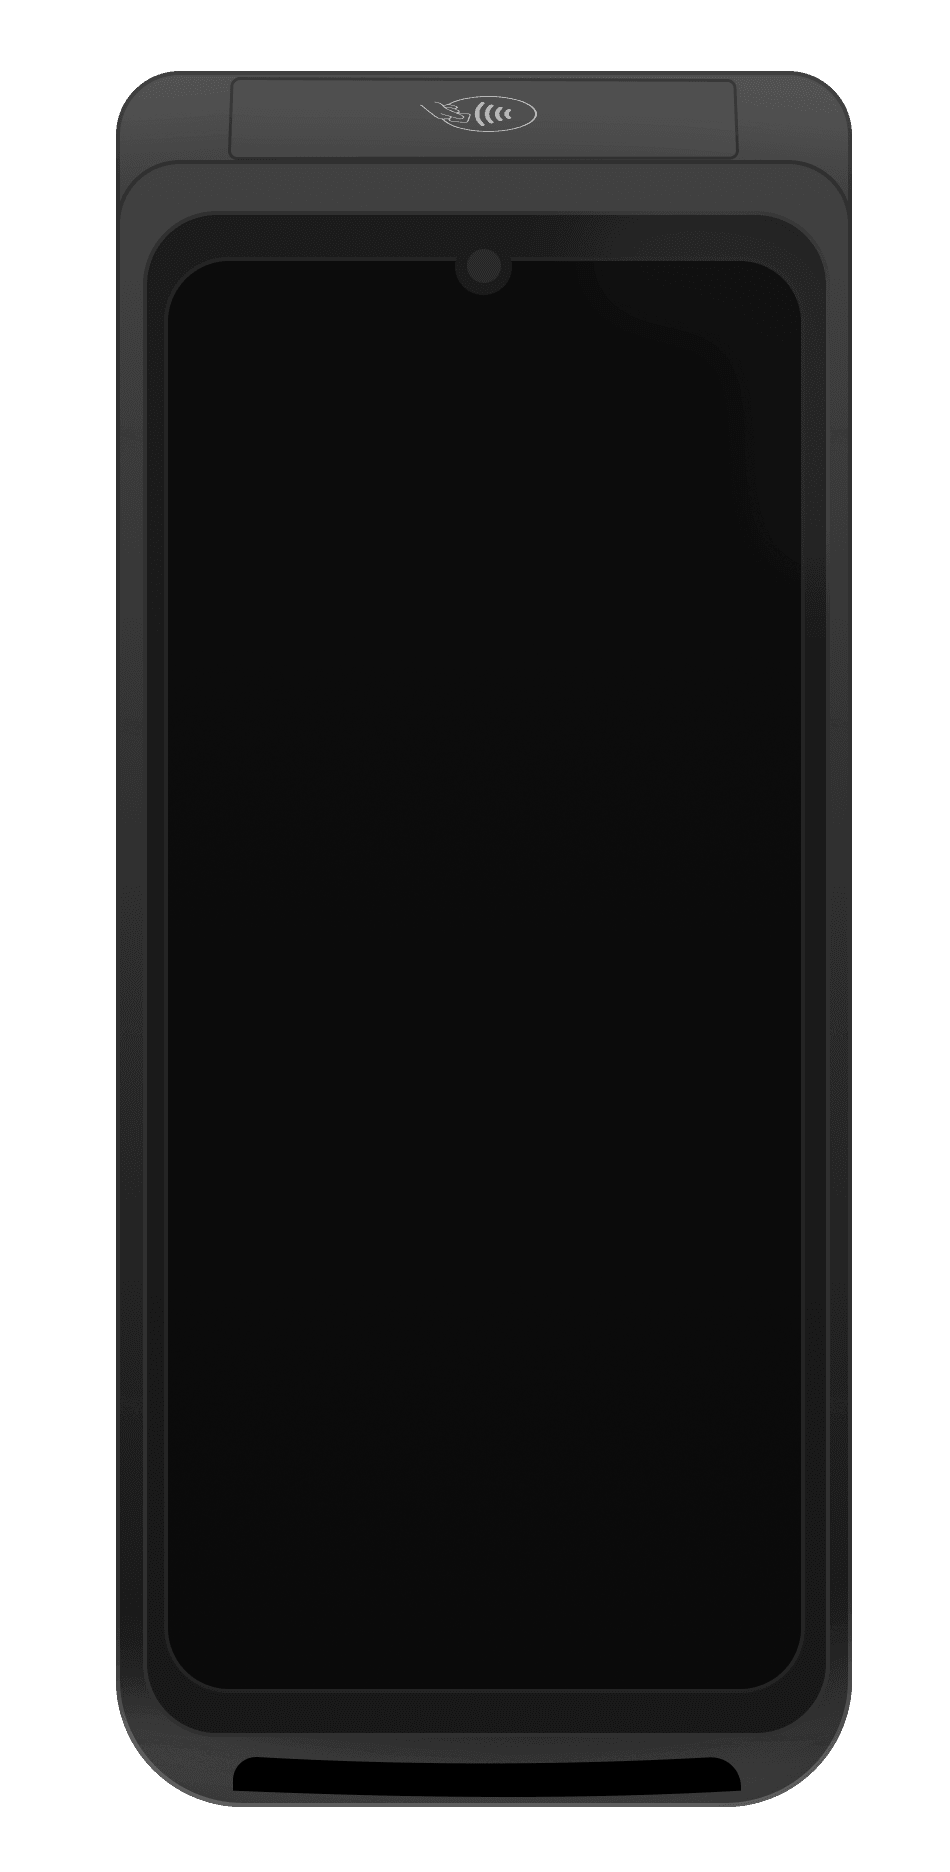
Inspect the Box
Verify that the box containing the terminal hasn't been opened and that the security seal is intact. The security seal is a green and white label with a bar code and a number stuck across the lid of the box.
Caution:
If the security seal is not intact, do not unpack or use the terminal. Contact your Oracle representative for assistance.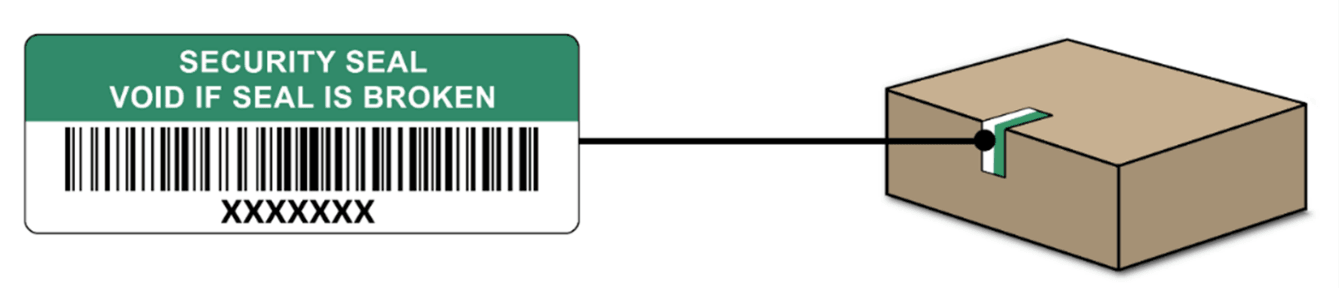
Unpack and Inspect the Terminal
-
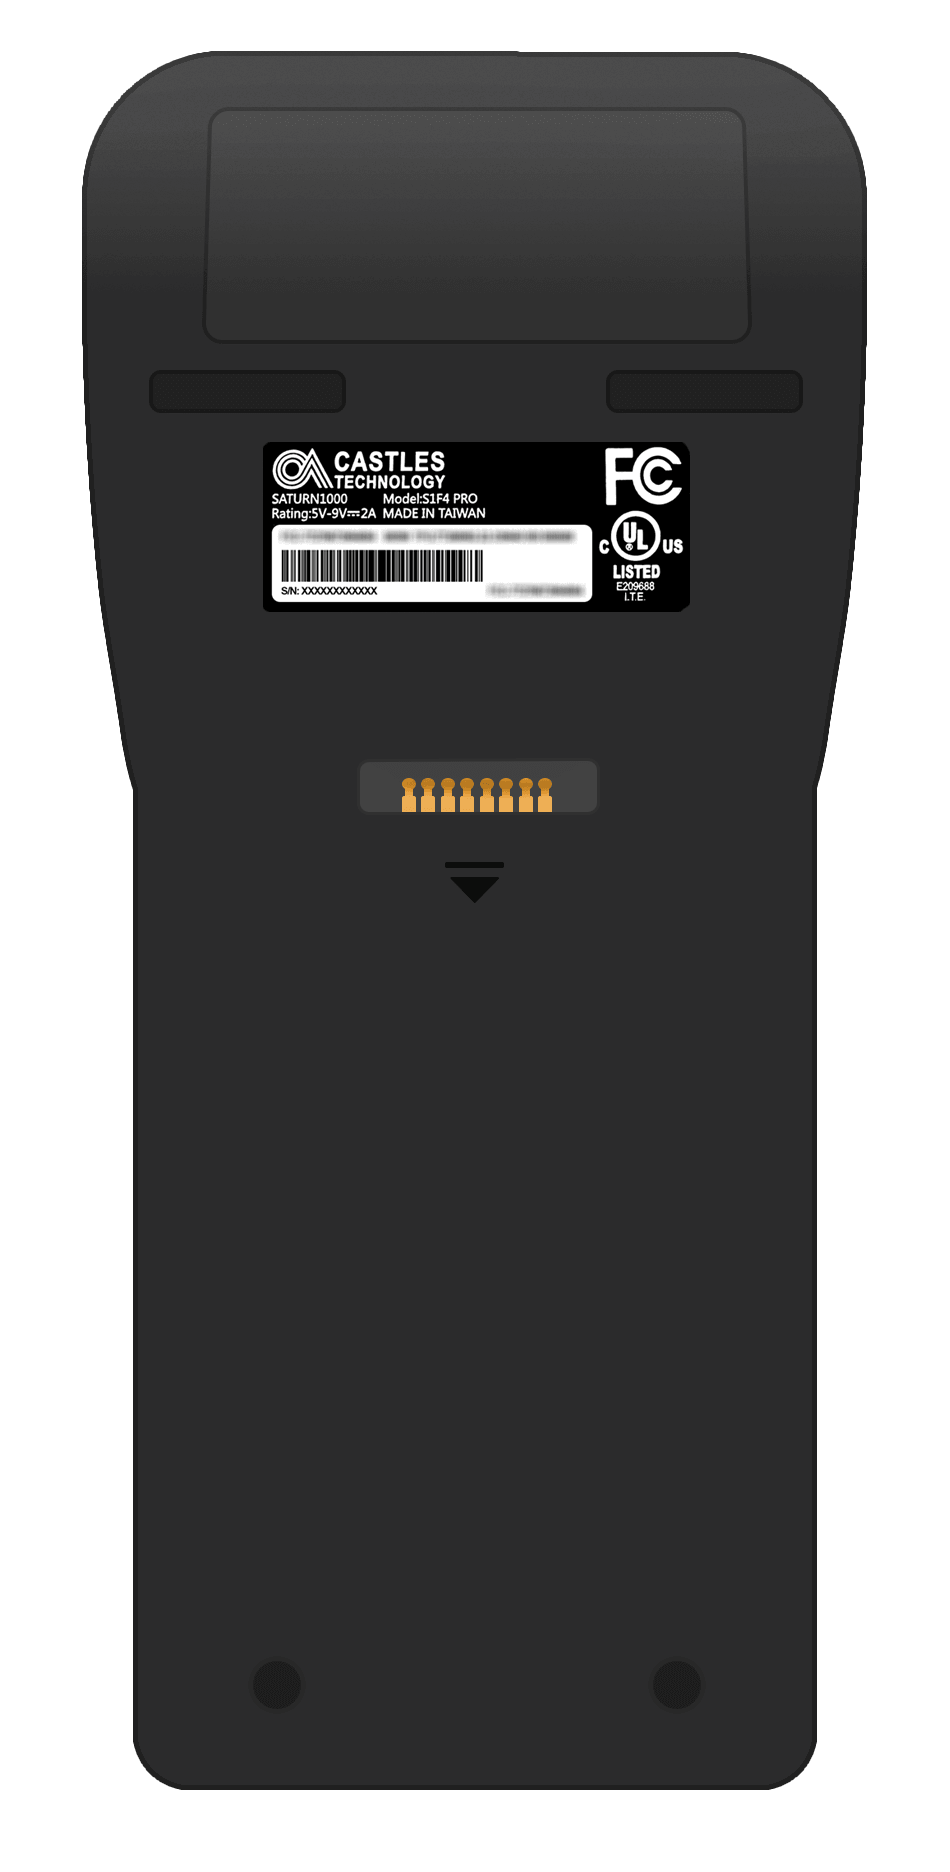
Unpack the box and verify the serial number on the terminal is the same as the serial number on the box.
-
Inspect the terminal for tampering. Check for missing seals or screws, additional wires or labels, holes in the device, and anything inserted in or attached to any part of the terminal.
If any of the above checks fail, do not use the terminal. Contact your Oracle representative for assistance.
Insert the Paper Roll
-
Pull up the cover of the paper roll compartment.
-
Insert the paper roll, making sure the paper sticks out a bit.
-
Close the cover of the paper roll compartment.
First-time Setup and Configuration
Power on the terminal and connect it to Wi-Fi before using it for payments.
-
Press and hold the power button until the display turns on. If necessary, connect the terminal to a power supply to charge the battery. An icon at the top of the display indicates the battery charge level.
If you turn on the payment terminal for the first time, or after it was off for a long time, it may make a maintenance call to synchronize the configuration and update the software. This can take 10 to 20 minutes.
-
On the Welcome screen, select your language, and then tap the arrow button.
-
On the Setup Wi-Fi screen, select the + symbol and toggle the WLAN switch.
-
The terminal scans for Wi-Fi networks. Choose your network from the list and enter the Wi-Fi password.
-
You can also select the + sign and manually enter the name (SSID) of the Wi-Fi network and the Wi-Fi password.
-
Select OK to confirm.
The terminal sets the network as the default automatically and connects to it. A Wi-Fi icon is shown at the top of the display.
Change Wi-Fi Settings after Boarding
If you need to change Wi-Fi usage after the terminal is boarded:
-
Select Settings > Network.
-
Enter your passcode. Contact your Payment Administrator in your organization for the passcode.
-
Select Wi-Fi. You can turn Wi-Fi on or off using the Wi-Fi toggle switch, change IP settings, or add another network.
Reboot the Terminal
-
Go to Settings and select Power.
-
Enter your passcode. Contact your Payment Administrator in your organization for the passcode.
-
Select Restart and confirm.
Turn Off the Terminal
Press and hold the power button until a dialog box appears, then confirm that you want to turn off the terminal.
Cellular 3G/4G Failover
Your S1F4 Pro terminal can automatically switch to processing payments using a cellular connection when the internet connection fails. It has a pre-installed and activated eSIM.
Payment Terminal Menus
Your payment terminal has a menu with options related to payments, and a menu with options related to configuration. Access to some menu options is protected by passcodes. Contact your Payment Administrator in your organization for the passcode.
| Menu/Button | Description | Passcode |
|---|---|---|

Settings |
Device info: View information about the payment terminal, such as the serial number, configuration version, and payment location details. Update the software version. Network: Enable and configure network connections. Configuration: View, update, or remove the configuration version. Display: Adjust the screen brightness. Diagnostics: Run network connection tests or send a diagnostic report. Apps: View installed apps. Power: Restart or power off the terminal. |
No passcode required: Device info; Diagnostics. Admin & Settings passcode required: Apps; Configuration; Network; Device Info > Software; Power. |

Transactions |
History: View transactions stored on the terminal. Totals: View transaction totals reports and reset transaction totals. |
Transactions passcode required: History; Totals. |
Device Info
To view information about the terminal, select Settings > Device info.
The Device info screen shows:
-
The model, serial number, and IP address of the terminal.
-
The software version and configuration version that the terminal currently uses.
-
A button to show a QR code with device info.
SIM Cards and Data Plans
For payment terminals that support cellular connectivity, customers must obtain and maintain a SIM card with an active data plan.
Customers are responsible for procuring, activating, and maintaining the SIM card and associated cellular service. Carrier services, fees, and connectivity are not included.