Insert Content: Simphony_DiscountBundle
-
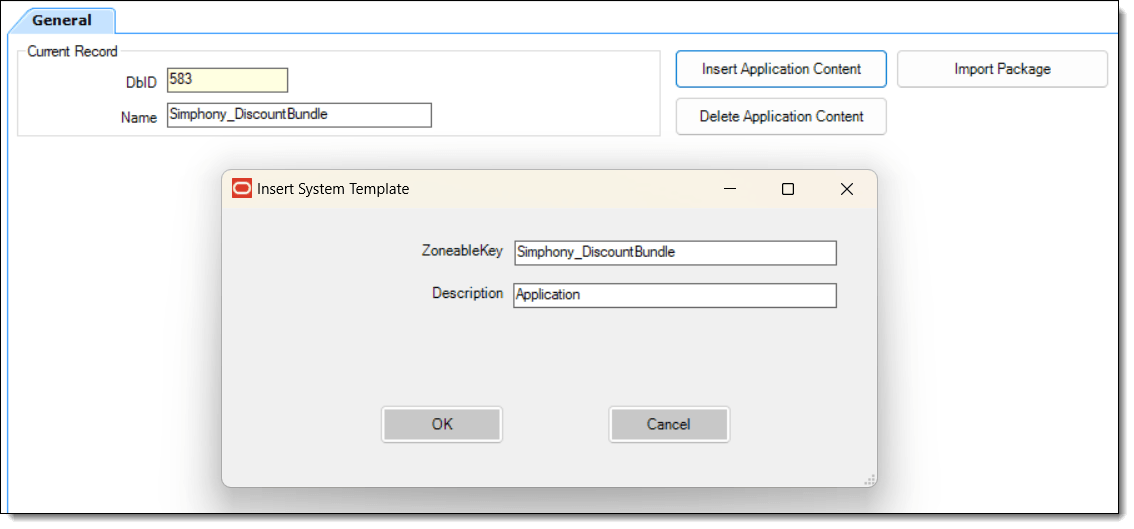
Ensure the new record is highlighted, click the Insert Application Content button, and then enter the text as shown in the following fields:
-
ZoneableKey: Simphony_DiscountBundle (This field is case-sensitive and must be entered exactly as shown.)
-
Description: Application
-
-
Click OK.
Figure 15-3 Extension Application Module - Insert Application Content Window

-
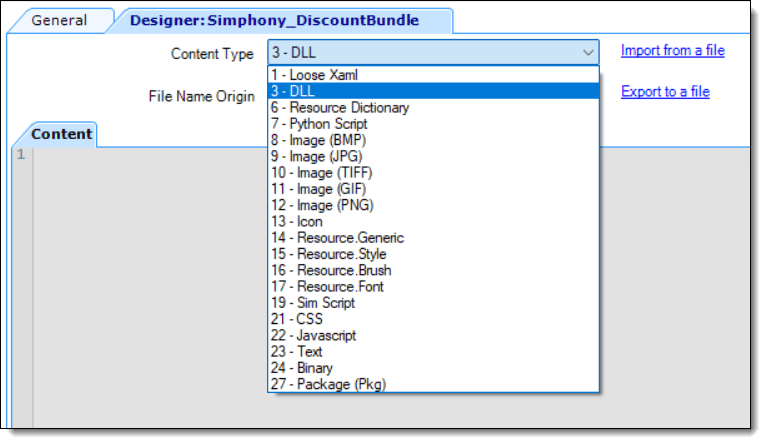
From the Content Type drop-down list, select 3 - DLL, and then click the Import from a file link.
Figure 15-4 Extension Application Module - Content Type Selection

-
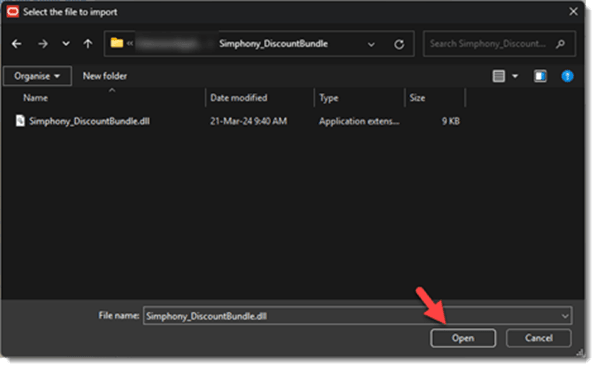
Navigate to the Simphony_DiscountBundle.dll file from the installation package, select the file, and then click Open.
Figure 15-5 Importing the Simphony_DiscountBundle.dll Package

-
Click the General tab and then enter Simphony_DiscountBundle.dll as the Disk File Name.
The Disk File Name field is case-sensitive and must be entered exactly as shown.
Figure 15-6 Extension Application Module - Disk File Name Entry

-
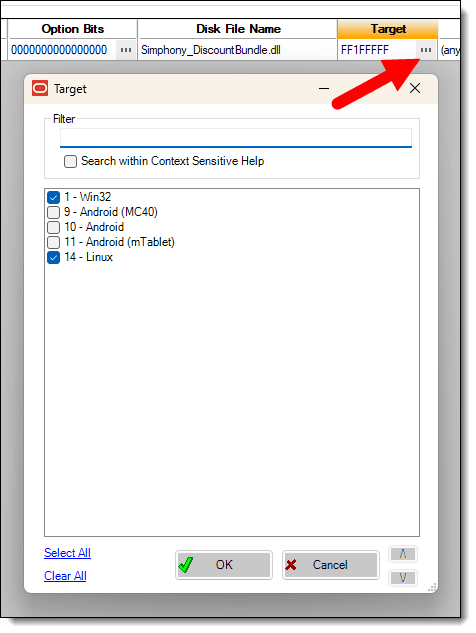
If necessary, scroll to the right, click the ellipsis symbol (...) under the Target column, and then select 1 - Win32 and 14 - Linux only. Other options need to be disabled under the Versions column for the (any) - (any) settings.
Figure 15-7 Extension Application Module - Targeted Workstation Settings

-
Click OK.
-
Click Save.
Parent topic: EMC – Extension Application Installation