2 Verifone e285 Mobile Payment Terminal

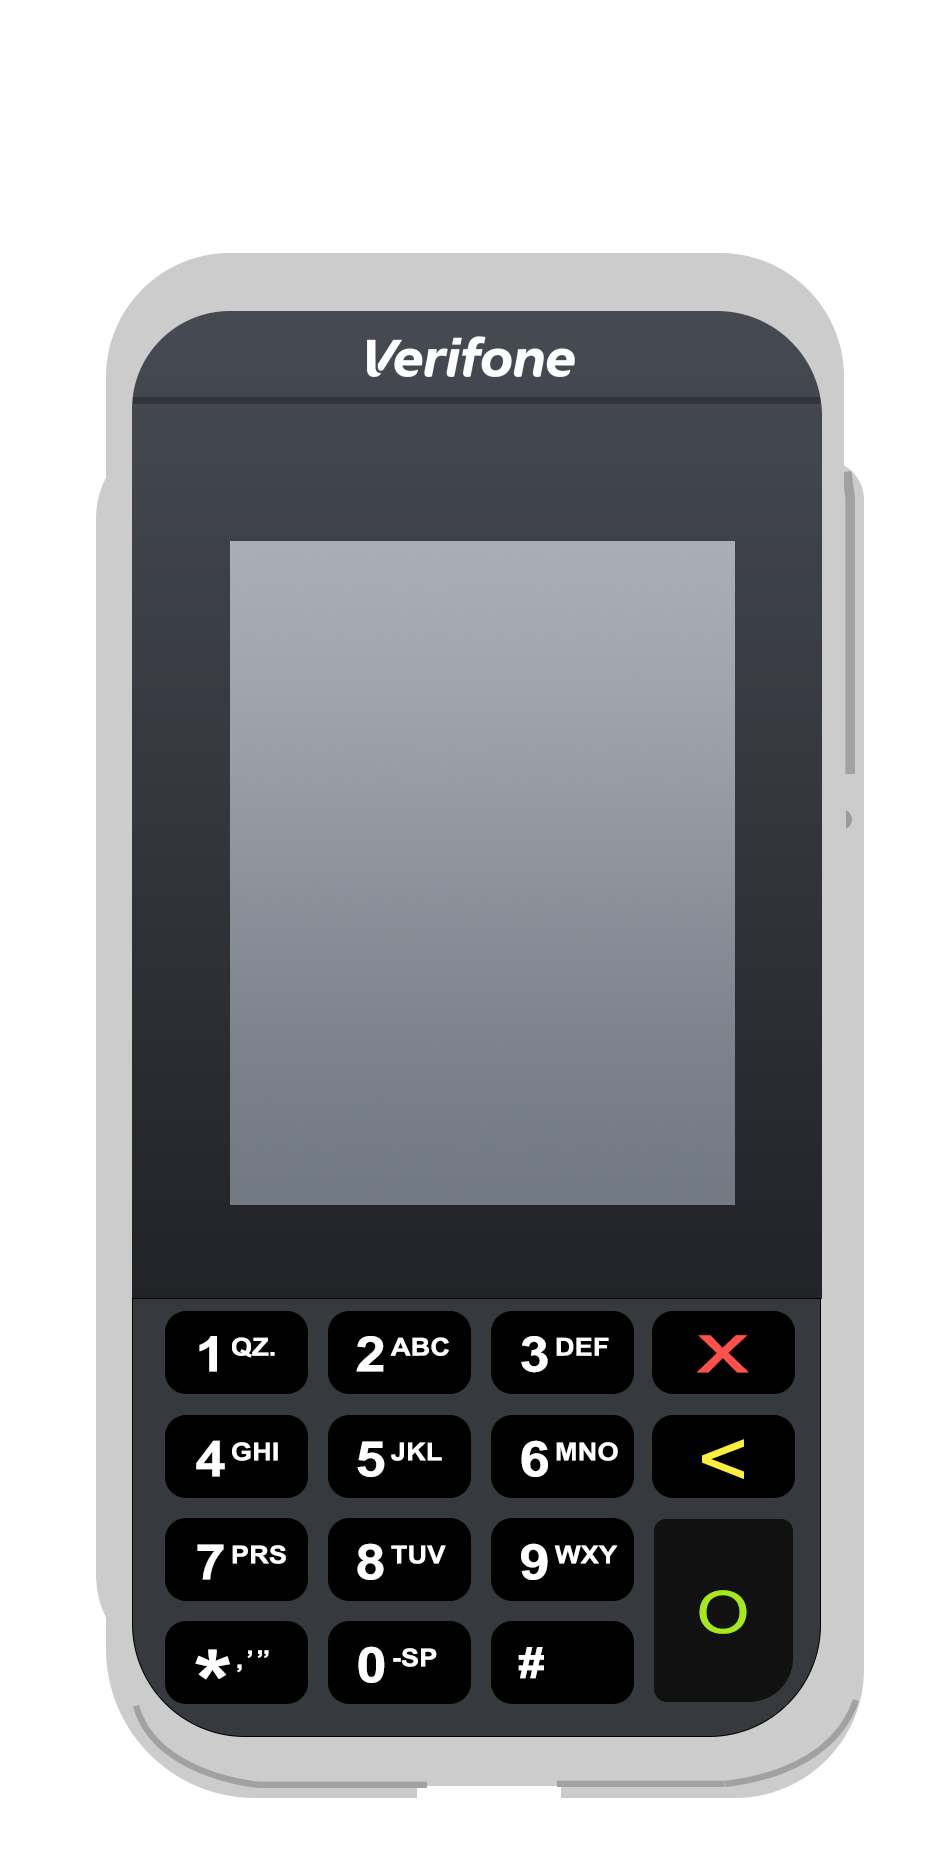
Table 2-1 Verifone e285 Function Keys
| Function Key | Description |
|---|---|
|
Cancel |
|
|
Clear |
|
|
Confirm |
Inspect the Box
Verify that the box containing the terminal hasn't been opened and that the security seal is intact. The security seal is a green and white label with a bar code and a number stuck across the lid of the box. If the security seal is not intact, do not unpack or use the terminal. Contact your Oracle MICROS representative for assistance.

Unpack and Inspect the Terminal
-
Unpack the box and verify the serial number on the terminal is the same as the serial number on the box.
-
Inspect the terminal for tampering. Check for missing seals or screws, additional wires or labels, holes in the device, and anything inserted in or attached to any part of the terminal.
Getting Started
-
Connect the terminal to a power supply. During startup, the display turns on and off a few times.
-
Tap Configure network.
-
Tap Wi-Fi.
-
Select the Wi-Fi toggle switch.
-
Tap the + icon to add a network. The terminal scans for Wi-Fi networks.
-
Select the desired network from the list and enter the Wi-Fi password or tap Add manually and enter the name (SSID) of the Wi-Fi network and the Wi-Fi password.
The terminal connects to the network and is automatically set as the default. You'll now see a Wi-Fi icon at the top of the display.
Note:
To change the Wi-Fi network, access the Admin menu, tap Network, and then tap Wi-Fi.Set a Static IP Address via the Admin Menu
-
Press the 9 key, and then press the Confirm key (green O button) to navigate to the Admin menu.
-
Enter your Admin menu passcode, which is provided by Oracle Support, and then press the Confirm key.
-
From the Admin menu, tap Network, and then tap WiFi.
-
In IP Settings, deselect the DHCP toggle switch.
-
Enter the following applicable to your network: IP address, Subnet mask, and Default gateway. To type a period (.), tap 1 six times.
-
Tap Apply to confirm.
-
Press the Cancel key (red X button) to exit.
-
Press the Cancel key again to exit the Admin menu.
-
Tap Reboot from the Admin menu and confirm.
Board the Terminal
After the terminal has restarted, tap Board terminal. If Board terminal is not shown and the terminal has recently been reassigned, then wait and try again in 15 minutes.
Using the USB-C Charging Cable
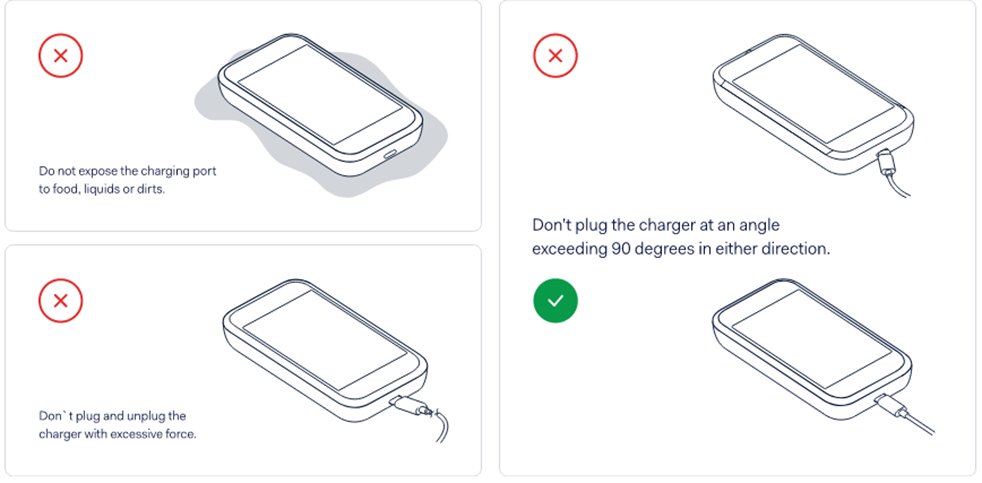
The Verifone e285 is supplied with a USB-C charging cable. Always use the charging cable provided by Oracle.
-
Insert and remove the USB-C charging cable by holding the end that connects to the terminal or the power plug.
-
Don’t insert or remove the USB-C charging cable in an upward, downward, left or right direction.
-
Don’t bend or fold the USB-C charging cable.
-
Don’t use excessive force to insert or remove the USB-C charging cable.
-
Always inspect the USB-C charging cable and the USB-C socket on the payment terminal for foreign objects.
-
If the terminal operates in areas of high humidity, dust or any residue, consider getting a charging station.

Accessing the Admin Menu
-
Press the 9 key and then press the Confirm key.
-
Enter the Admin menu passcode, and then select the Confirm key. You can get the passcode from Oracle Support.

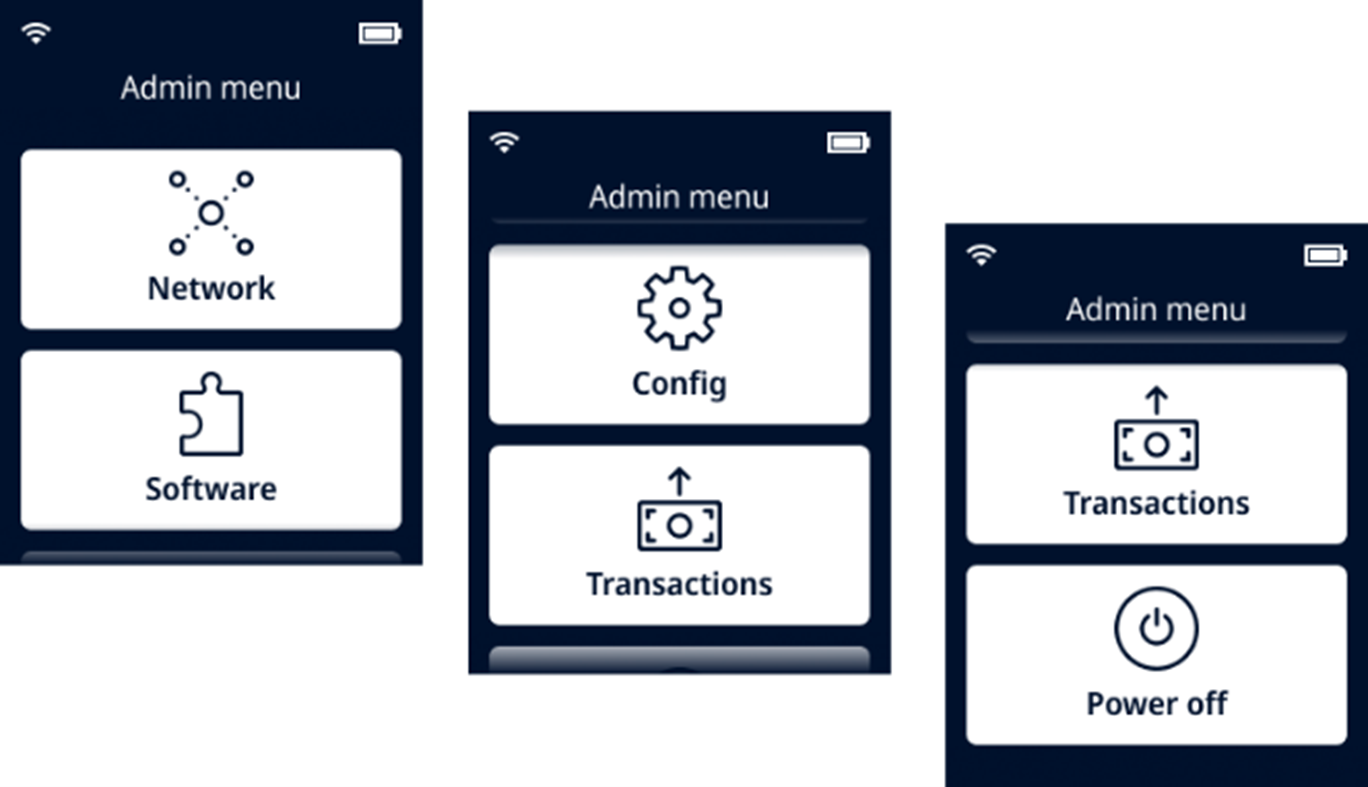
Table 2-2 Verifone e285 Admin Menu
| Option | Description |
|---|---|
|
Network |
Configure network settings. Run diagnostic connection tests. |
|
Software |
Update the terminal software. |
|
Config |
Update, view, or remove the configuration. You can view the configuration version, the installed software release, and hardware details such as the unique Terminal ID. |
|
Transactions |
Get an overview of transactions stored on the payment device. |
|
Power Off |
Turn off the payment device. |
Device Information
Press the 5 key and then press the Confirm key to access the Payment Device Information menu.
-
Model, serial number and IP Address of the payment device
-
Software version and configuration version that the payment device is using.
-
Merchant Account and Store that the payment device belongs to.