Step 4: Add the Identity Provider in OCI IAM Identity Domains
Enter the identity provider details by following these steps:
- Navigate to the Oracle IAM domain console.
- On the navigation menu, click Security and then click Identity providers.
- Click Add IdP and then click Add SAML IdP.
- Enter the following information:
- Name: Enter the name of the IdP.
- (Optional) Description: Enter a description of the IdP.
- (Optional) Identity provider icon: Drag and drop a supported image or click select one to browse for the image.
- Click Next.
Verify the Import identity provider metadata is selected and browse and select or drag and drop the metadata XML file onto the Identity provider metadata. This is the metadata file you saved earlier from your identity provider.
- Click Next.
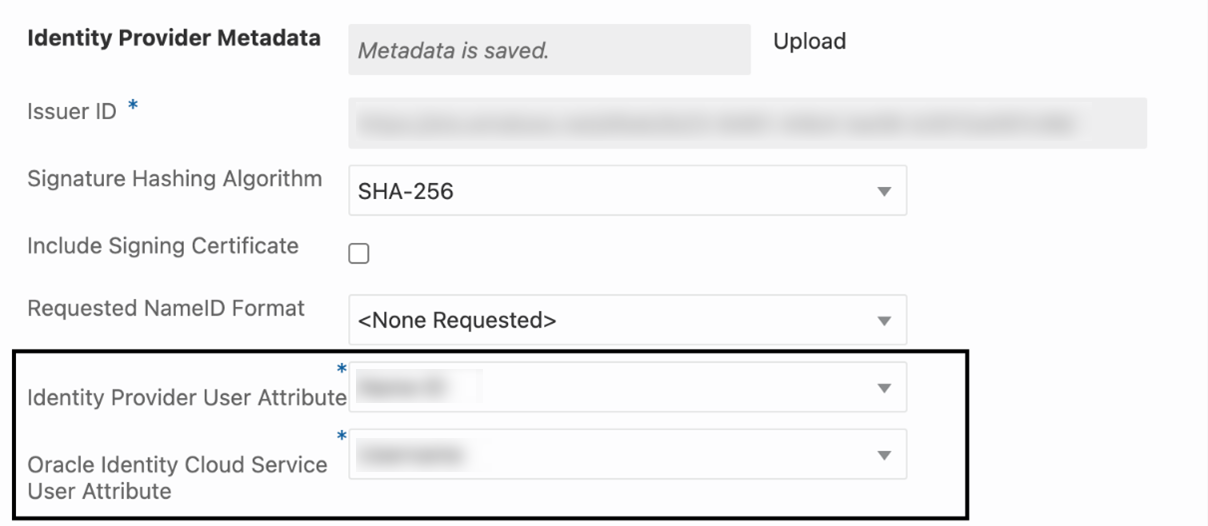
- In Map user identity, set the values as shown in the following screenshot.

- Click Next.
- Under Review and Create, verify the configurations, and then click Create IdP.
- Click Activate.
- Click Add to IdP Policy Rule.
- Click Default Identity Provider Policy to open it, and from the context (vertical ellipsis) menu, select Edit IdP rule.
- Click Assign identity providers and then click the Identity provider name to add it to the list.
- Click Save Changes.
- Go back to Security and click Sign-on policies.
- Click Default Identity Provider Policy to open it, and in the Sign-on rules from the context (vertical ellipsis) menu on the right, select Edit IdP rule.
- Select the identity provider.

- Save your changes.