Managing Identity Reports
Navigate to Reports Management Page
-
Log in to OPERA Cloud Identity Management Portal as an administrator.
-
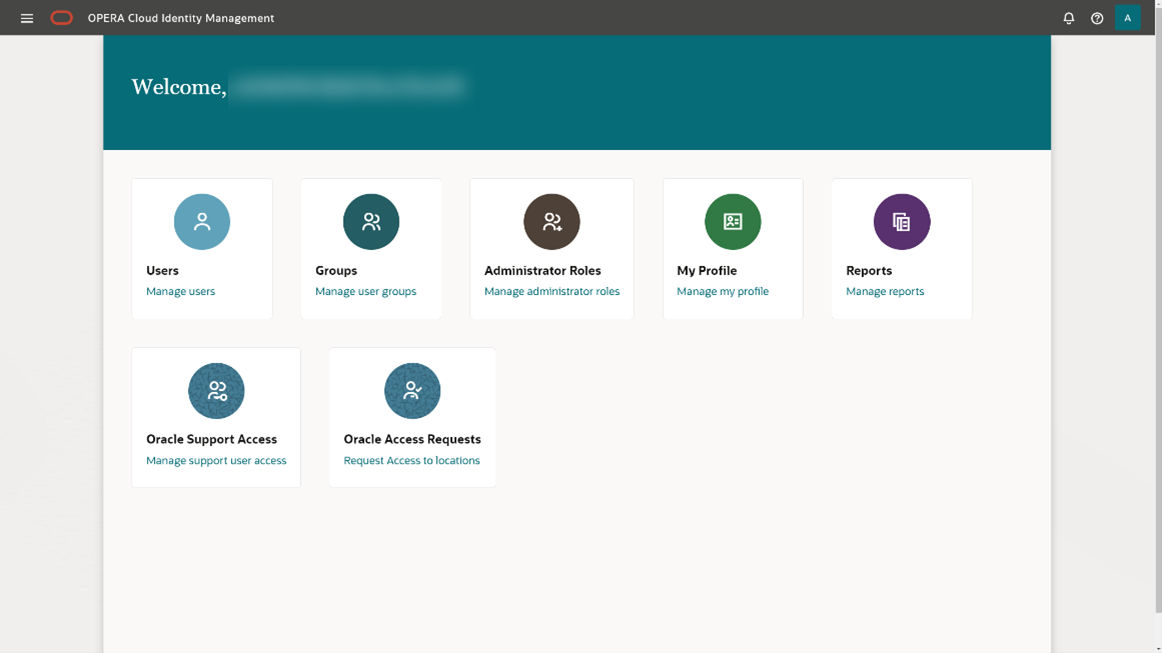
Click the Reports tile on the homepage.

The Reports page consists of a list of available reports and a report generation page specific to each report.
Select a Report and Configure Report Filters
-
To see the filter configuration page for a report, select the respective report.
On the right hand-side, you will see the available filter options for the selected report.
-
Add any required filter details. Optionally, you can also add additional filter criteria.
Some filters (for example, group name filter) allow you to search for existing groups and select the groups that should be included in the report.

Some filters (for example, the Group Name filter) allow you to search for existing groups and select the groups that should be included in the report.

Generating and Saving Reports
-
After you have selected a report and added filter criteria, select Generate Report to create a report.
-
Once the report generation has completed, a toast message “Report Downloaded” appears as well as the following depending on your browser:
-
A “Save As” dialogue that allows you to specify a download location for the report and save the report in that location.
-
The report being added in the “downloads” area of your browser.
Note:
All report outputs are in CSV file format and report generation may take several minutes to download or several minutes before a toast message appears on the screen for “Save As.”
-
Parent topic: Identity Reports