Step 7: Add Microsoft Azure AD as an Identity Provider in OCI IAM Identity Domains
- Navigate to the Oracle IAM domain console.
- On the navigation menu, click Security and then click Identity providers.
- Click Add IdP and then click Add SAML IdP.
- Enter the following information:
- Name: Enter the name of the IdP.
- (Optional) Description: Enter a description of the IdP.
- (Optional) Identity provider icon: Drag and drop a supported image or click select one to browse for the image.
- Click Next.
Ensure that Import identity provider metadata is selected, and browse and select, or drag and drop the Azure AD metadata XML file into Identity provider metadata. This is the metadata file you saved earlier from Azure AD.
- Click Next.
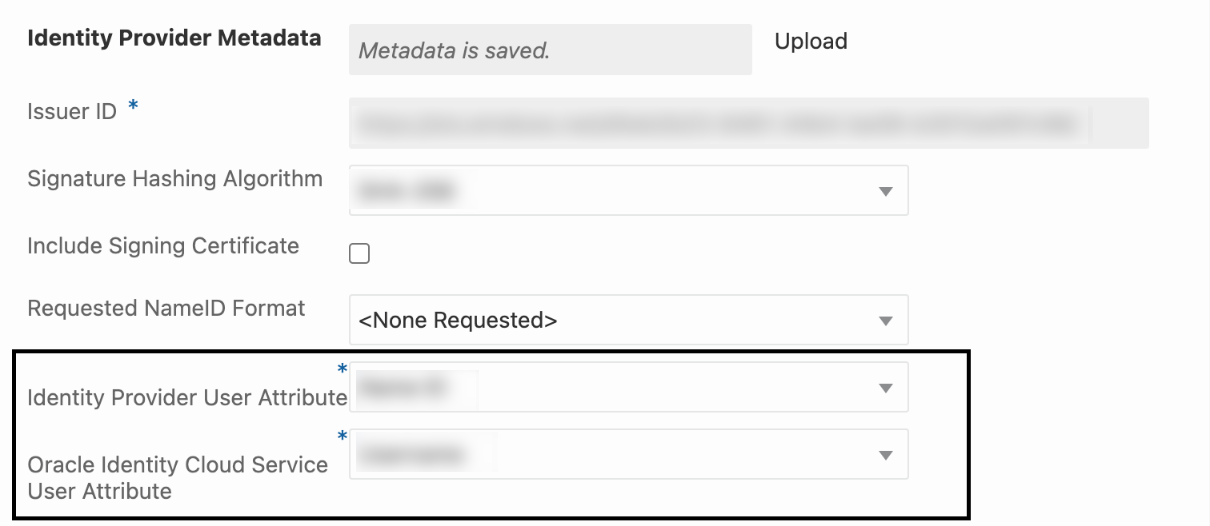
- In Map user identity, set the values as shown in the following
screenshot.

- Click Next.
- Under Review and Create, verify the configurations, and then click Create IdP.
- Click Activate.
- Click Add to IdP Policy Rule.
- Click Default Identity Provider Policy to open it, and from the context (three dots) menu choose Edit IdP rule.
- Click Assign identity providers and then click Azure AD Identity provider to add it to the list.
- Click Save Changes.
- Go back to Security and click Sign-on policies.
- Click Default Identity Provider Policy to open it, and in the Sign-on rules from the context (three dots) menu on the right, select Edit IdP rule.
- Select Azure AD.

- Save your changes.
JIT Attribute Mapping
-
In the OCI console, open the navigation menu and click Identity & Security.
-
Under Identity, click Domains.
-
In the respective domain, navigate to Security and then navigate to Identity Provider.
-
Under the respective Identity Provider, click Configure JIT.
-
Turn on the Enable Just-In-Time (JIT) provisioning option and select the Update the existing identity domain user option.

-
Save your changes.
-
Create a Confidential Application
-
In the OCI identity domain, open the navigation menu and click Identity & Security.
-
Under Identity, click Domains.
-
Click the name of the identity domain that you want to work in. You might need to change the compartment to find the domain that you want. Then, click Integrated applications.
-
Click Add application.
-
In the Add application screen, select Confidential Application, and then click Launch workflow.
-
On the Add application details page, enter an application name and description, and then click Next.
-
On the Configure OAuth page, under Client configuration, select Configure this application as a client now.
-
Under Authorization, select only Client Credentials as the Allowed Grant Type.
-
At the bottom of the page, select Add app roles and then click Add roles.
-
In the Add app roles panel, select Identity Domain Administrator, and then click Add.
-
Click Next and then click Finish.
-
On the application detail page, scroll down to General Information. Copy the Client ID and the Client Secret and save it in a secure place for later.
-
After the application is created, click Activate.
Note:
Once JIT Configuration is completed, this Client application can be deactivated.
-