PSP Client certificates
-
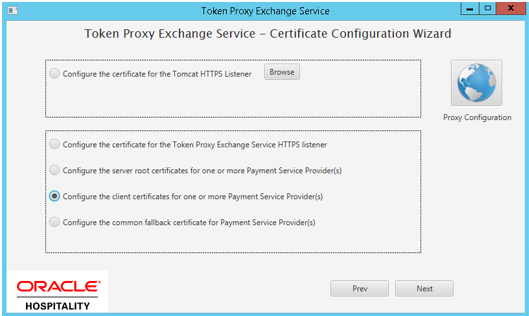
For PSP Client certificates, after login select the option Configure the client certificates for one or more Payment Service Provider(s).
-
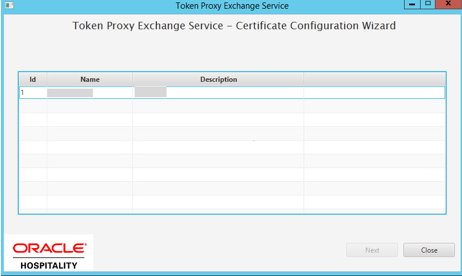
You will be provided with a list of the Payment Service Providers that are configured in your TokenProxy Webportal.
-
Select the Payment Service Provider that you want to assign a certificate to. If you need to add certificates to multiple Payment Service Providers, repeat the process for each as required.
-
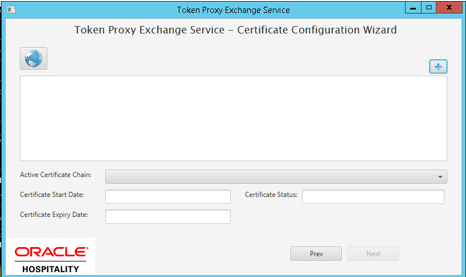
The Cert Manager allows the supported certificate to be imported by browsing or using drag and drop. Browse to the location of the certificate you want to import from add icon (
 ) available on the top right of the page or
you can also drag the certificate to the Cert Manager page (be attentive
of the File Extension filter in the file browser window).
-
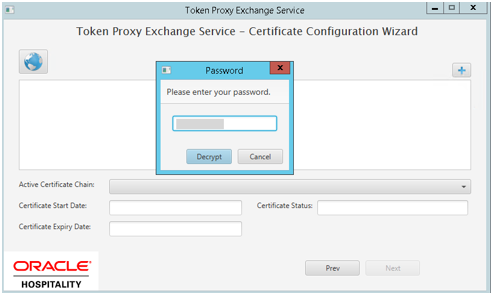
You will be prompted to supply the password for the certificate you have selected. Enter the password and select Decrypt.
-
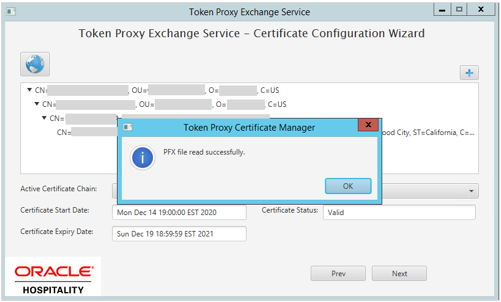
If the password is correct, then you should see a file read successfully message.
-
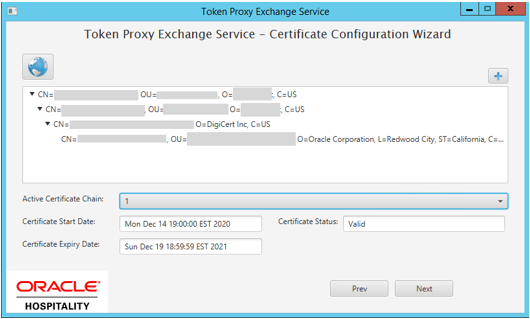
The Cert Manager will display the certificate chains from the certificate provided.
-
Select from the Active Certificate Chain drop-down list, the required alias if more than one is available.
-
This will display the associated Certificate Expiry Date and Status.
-
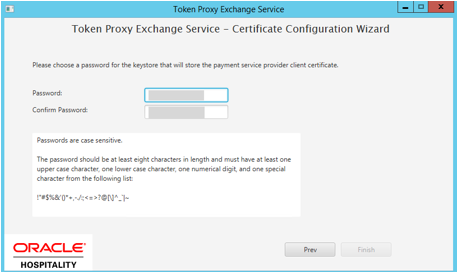
Click Next to choose a password for the keystore.
-
Provide and confirm the password that meets the minimum requirements, for the keystore that will store payment service provider client certificate.
-
Click Finish to configure payment service provider client certificate.
The TokenProxy service PSP client certificate PFX file has been updated with OPI_PSP_1.pfx in directory: \TokenProxy\TokenProxyService\key.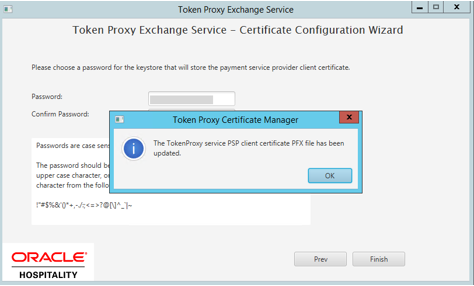
-
If all PSPs require an update have been updated, click OK to return to the option selection screen.
Parent topic: Token Proxy Service Payment Service Providers