Saving a Report
After running a report, it can be saved so that the data can be reviewed later. The system automatically stores your saved report in a location based on the system's configuration and your login ID.
Note:
Only you can view the reports you have saved. No one else has access to your saved reports.
-
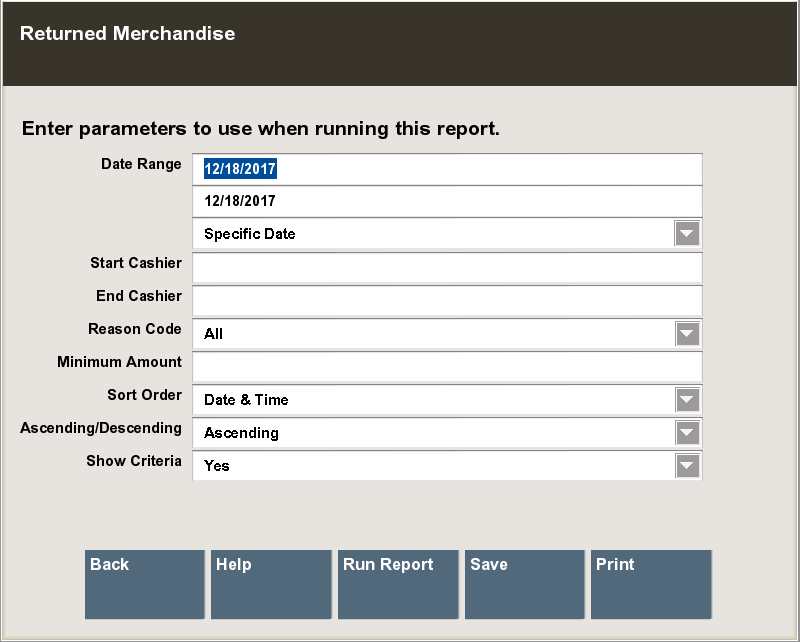
Select the Save option on the criteria selection form to rerun or view a report later.
This option is also available when viewing a report using the Save menu option.
Figure 2-6 Criteria Selection Form
-
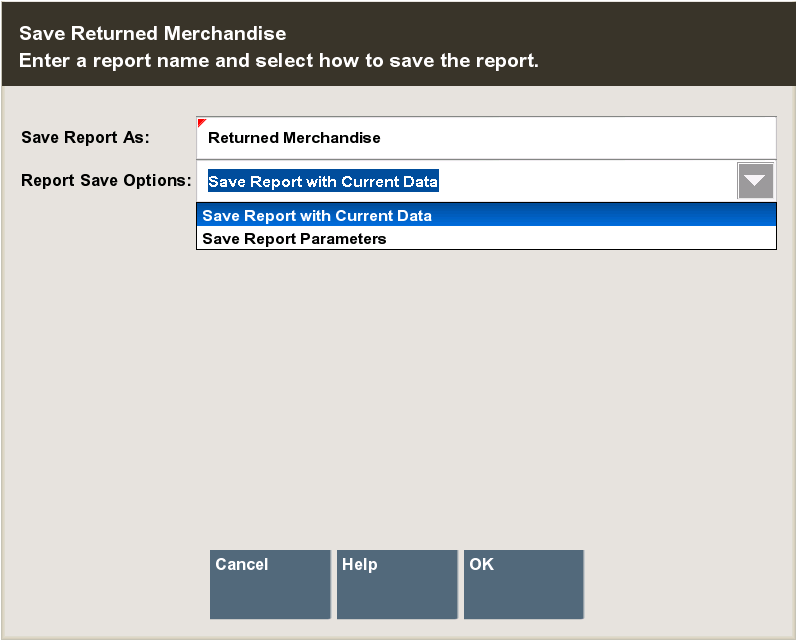
The system displays the Save Form for the report.
Figure 2-7 Save Form Window
-
Edit or accept the report name in the Save Report As field.
-
Select one of the two options in the Report Save Options field:
-
Save Report With Current Data: The next time you view this report, it will be exactly the same as it was when originally generated.
-
Save Report Parameters: The next time you view this report, it will be based on the same selection criteria (parameters). If you use a relative date parameter, the actual data retrieved is updated using current information. See Making Your Saved Reports Reusable.
-
-
Select Ok to save the report.
-
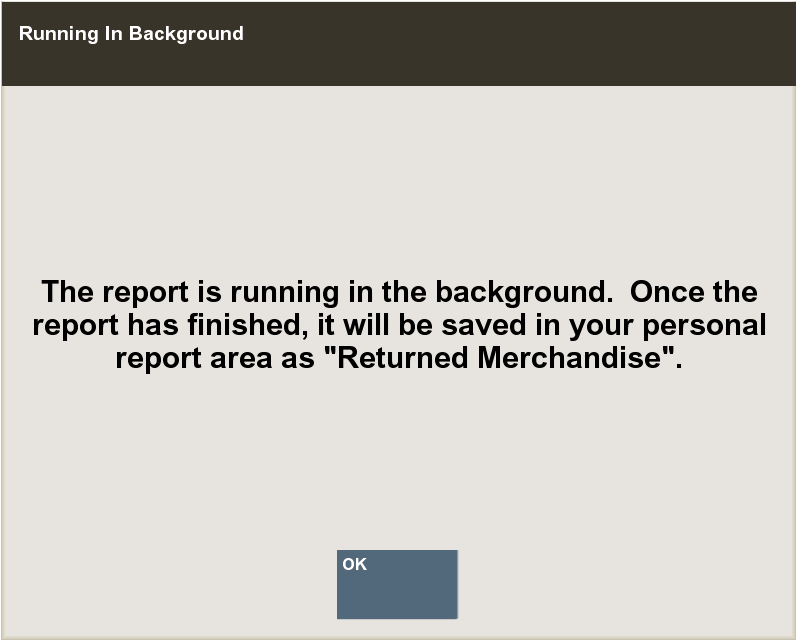
The Report Criteria Saved or Running in Background prompt displays, select Ok.
Figure 2-8 Saved Report Confirmation Prompt - Criteria Saved
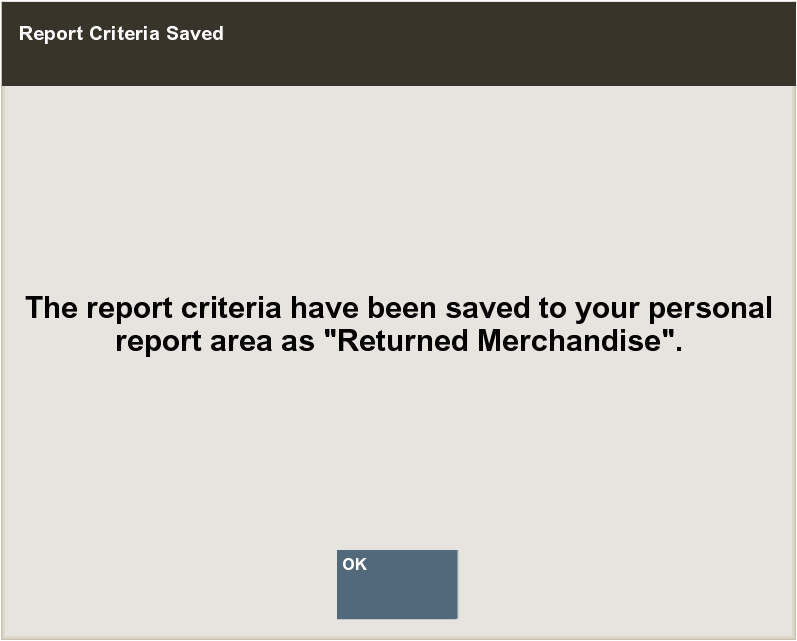
Figure 2-9 Saved Report Confirmation Report - Report Running
View Saved Reports
-
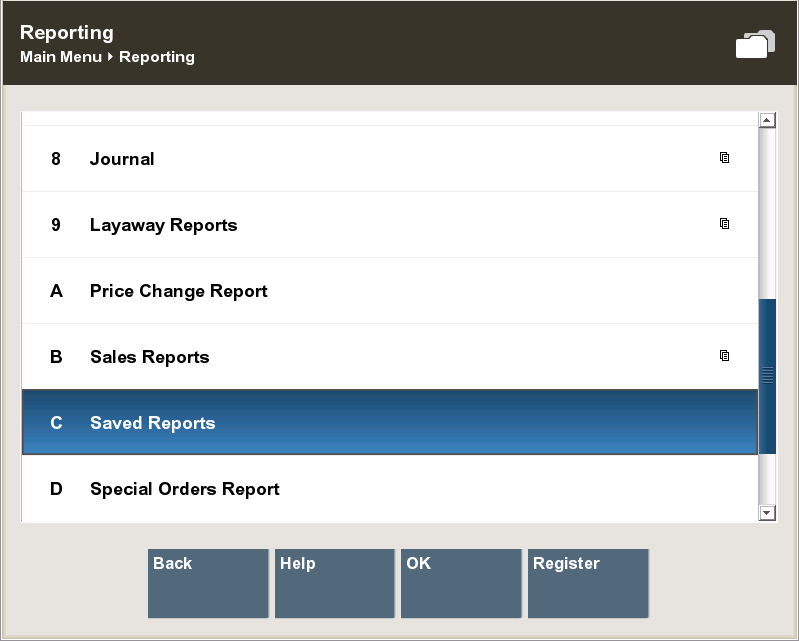
After logging in to the Back Office, select Reports and then choose the Saved Reports option on the Back Office Main Menu, and select Ok.
Figure 2-10 Reports Window
-
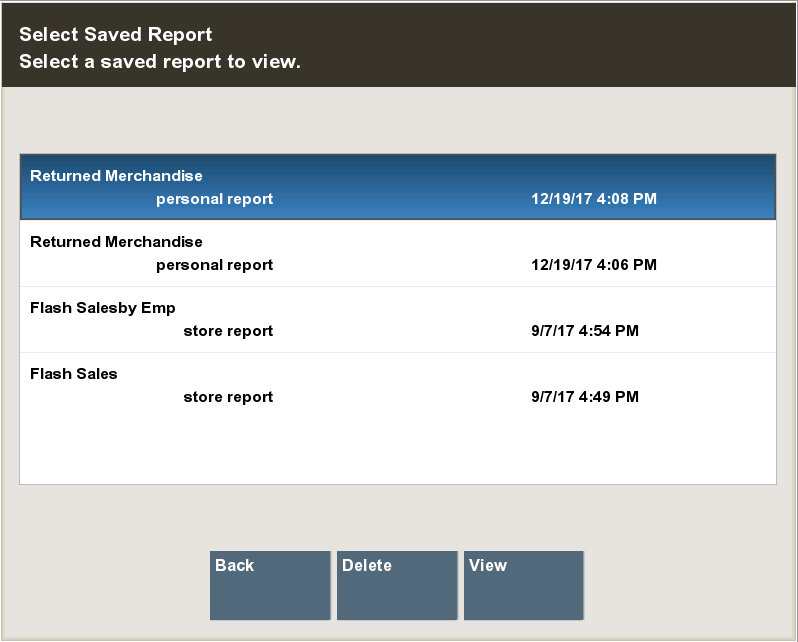
Select the report you want to see. If necessary, use the up and down arrows to scroll and see additional saved reports.
Figure 2-11 List of Your Saved Reports
-
To view a saved report, select the View option to display the report on the screen.
-
To delete a saved report, select the Delete option on the list of saved reports and select Yes to confirm that you want to delete the selected report.
-
-
After you are finished viewing or deleting the report, select the Back option to return to the saved reports list.
Report Printing Options
An option to print a page range may be available for some reports. The reports that support this feature are determined by the Home Office. If a report supports printing a specified page range, you will be prompted to enter the page(s).
-
After generating a report, and with the report displayed, select the Print Report option.
Figure 2-12 Print Report

-
If prompted, type the page, pages, or page range to be printed. For example, at the prompt, type 1-3,6,7-9,12 to print only those pages and press [Enter] to print the report.